


How to Replace the Cabin Air Filter on a 2016 Volkswagen Golf
Step-by-step instructions with tools, parts, safety tips, and airflow direction guidance for 2015, 2016, 2017, 2018
How to Replace the Cabin Air Filter on a 2016 Volkswagen Golf
Step-by-step instructions with tools, parts, safety tips, and airflow direction guidance for 2015, 2016, 2017, 2018
🔧 Cabin Air Filter - Replacement
The cabin air filter on your Golf cleans the air coming into the heater and A/C system. Replacing it helps restore airflow and reduces dust, odors, and musty smells inside the car.
Difficulty Level: Beginner | Estimated Time: 0.3-0.5 hours
⚠️ Safety & Precautions
- Turn the ignition off and remove the key before starting.
- Let the wiper area dry if it is wet so the cover is easier to remove.
- Be careful around the plastic cowl panels; they can crack if forced.
- No battery disconnect is required for this repair.
🔧 Required Tools
You'll need the following tools for this repair:
- Trim removal tool
- Torx T20 screwdriver
- Flat-blade screwdriver
- Safety glasses
- Gloves
🔩 Required Parts
HowToo sells all the parts you need for this repair:
- Cabin air filter - Qty: 1
📋 Before You Begin
- Park on level ground and set the parking brake.
- Open the hood.
- Make sure the ignition is off.
🔨 Step-by-Step Instructions
Follow these steps in order:
Step 1: Remove the passenger-side cowl cover
- Open the hood and look at the base of the windshield on the passenger side.
- Use a trim removal tool to gently lift the cowl cover edge.
- If your cover has a retaining screw, remove it with a Torx T20 screwdriver.
- Work slowly to avoid cracking the plastic.
Step 2: Access the cabin filter housing
- Lift off the foam seal or weather strip if it blocks the cover.
- Locate the rectangular filter cover near the passenger-side firewall.
- Use a flat-blade screwdriver or your fingers to release the cover tabs.
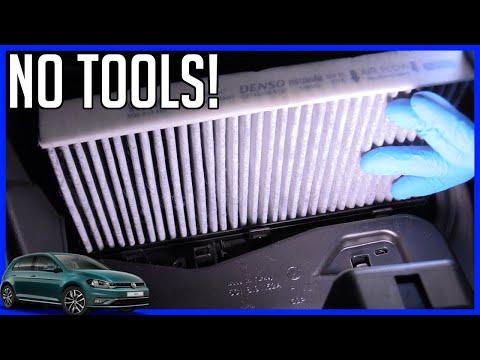
Step 3: Remove the old filter
- Pull the old cabin air filter straight out by hand.
- Pay attention to the airflow arrow on the filter so you install the new one the same direction.
- Wipe any leaves or debris from the housing with a clean cloth.
Step 4: Install the new filter
- Slide the new cabin air filter into the housing by hand.
- Make sure the airflow arrow matches the direction shown on the old filter or housing.
- Seat it fully so the cover will close without resistance.
Step 5: Reinstall the cover and cowl panel
- Snap the filter cover back into place by hand.
- Reinstall any screws with the Torx T20 screwdriver.
- Reinstall the cowl cover and press it down evenly until it seats.
✅ After Repair
- Start the car and turn the blower on high.
- Check that air flows normally from the vents.
- Listen for any loose panels near the windshield area.
- If airflow is still weak, confirm the filter is installed with the correct airflow direction.
💰 DIY vs Shop Cost
Shop Cost: $80-$160 (parts + labor)
DIY Cost: $15-$35 (parts only)
You Save: $65-$125 by doing it yourself!
Shop labor rates vary but typically run $100-$150/hour. This repair takes a shop approximately 0.3-0.5 hours.
🎯 Ready to get started?
HowToo makes it easy: same-day/2-day shipping on every part, plus all the tools and specialty tools you need! Check out the parts and tools sections below to add everything to your cart.
