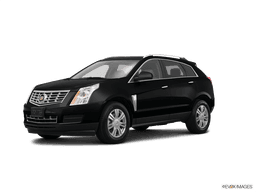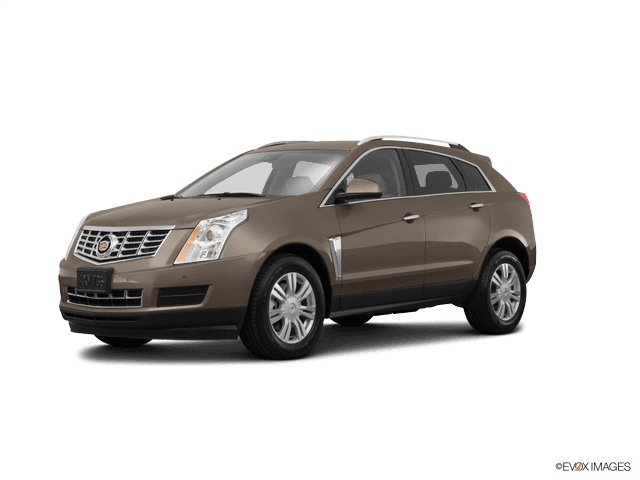
















How to Replace the Cabin Air Filter on a 2010-2016 Cadillac SRX (Step-by-Step Guide)
Glove box removal steps, required tools and parts, airflow direction tips, and post-install checks
How to Replace the Cabin Air Filter on a 2010-2016 Cadillac SRX (Step-by-Step Guide)
Glove box removal steps, required tools and parts, airflow direction tips, and post-install checks for 2010, 2011, 2012, 2013, 2014, 2015, 2016


🔧 SRX - Cabin Air Filter Replacement
Your SRX’s cabin air filter cleans the air coming through the HVAC vents (A/C and heat). Replacing it helps airflow, reduces odors, and keeps dust/pollen out of the cabin.
Difficulty Level: Beginner | Estimated Time: 0.3-0.7 hours
⚠️ Safety & Precautions
- 🛑 Park on level ground, shift to Park, and set the parking brake.
- ⚠️ Turn ignition OFF and keep the HVAC blower OFF while the filter is out.
- 🧤 Wear gloves if you’re sensitive to dust/mold on the old filter.
🔧 Required Tools
You'll need the following tools for this repair:
- Plastic trim removal tool
- Small flathead screwdriver
- Flashlight
- Nitrile gloves
- Safety glasses
🔩 Required Parts
HowToo sells all the parts you need for this repair:
- Cabin air filter - Qty: 1
📋 Before You Begin
- 🅿️ Move the passenger seat back to give yourself room at the glove box.
- 📦 Empty the glove box so nothing falls out when it drops down.
- 🔦 Have your flashlight ready—visibility is tight behind the glove box.
🔨 Step-by-Step Instructions
Follow these steps in order:
Step 1: Open and unload the glove box
- Open the glove box fully and remove contents by hand.
- Use a flashlight to look along the sides of the glove box for the “stops” (the plastic limiters that keep it from dropping).
Step 2: Release the glove box so it swings down
- Use a plastic trim removal tool to gently help push the glove box side inward past the stop.
- Repeat on the other side so the glove box can swing downward.
- Go slow to avoid snapping the stop tabs.
Step 3: Remove the cabin filter access cover
- With the glove box hanging down, aim your flashlight behind it to find the cabin filter cover (a small rectangular door).
- Use a small flathead screwdriver to gently release the cover’s locking tabs.
- Pull the cover off by hand once the tabs are free.
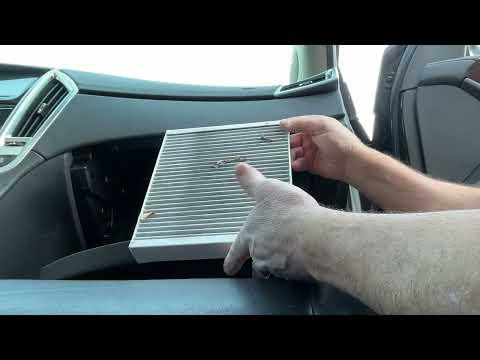
Step 4: Remove the old cabin air filter
- Pull the filter straight out by hand.
- Use nitrile gloves if the filter is dusty or smells musty.
- Use the flashlight to check for leaves/debris in the filter slot; remove loose debris by hand.
Step 5: Install the new cabin air filter (correct direction)
- Check the airflow arrow printed on the new filter frame.
- Install the new filter in the same direction as the old one came out.
- Slide it in evenly by hand so it doesn’t fold or snag.
- If it won’t slide, don’t force it.
Step 6: Reinstall the access cover
- Reinstall the cover by hand.
- Press until the tabs click into place.
- Use a small flathead screwdriver only if needed to guide a stubborn tab—don’t pry hard.
Step 7: Raise and re-latch the glove box
- Lift the glove box back up.
- Use a plastic trim removal tool to gently help the sides flex in so the stops pass back into position.
- Open/close the glove box to confirm it moves normally.
✅ After Repair
- 🔁 Start the vehicle and run the blower on medium, then high, to confirm strong airflow.
- 🧭 Switch between fresh air and recirculation to confirm no new noises (a cover not fully clipped can rattle).
- 👃 If there was an odor issue, it may take a few drives to notice improvement.
💰 DIY vs Shop Cost
Shop Cost: $80-$150 (parts + labor)
DIY Cost: $15-$40 (parts only)
You Save: $65-$110 by doing it yourself!
Shop labor rates vary but typically run $100-$150/hour. This repair takes a shop approximately 0.3-0.7 hours.
🎯 Ready to get started?
HowToo makes it easy: same-day/2-day shipping on every part, plus all the tools and specialty tools you need! Check out the parts and tools sections below to add everything to your cart.
Guide for Cabin Air Filter replace for these Cadillac vehicles
| Year Make Model | Sub Model | Engine | Body Style |
|---|---|---|---|
| 2016 Cadillac SRX | - | - | - |
| 2015 Cadillac SRX | - | - | - |
| 2014 Cadillac SRX | - | - | - |
| 2013 Cadillac SRX | - | - | - |
| 2012 Cadillac SRX | - | - | - |
| 2011 Cadillac SRX | - | - | - |
| 2010 Cadillac SRX | - | - | - |