















How to Replace the Cabin Air Filter (Microfilter) on a 2016-2022 BMW X1
Step-by-step under-glovebox filter replacement with tools, parts list, safety tips, and torque specs
How to Replace the Cabin Air Filter (Microfilter) on a 2016-2022 BMW X1
Step-by-step under-glovebox filter replacement with tools, parts list, safety tips, and torque specs for 2016, 2020, 2021, 2022


🔧 X1 - Cabin Air Filter Replacement
Your X1’s cabin air filter (also called the microfilter) cleans the air going into the HVAC system. Replacing it helps your A/C blow stronger, reduces musty smells, and keeps dust/pollen out of the cabin.
Difficulty Level: Beginner | Estimated Time: 0.5-1.0 hours
Assumption: This is the common under-glovebox microfilter setup used on the X1.
⚠️ Safety & Precautions
- ⚠️ Turn ignition OFF and remove the key/fob from the cabin before working under the dash.
- ⚠️ Use a flashlight and move slowly—wiring/connectors are easy to tug by accident.
- ⚠️ Do not force plastic trim; cold plastic cracks easier.
- ⚠️ Battery disconnect is not required for this job if you avoid unplugging airbag-related connectors.
🔧 Required Tools
You'll need the following tools for this repair:
- Torx T20 screwdriver
- Trim removal tool (plastic) (specialty)
- Small flathead screwdriver
- Flashlight
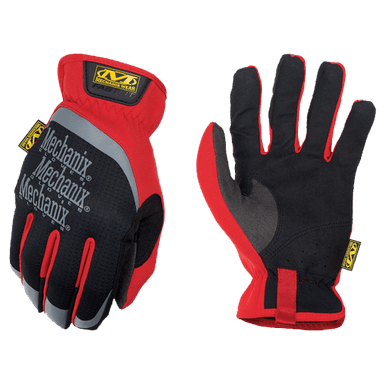
- Work gloves
- Safety glasses
🔩 Required Parts
HowToo sells all the parts you need for this repair:
- Cabin air filter (microfilter) - Qty: 1
- Optional activated charcoal cabin air filter - Qty: 1
📋 Before You Begin
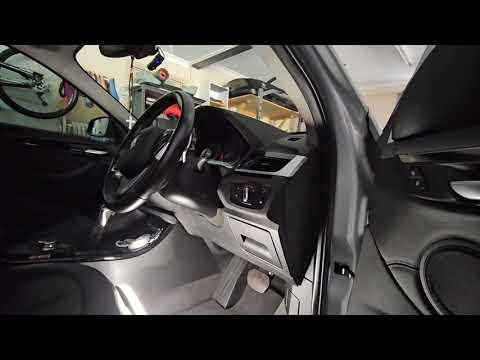
- Park on level ground, set the parking brake, and open the passenger door wide for room.
- Move the passenger seat all the way back to give yourself working space.
- Have your flashlight ready—you’ll be working in the passenger footwell.
🔨 Step-by-Step Instructions
Follow these steps in order:
Step 1: Clear access under the glovebox
- Slide the passenger seat back by hand using the seat controls.
- Use a flashlight to locate the under-dash/footwell trim panel below the glovebox.
Step 2: Remove the passenger footwell under-panel
- Use a Torx T20 screwdriver to remove the visible screws holding the lower panel in place.
- Use a trim removal tool (plastic) (specialty) to gently pop any clips loose. A trim tool is a plastic pry tool that helps remove panels without scratching.
- Lower the panel carefully. If there’s a footwell light connector, use a small flathead screwdriver to release the tab and unplug it gently (only if needed to fully remove the panel).
Step 3: Find the cabin filter housing
- Use the flashlight to look up behind/under the glovebox area for a rectangular filter cover (this is the microfilter door).
- Look for small locking tabs or a sliding latch on the cover.
Step 4: Remove the filter cover
- Release the cover tabs by hand. If tight, gently help the tab with a small flathead screwdriver (do not pry hard).
- Remove the cover and set it aside where it won’t get stepped on.
Step 5: Remove the old cabin filter
- Pull the old filter straight out.
- Wear work gloves—the filter can drop dust and debris.
- Tip: Note the airflow arrow direction first.
Step 6: Install the new cabin filter
- Compare the new filter to the old one to confirm same size and shape.
- Install the new filter in the same orientation as the old one (match the airflow arrow on the filter frame).
- Push it in evenly so it seats flat and does not fold or buckle.
Step 7: Reinstall the filter cover
- Reinstall the cover by hand until the tabs click/lock.
- If your cover uses screws, install them with a Torx T20 screwdriver and tighten snugly (do not over-tighten). Torque to 2 Nm (18 in-lbs) if using a torque tool.
Step 8: Reinstall the under-dash panel
- If you unplugged a light, reconnect it until it clicks.
- Lift the panel into place and align the clips.
- Use a trim removal tool (plastic) (specialty) to help guide clips into position (push by hand to seat).
- Install and tighten screws with a Torx T20 screwdriver. Torque to 2 Nm (18 in-lbs).
✅ After Repair
- Start the engine and run the blower on medium/high for 30 seconds.
- Cycle HVAC modes (face/feet/defrost) and make sure airflow sounds normal (no loud fluttering).
- If you notice a whistle, recheck that the filter is fully seated and the cover is fully latched.
💰 DIY vs Shop Cost
Shop Cost: $120-$220 (parts + labor)
DIY Cost: $25-$60 (parts only)
You Save: $60-$195 by doing it yourself!
Shop labor rates vary but typically run $100-$150/hour. This repair takes a shop approximately 0.5-1.0 hours.
🎯 Ready to get started?
HowToo makes it easy: same-day/2-day shipping on every part, plus all the tools and specialty tools you need! Check out the parts and tools sections below to add everything to your cart.
Guide for Cabin Air Filter replace for these BMW vehicles
| Year Make Model | Sub Model | Engine | Body Style |
|---|---|---|---|
| 2022 BMW X1 | - | - | - |
| 2021 BMW X1 | - | - | - |
| 2020 BMW X1 | - | - | - |
| 2016 BMW X1 | - | - | - |