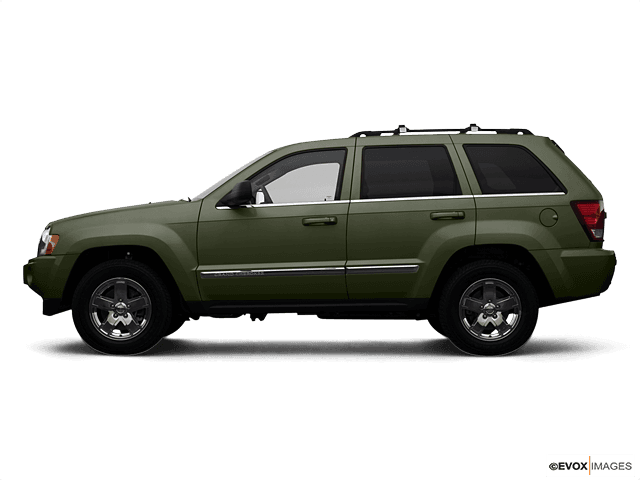















How to Replace the Battery on a 2007 Jeep Grand Cherokee (Under Seat or Under Hood)
Step-by-step battery swap with safety tips, required tools/parts, terminal cleaning, and torque specs for 2007, 2008, 2009, 2014, 2015, 2016, 2017, 2018, 2019
How to Replace the Battery on a 2007 Jeep Grand Cherokee (Under Seat or Under Hood)
Step-by-step battery swap with safety tips, required tools/parts, terminal cleaning, and torque specs for 2007, 2008, 2009, 2014, 2015, 2016, 2017, 2018, 2019


🔧 Grand Cherokee - Battery Replacement
You’ll remove the old 12V battery and install a new one with clean, tight connections. A weak or failing battery can cause slow cranking, warning lights, and no-start issues.
Difficulty Level: Beginner | Estimated Time: 0.5-1.0 hours
⚠️ Safety & Precautions
- ⚠️ Turn ignition OFF, remove key, and wait 2 minutes before disconnecting the battery.
- ⚠️ Disconnect the negative (−) terminal first and reconnect it last to reduce short-circuit risk.
- ⚠️ Do not allow a tool to touch both the battery terminal and metal body at the same time.
- ⚠️ Batteries are heavy and contain acid—wear gloves and safety glasses.
- ⚠️ If your battery is under the passenger seat, move the seat with power BEFORE disconnecting the battery.
🔧 Required Tools
You'll need the following tools for this repair:
- 10mm socket
- 13mm socket
- Ratchet (3/8")
- 6" extension (3/8")
- Trim removal tool
- Torque wrench (inch-pound)
- Battery terminal cleaning brush
- Shop rags
- Nitrile gloves
- Safety glasses
🔩 Required Parts
HowToo sells all the parts you need for this repair:
- 12V battery (correct group size for your Grand Cherokee) - Qty: 1
- Battery terminal anti-corrosion spray or grease - Qty: 1
- Battery terminal felt washers - Qty: 1
📋 Before You Begin
- Park on level ground, shift to Park, and set the parking brake.
- If your battery is under the passenger seat: use the seat switch to move the passenger seat all the way back and all the way up for access before disconnecting power.
- Open a window or keep a door unlocked so you don’t lock yourself out during the swap.
- Have your radio presets/clock handy—some settings may reset.
🔨 Step-by-Step Instructions
Follow these steps in order:
Step 1: Locate the battery (two possible locations)
- Check the passenger-side front seat area first (common): use a trim removal tool to lift/remove the battery access cover.
- If you do not see a battery under the passenger seat, check under the hood: open the hood and look at the passenger-side of the engine bay.
Step 2: Remove covers/hold-down access
- If under-seat: use a trim removal tool to release any cover clips, then move the cover out of the way.
- If under-hood: remove any plastic shield/cover over the battery using a 10mm socket and ratchet (3/8") if equipped.
Step 3: Disconnect the negative (−) terminal FIRST
- Use a 10mm socket and ratchet (3/8") to loosen the negative terminal clamp nut.
- Twist and lift the clamp off the battery post, then tuck it aside so it cannot spring back.
- Negative is usually black and marked “−”.
- Torque on install: 5 N·m (44 in-lb)
Step 4: Disconnect the positive (+) terminal
- Use a 10mm socket and ratchet (3/8") to loosen the positive terminal clamp nut.
- Remove the clamp and position it so it cannot touch metal.
- Positive is usually red and marked “+”.
- Torque on install: 5 N·m (44 in-lb)
Step 5: Remove the battery hold-down
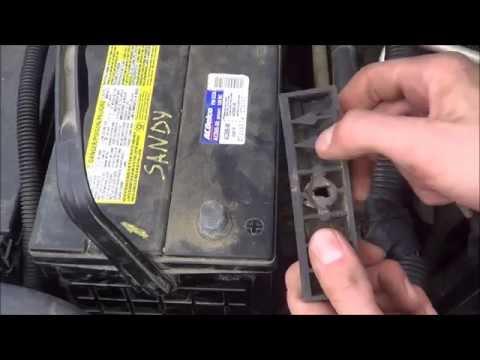
- Use a 13mm socket, 6" extension (3/8"), and ratchet (3/8") to remove the battery hold-down bolt(s)/wedge clamp at the base of the battery.
- Lift out the hold-down and set it aside.
- Torque on install: 9 N·m (80 in-lb)
Step 6: Remove the old battery
- Grab the battery using the built-in handle(s) and lift it straight up and out.
- Set it on the ground on a flat surface (not on carpet).
Step 7: Clean and prep the connections
- Use a battery terminal cleaning brush to clean the inside of both cable clamps until shiny.
- Wipe with shop rags.
- Install battery terminal felt washers if you’re using them, then apply a light coat of battery terminal anti-corrosion spray or grease.
- Clean metal helps prevent future no-starts.
Step 8: Install the new battery
- Set the new battery into the tray in the same orientation as the old one (positive and negative posts on the same sides as before).
- Reinstall the hold-down using a 13mm socket, 6" extension (3/8"), and ratchet (3/8").
- Torque to 9 N·m (80 in-lb)
Step 9: Reconnect terminals (positive FIRST, negative LAST)
- Install the positive (+) clamp first and tighten using a 10mm socket and ratchet (3/8").
- Torque to 5 N·m (44 in-lb)
- Install the negative (−) clamp last and tighten using a 10mm socket and ratchet (3/8").
- Torque to 5 N·m (44 in-lb)
Step 10: Reinstall covers
- Reinstall the battery cover/shield using the trim removal tool and/or 10mm socket as needed.
✅ After Repair
- Start your Grand Cherokee and confirm it cranks strongly.
- Check that headlights and interior lights look normal (not dim or flickering).
- Set the clock and re-save radio presets if they reset.
- If any warning lights appear, shut off, re-check terminal tightness and battery orientation, then restart.
💰 DIY vs Shop Cost
Shop Cost: $220-$450 (parts + labor)
DIY Cost: $140-$320 (parts only)
You Save: $80-$130 by doing it yourself!
Shop labor rates vary but typically run $100-$150/hour. This repair takes a shop approximately 0.5-1.0 hours.
🎯 Ready to get started?
HowToo makes it easy: same-day/2-day shipping on every part, plus all the tools and specialty tools you need! Check out the parts and tools sections below to add everything to your cart.