


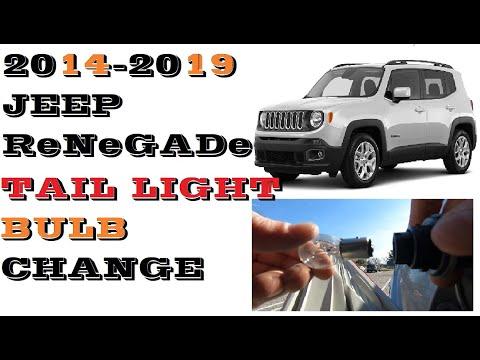


How to Replace Taillight Bulbs on a 2016 Jeep Renegade (Left & Right Rear)
Step-by-step bulb access from the cargo area with required tools, parts list, testing tips, and safety notes
How to Replace Taillight Bulbs on a 2016 Jeep Renegade (Left & Right Rear)
Step-by-step bulb access from the cargo area with required tools, parts list, testing tips, and safety notes


🔧 Renegade - Taillight Bulb Replacement
You’ll be replacing the rear combination lamp bulbs on both sides (left and right). On your Renegade, the bulbs are accessed from inside the cargo area, so you usually don’t need to remove the outside lens.
Assumption: Your Renegade has serviceable (incandescent) rear bulbs; if your rear lamps are LED, the bulbs are not replaceable and the complete lamp assembly must be replaced.
Difficulty Level: Beginner | Estimated Time: 0.5-1.0 hours
⚠️ Safety & Precautions
- ⚠️ Turn the ignition OFF and remove the key before starting.
- ⚠️ Let bulbs cool before touching; they can burn you.
- ⚠️ Wear gloves; skin oils can shorten bulb life.
- ⚠️ Don’t force interior trim—plastic clips can crack in cold weather.
🔧 Required Tools
You'll need the following tools for this repair:
- Plastic trim removal tool
- Small flat-blade screwdriver
- Phillips screwdriver
- Flashlight
- Nitrile gloves
- Safety glasses
🔩 Required Parts
HowToo sells all the parts you need for this repair:
- Rear stop/tail bulb - Qty: 2
- Rear turn signal bulb - Qty: 2
📋 Before You Begin
- Park on level ground and set the parking brake.
- Open the liftgate and remove any cargo so you can reach the side trim.
- Use your flashlight to locate the taillamp access door(s) behind the cargo-area side trim.
🔨 Step-by-Step Instructions
Follow these steps in order:
Step 1: Confirm which bulb you’re replacing
- Turn the ignition to ON (engine off is fine) and test: parking lights, brake lights, and turn signals.
- Turn ignition OFF again before removing anything.
- Tip: Use a helper for the brake pedal.
Step 2: Access the left rear taillight bulb area
- Go to the left side of the cargo area.
- Remove the small access cover/door in the trim using a plastic trim removal tool.
- If a clip is stubborn, gently assist with a small flat-blade screwdriver (don’t pry hard).
- Trim tool = plastic pry tool to avoid scratches.
Step 3: Remove the bulb socket
- Find the bulb socket going into the back of the taillamp.
- Twist the socket counterclockwise by hand to unlock it.
- If it’s tight, use gloves for grip; avoid using pliers.
Step 4: Replace the bulb
- Pull the old bulb straight out of the socket (wiggle gently).
- Install the new bulb straight into the socket until fully seated.
- Do not touch the glass with bare fingers; use nitrile gloves.
Step 5: Reinstall the socket and test (left side)
- Insert the socket back into the lamp.
- Twist clockwise by hand until it locks snugly (no torque spec; hand-tight only).
- Turn ignition ON and test that function again.
Step 6: Repeat the same steps on the right side
- Move to the right cargo-area trim access cover and remove it using the plastic trim removal tool.
- Twist the bulb socket out, replace the bulb, reinstall, and test.
Step 7: Reinstall the access covers
- Snap the access covers back into place by hand.
- If your cover uses screws, reinstall them with a Phillips screwdriver (snug only).
✅ After Repair
- Verify operation: parking lights, brake lights, left/right turn signals, and hazards.
- Make sure the bulb sockets are fully locked—loose sockets can cause intermittent lighting.
- If a new bulb doesn’t work, remove it and reinstall it firmly; also check for corrosion in the socket.
💰 DIY vs Shop Cost
Shop Cost: $60-$150 (parts + labor)
DIY Cost: $10-$40 (parts only)
You Save: $50-$110 by doing it yourself!
Shop labor rates vary but typically run $100-$150/hour. This repair takes a shop approximately 0.5-1.0 hours.
🎯 Ready to get started?
HowToo makes it easy: same-day/2-day shipping on every part, plus all the tools and specialty tools you need! Check out the parts and tools sections below to add everything to your cart.
