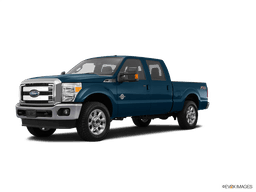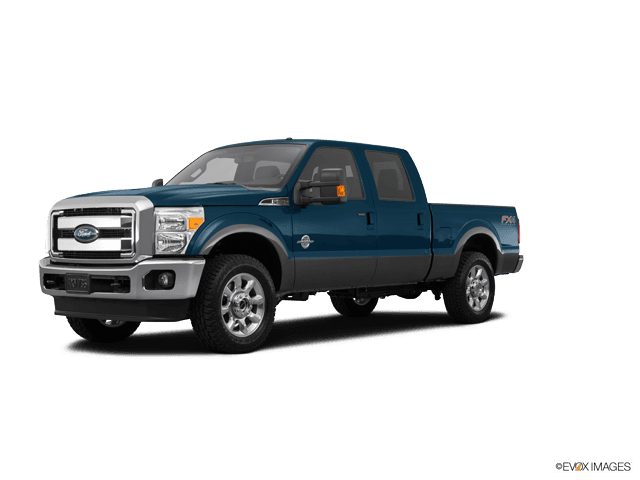









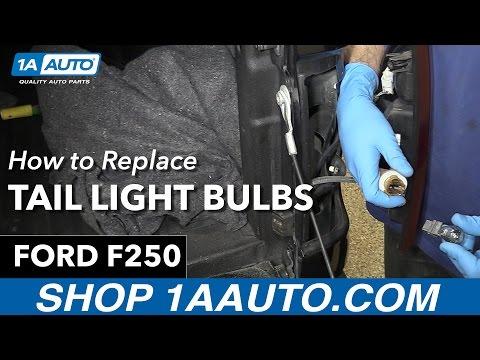







How to Replace Taillight Bulbs on a 2016 Ford F-250 Super Duty (3157)
Step-by-step taillight assembly removal, tools/parts list, and torque specs for both sides for 2011, 2012, 2013, 2014, 2015, 2016, 2017, 2018, 2020, 2021, 2022, 2023
How to Replace Taillight Bulbs on a 2016 Ford F-250 Super Duty (3157)
Step-by-step taillight assembly removal, tools/parts list, and torque specs for both sides for 2011, 2012, 2013, 2014, 2015, 2016, 2017, 2018, 2020, 2021, 2022, 2023


🔧 F-250 Super Duty - Taillight Bulb Replacement
You’ll remove each taillight assembly, twist out the bulb socket, and swap the bulb(s). This restores proper tail/running lights, brake lights, and turn signals so you stay visible and legal.
Difficulty Level: Beginner | Estimated Time: 0.5-1.0 hours
Assumption: You mean the main rear stop/turn/tail bulbs on both left and right taillights.
⚠️ Safety & Precautions
- ⚠️ Park on level ground, shift to Park, and set the parking brake.
- ⚠️ Turn the headlight switch OFF and remove the key before unplugging bulbs.
- ⚠️ Let bulbs cool before touching; they can be hot.
- ⚠️ Don’t touch new glass bulbs with bare fingers; oil can shorten bulb life.
🔧 Required Tools
You'll need the following tools for this repair:
- 8mm socket
- 1/4" drive ratchet
- 6" 1/4" drive extension
- Plastic trim removal tool
- Nitrile gloves
- Safety glasses
- Clean shop towel
🔩 Required Parts
HowToo sells all the parts you need for this repair:
- Rear stop/turn/tail bulb (3157 type) - Qty: 2
- Dielectric grease - Qty: 1
📋 Before You Begin
- Park the truck on a flat surface with room behind it.
- Open the tailgate to access the taillight fasteners.
- Lay a clean shop towel where you’ll set the taillight to avoid scratches.
🔨 Step-by-Step Instructions
Follow these steps in order:
Step 1: Remove the left taillight screws
- Open the tailgate.
- Use a 8mm socket, 1/4" drive ratchet, and 6" extension to remove the two taillight screws on the inner edge (tailgate side).
- Set the screws aside where they won’t get lost.
Step 2: Pull the taillight assembly out
- Grip the taillight and pull it straight rearward to release the alignment pins.
- If it’s stuck, use a plastic trim removal tool to gently help it start moving. (A trim tool is a plastic pry tool that helps you pry without scratching paint.)
- Pull straight back—don’t twist.
Step 3: Remove the bulb socket
- Find the main bulb socket for the stop/turn/tail function (usually the larger socket).
- Twist the socket counterclockwise by hand to unlock it, then pull it out of the housing.
- Wear nitrile gloves and use a clean shop towel to keep things clean.
Step 4: Replace the bulb
- Pull the old bulb straight out of the socket (wiggle gently if needed).
- Install the new 3157 type bulb by pushing it straight in until fully seated.
- Apply a very thin wipe of dielectric grease to the socket seal area (not on the bulb glass).
Step 5: Reinstall the socket and taillight
- Insert the socket into the taillight and twist clockwise to lock.
- Line up the taillight alignment pins and push the assembly straight in until it sits flush.
- Reinstall the two screws using a 8mm socket, ratchet, and extension.
- Torque to 2-3 Nm (18-27 in-lbs) (snug only—do not overtighten).
Step 6: Repeat on the right side
- Repeat Steps 1-5 on the right taillight using the same 8mm socket setup and plastic trim removal tool as needed.
✅ After Repair
- Turn the headlights on and confirm both rear running lights work.
- Press the brake pedal and confirm both brake lights are bright.
- Turn on left and right turn signals and confirm normal flash speed.
- If a bulb doesn’t work, remove the socket and re-seat the bulb fully.
💰 DIY vs Shop Cost
Shop Cost: $60-$150 (parts + labor)
DIY Cost: $10-$30 (parts only)
You Save: $50-$120 by doing it yourself!
Shop labor rates vary but typically run $100-$150/hour. This repair takes a shop approximately 0.5-1.0 hours.
🎯 Ready to get started?
HowToo makes it easy: same-day/2-day shipping on every part, plus all the tools and specialty tools you need! Check out the parts and tools sections below to add everything to your cart.