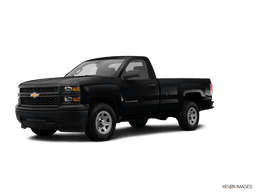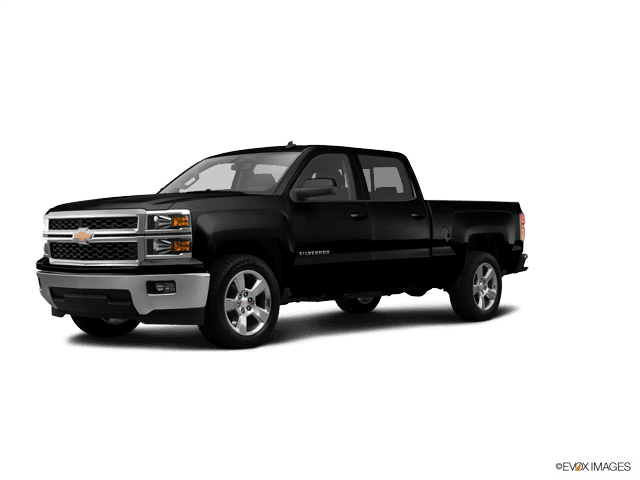









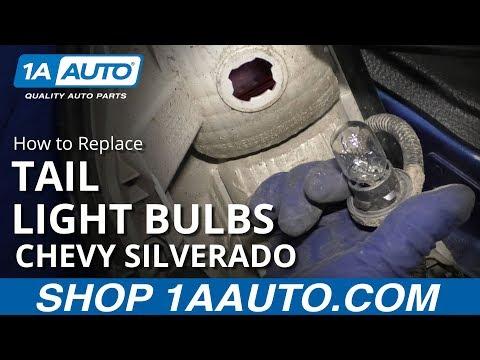







How to Replace Taillight Bulbs on a 2014 Chevrolet Silverado 1500 (3157 & 921)
Step-by-step taillight removal with tools, bulb types, torque spec (2 Nm/18 in-lbs), and testing tips
How to Replace Taillight Bulbs on a 2014 Chevrolet Silverado 1500 (3157 & 921)
Step-by-step taillight removal with tools, bulb types, torque spec (2 Nm/18 in-lbs), and testing tips for 2014


🔧 Silverado 1500 - Taillight Bulb Replacement
You’ll remove each taillight assembly, twist out the bulb sockets, and swap in new bulbs. This is straightforward, but the taillight housing uses alignment pins—so pull straight back to avoid cracking it.
Difficulty Level: Beginner | Estimated Time: 0.5-1.0 hours
⚠️ Safety & Precautions
- ⚠️ Turn the light switch OFF and remove the key before starting.
- ⚠️ Let bulbs cool first; they can be hot.
- ⚠️ Don’t touch new glass bulbs with bare fingers; skin oil can shorten bulb life.
- ⚠️ Pull the taillight housing straight back; don’t pry hard on the paint.
- ⚠️ Battery disconnect is not required for this repair.
🔧 Required Tools
You'll need the following tools for this repair:
- Torx T15 screwdriver
- Plastic trim removal tool
- Nitrile gloves
- Safety glasses
- Clean shop towel
🔩 Required Parts
HowToo sells all the parts you need for this repair:
- Stop/Turn/Tail bulb (3157) - Qty: 2
- Reverse bulb (921) - Qty: 2
📋 Before You Begin
- Park on level ground and shift to Park.
- Open the tailgate for access to the taillight screws.
- Lay a clean shop towel on the bumper corner to protect paint.
🔨 Step-by-Step Instructions
Follow these steps in order:
Step 1: Confirm you have serviceable bulbs (not LED modules)
- Look through the taillight lens: if you can see standard replaceable bulb shapes, continue.
- If your A4—ignore this—if your Silverado 1500 has factory LED taillights (a solid LED “bar” look), the bulbs may not be replaceable and you’ll replace the taillight assembly instead.
Step 2: Remove the driver-side taillight assembly
- Open the tailgate.
- Use a Torx T15 screwdriver to remove the two taillight screws on the inside edge (by the tailgate opening).
- Set the screws aside somewhere safe.
- Grab the taillight housing with both hands and pull it straight rearward to release the alignment pins.
- If it’s stuck, use a plastic trim removal tool gently at the edge and work it loose. Pull straight back, don’t twist.
Step 3: Remove the bulb sockets
- With the housing loose, you’ll see the bulb sockets on the back.
- Use your hand to rotate the socket counterclockwise about a quarter turn, then pull it out.
- Repeat for the other socket(s) you’re replacing.
Step 4: Replace the bulbs
- Put on nitrile gloves.
- Pull the old bulb straight out of the socket.
- Push the new bulb straight into the socket until fully seated.
- Use a clean shop towel to wipe the bulb if you accidentally touched the glass.
- Typical positions are:
- Stop/Turn/Tail: 3157
- Reverse: 921
Step 5: Reinstall sockets and taillight assembly
- Insert each socket back into the housing and rotate clockwise to lock it.
- Line up the housing’s locating pins with the body grommets and push the housing straight in until it seats flush.
- Reinstall the two screws using a Torx T15 screwdriver.
- Torque to 2 Nm (18 in-lbs)
Step 6: Repeat on the passenger-side
- Repeat Steps 2–5 on the other side using the Torx T15 screwdriver and nitrile gloves.
✅ After Repair
- Turn the ignition to ON and test: parking lights, brake lights, turn signals, and reverse lights.
- If a new bulb doesn’t work, remove it and rotate it 180° (some bulbs can seat slightly off).
- Make sure both housings sit flush and don’t wiggle.
💰 DIY vs Shop Cost
Shop Cost: $80-$180 (parts + labor)
DIY Cost: $10-$35 (parts only)
You Save: $70-$145 by doing it yourself!
Shop labor rates vary but typically run $100-$150/hour. This repair takes a shop approximately 0.5-1.0 hours.
🎯 Ready to get started?
HowToo makes it easy: same-day/2-day shipping on every part, plus all the tools and specialty tools you need! Check out the parts and tools sections below to add everything to your cart.
Guide for Tail Light Bulb replace for these Chevrolet vehicles
| Year Make Model | Sub Model | Engine | Body Style |
|---|---|---|---|
| 2014 Chevrolet Silverado 1500 | - | - | - |