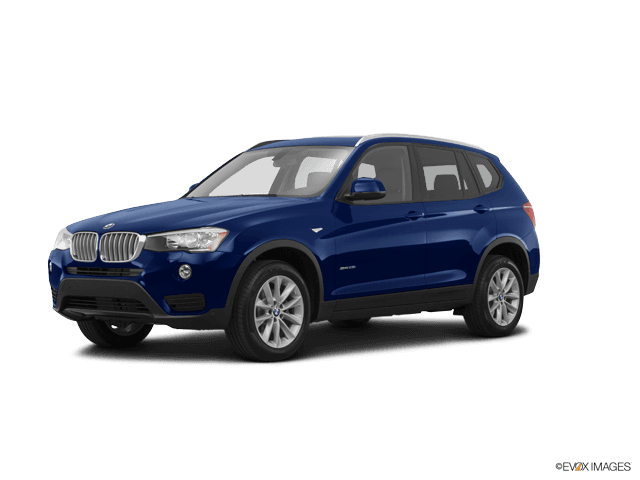















How to Replace Taillight Bulbs on a 2004-2021 BMW X3 (Inner & Outer Rear Lamps)
Step-by-step DIY instructions with tools, bulb types, access panel locations, and post-repair light testing
How to Replace Taillight Bulbs on a 2004-2021 BMW X3 (Inner & Outer Rear Lamps)
Step-by-step DIY instructions with tools, bulb types, access panel locations, and post-repair light testing for 2004, 2005, 2006, 2011, 2012, 2013, 2014, 2015, 2016, 2017, 2018, 2019, 2020, 2021


🔧 X3 - Taillight Bulb Replacement
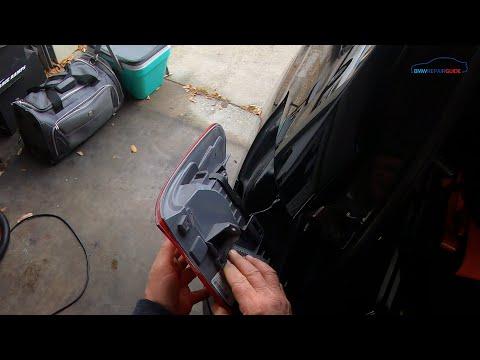
On your X3, the rear lights are split into an outer lamp (on the body) and an inner lamp (on the tailgate). Replacing “both taillight bulbs” usually means accessing the bulb carrier behind the trim, swapping the failed bulb(s), and confirming all rear functions work (tail, brake, turn, reverse, etc.).
Assumption: Your X3 has bulb-style rear lamps (not full LED). If your rear lamp is full LED, there are no serviceable bulbs—replace the lamp assembly.
Difficulty Level: Beginner | Estimated Time: 0.5-1.0 hours
⚠️ Safety & Precautions
- ⚠️ Turn the ignition OFF and remove the key before working on any exterior lights.
- ⚠️ Let bulbs cool before touching; hot bulbs can burn you.
- ⚠️ Don’t touch new glass bulbs with bare fingers; skin oils can shorten bulb life.
- ⚠️ Support the tailgate so it can’t drop while you work near the inner lamp.
- ⚠️ Battery disconnect is not required for this job.
🔧 Required Tools
You'll need the following tools for this repair:
- Nitrile gloves
- Safety glasses
- Plastic trim removal tool
- Torx T20 screwdriver
- Torx T25 screwdriver
- 8mm socket
- 1/4" ratchet
- Small flat-blade screwdriver
- Flashlight
🔩 Required Parts
HowToo sells all the parts you need for this repair:
- Rear bulb(s) (match the type printed on your old bulb base) - Qty: 2
- Dielectric grease (optional) - Qty: 1
📋 Before You Begin
- Park on level ground and set the parking brake.
- Open the tailgate and remove cargo so you can reach the side access panels.
- Have your flashlight ready—bulb markings can be small.
- Tip: Take a quick photo before unplugging anything.
🔨 Step-by-Step Instructions
Follow these steps in order:
Step 1: Access the outer rear lamp (body-mounted)
- Open the cargo area and locate the rear side trim access door behind the taillight.
- Use a plastic trim removal tool to pop open/remove the access cover.
- Use a flashlight to identify the bulb carrier and electrical connector behind the lamp.
Step 2: Remove the bulb carrier (bulb holder) from the lamp
- Unplug the connector by pressing the release tab and pulling straight back (use a small flat-blade screwdriver only if needed to gently help the tab).
- Release the bulb carrier by turning it (usually counterclockwise) and pulling it out.
- Tip: Pull straight out to avoid cracking the housing.
Step 3: Replace the bulb(s) in the outer lamp
- Remove the old bulb from the carrier:
- If it’s a twist-lock style, rotate and pull out.
- If it’s a push-in wedge style, pull straight out.
- Use a flashlight to read the bulb type printed on the old bulb base (examples you may see: P21W, PY21W, W16W).
- Install the new bulb of the exact same type. Wear nitrile gloves to keep oils off the bulb glass.
- If desired, apply a tiny amount of dielectric grease to the connector seal (not on the bulb glass).
Step 4: Reinstall the bulb carrier and connector
- Reinsert the bulb carrier into the lamp and lock it by turning it fully into place by hand.
- Reconnect the electrical connector until it clicks.
- Reinstall the access cover by pressing it back in place.
Step 5: Access the inner rear lamp (tailgate-mounted), if the second bulb is there
- On the tailgate trim panel near the inner lamp, locate the small service access cover (or remove the small trim piece, depending on panel style).
- Use a plastic trim removal tool to open/remove the access cover.
- Remove the inner bulb carrier similarly: unplug the connector, then turn and pull the carrier out by hand.
Step 6: Replace the bulb(s) in the inner lamp and reassemble
- Swap the bulb(s) using the same method as Step 3, matching the bulb type printed on the old bulb.
- Reinstall the bulb carrier by hand, reconnect the plug, and refit the access cover.
Step 7: If your X3 has full LED rear lamps (no removable bulbs)
- If you do not see a removable bulb carrier and instead see a sealed LED module, the rear lamp is not serviceable.
- To replace the lamp assembly, you’ll typically remove interior access trim and fasteners:
- Use an 8mm socket with a 1/4" ratchet for lamp retaining nuts (common on BMW rear lamps).
- Use a Torx T20 screwdriver or Torx T25 screwdriver for trim fasteners as needed.
- Tip: Hand-start nuts to avoid cross-threading.
✅ After Repair
- Turn ignition ON and test: tail lights, brake lights, turn signals, reverse lights, and rear fog (if equipped).
- Confirm there’s no bulb-out warning on the instrument cluster.
- If a warning stays after correct bulb install, recheck the connector is fully seated and the bulb is the correct type and locked in place.
💰 DIY vs Shop Cost
Shop Cost: $120-$250 (parts + labor)
DIY Cost: $10-$40 (parts only)
You Save: $110-$210 by doing it yourself!
Shop labor rates vary but typically run $100-$150/hour. This repair takes a shop approximately 0.5-1.0 hours.
🎯 Ready to get started?
HowToo makes it easy: same-day/2-day shipping on every part, plus all the tools and specialty tools you need! Check out the parts and tools sections below to add everything to your cart.
Guide for Tail Light Bulb replace for these BMW vehicles
| Year Make Model | Sub Model | Engine | Body Style |
|---|---|---|---|
| 2021 BMW X3 | - | - | - |
| 2020 BMW X3 | - | - | - |
| 2019 BMW X3 | - | - | - |
| 2018 BMW X3 | - | - | - |
| 2017 BMW X3 | - | - | - |
| 2016 BMW X3 | - | - | - |
| 2015 BMW X3 | - | - | - |
| 2014 BMW X3 | - | - | - |
| 2013 BMW X3 | - | - | - |
| 2012 BMW X3 | - | - | - |
| 2011 BMW X3 | - | - | - |
| 2006 BMW X3 | - | - | - |
| 2005 BMW X3 | - | - | - |
| 2004 BMW X3 | - | - | - |