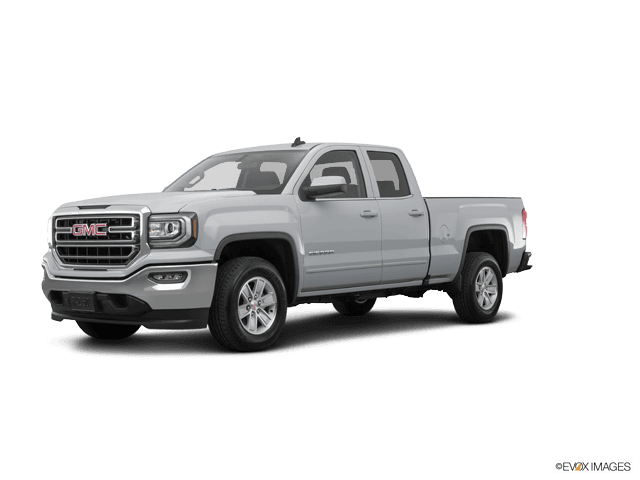









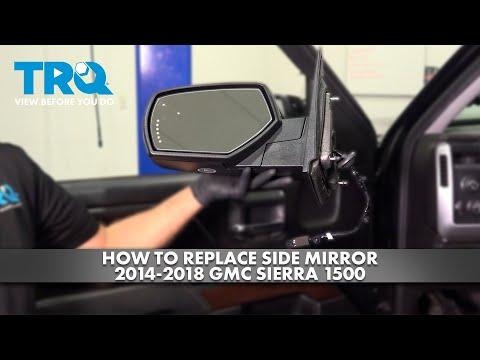






How to Replace Side View Mirrors on a 2014-2018 GMC Sierra 1500
Step-by-step instructions with tools, parts, torque specs, and safety tips
How to Replace Side View Mirrors on a 2014-2018 GMC Sierra 1500
Step-by-step instructions with tools, parts, torque specs, and safety tips for 2014, 2015, 2016, 2017, 2018


🔧 Side View Mirrors - Replacement
Replacing the side view mirror assembly on your Sierra means removing the door trim panel, unplugging the mirror harness, and swapping the mirror on the door. If your truck has power, heated, or signal-equipped mirrors, the connector must be transferred to the new mirror assembly.
Difficulty Level: Intermediate | Estimated Time: 1-2 hours per mirror
⚠️ Safety & Precautions
- Disconnect the negative battery cable before unplugging the mirror harness. This helps prevent electrical faults.
- Support the mirror while removing the last fastener so it does not fall and scratch the door.
- Use trim tools, not screwdrivers, on painted panels and clips.
- If the mirror has a heated element, power fold, turn signal, or blind-spot feature, handle the connector carefully.
🔧 Required Tools
You'll need the following tools for this repair:
- 10mm socket
- 7mm socket
- Ratchet
- Small extension
- Torque wrench
- Trim panel removal tool
- Pick tool
- Flat plastic pry tool
- Needle-nose pliers
- Safety glasses
- Gloves
🔩 Required Parts
HowToo sells all the parts you need for this repair:
- Left side view mirror assembly - Qty: 1
- Right side view mirror assembly - Qty: 1
- Door trim panel clips - Qty: 1 set
- Mirror mounting gasket/seal - Qty: 2
📋 Before You Begin
- Park on level ground and set the parking brake.
- Lower the window on the door you are working on. This gives you room to handle the panel safely.
- Turn the ignition off and remove the key/fob from the vehicle.
- Disconnect the negative battery cable before unplugging the mirror connector.
🔨 Step-by-Step Instructions
Follow these steps in order:
Step 1: Remove the door trim panel
- Use a 7mm socket to remove the screws in the door pull and lower panel area.
- Use a trim panel removal tool to pop the door panel clips free.
- Lift the panel upward to release it from the window ledge.
- Disconnect any electrical connectors for window switches or speakers.
Step 2: Remove the sail panel
- Use a flat plastic pry tool to remove the small triangular interior trim at the front of the door.
- Work slowly to avoid breaking clips.
Step 3: Unplug the mirror connector
- Use a pick tool or your fingers to release the lock tab on the mirror harness connector.
- Disconnect the plug and keep it clear of the door shell.
Step 4: Remove the mirror fasteners
- Use a 10mm socket with a small extension to remove the mirror mounting nuts.
- Hold the mirror from the outside while removing the last nut.
- Remove the mirror assembly from the door.
- Torque on installation: 8 N·m (71 lb-in)
Step 5: Install the new mirror
- Set the new mirror in place and start all mounting nuts by hand.
- Use a 10mm socket to tighten the nuts evenly.
- Torque to 8 N·m (71 lb-in).
- Reconnect the mirror harness until it clicks.
Step 6: Reinstall the trim panels
- Reinstall the sail panel by pressing it into place.
- Reconnect all door panel electrical connectors.
- Align the door panel with the window ledge and press the clips back in.
- Use a 7mm socket to reinstall the screws.
Step 7: Reconnect power and test the mirror
- Reconnect the negative battery cable.
- Test mirror adjustment from the switch.
- If equipped, check heating, turn signal, folding, and blind-spot functions.
✅ After Repair
- Make sure the mirror glass moves smoothly through its full range.
- Check that the door panel sits flush and all clips are seated.
- Verify there are no wind noise leaks around the mirror base.
- If the truck has mirror turn signals or blind-spot monitoring, confirm the lights work.
💰 DIY vs Shop Cost
Shop Cost: $250-$700 per mirror (parts + labor)
DIY Cost: $80-$300 per mirror (parts only)
You Save: $170-$400 by doing it yourself!
Shop labor rates vary but typically run $100-$150/hour. This repair takes a shop approximately 1-2 hours per mirror.
🎯 Ready to get started?
HowToo makes it easy: same-day/2-day shipping on every part, plus all the tools and specialty tools you need! Check out the parts and tools sections below to add everything to your cart.
Guide for Towing Mirror replace for these GMC vehicles
| Year Make Model | Sub Model | Engine | Body Style |
|---|---|---|---|
| 2018 GMC Sierra 1500 | - | - | - |
| 2017 GMC Sierra 1500 | - | - | - |
| 2016 GMC Sierra 1500 | - | - | - |
| 2015 GMC Sierra 1500 | - | - | - |
| 2014 GMC Sierra 1500 | - | - | - |