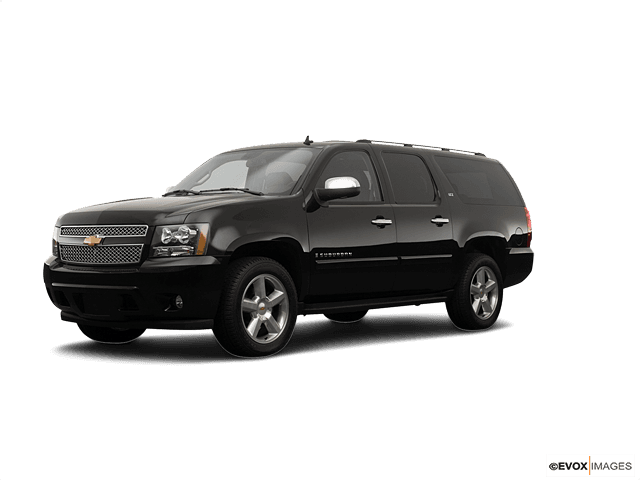

















How to Replace Rear Turn Signal Bulbs (3157) on a 2000-2014 Chevrolet Suburban 1500
Step-by-step tail lamp removal, tools/parts list, safety tips, and post-repair testing
How to Replace Rear Turn Signal Bulbs (3157) on a 2000-2014 Chevrolet Suburban 1500
Step-by-step tail lamp removal, tools/parts list, safety tips, and post-repair testing for 2000, 2001, 2002, 2003, 2004, 2005, 2006, 2007, 2008, 2009, 2010, 2011, 2012, 2013, 2014


🔧 Suburban - Rear Turn Signal Bulb Replacement
Your Suburban’s rear turn signal bulb sits inside the tail lamp assembly. Replacing it is usually a quick job: you remove the tail lamp, twist the bulb socket out, and swap the bulb.
Difficulty Level: Beginner | Estimated Time: 0.3-0.6 hours
⚠️ Safety & Precautions
- ⚠️ Turn the lights off and remove the key before starting.
- ⚠️ Let the bulb cool for a few minutes if it was recently on.
- ⚠️ Wear gloves and avoid touching the new bulb’s glass with bare fingers.
- ⚠️ Support the tail lamp when it comes loose so it doesn’t scratch paint.
- ⚠️ Battery disconnect is not required for this repair.
🔧 Required Tools
You'll need the following tools for this repair:
- Safety glasses
- Nitrile gloves
- Phillips #2 screwdriver
- 7mm socket
- 1/4" drive ratchet
- Plastic trim tool
- Flashlight
🔩 Required Parts
HowToo sells all the parts you need for this repair:
- Rear turn signal bulb (3157) - Qty: 1
- Rear turn signal bulb (3157) - Qty: 1 Replace in pairs (recommended)
📋 Before You Begin
- Park on level ground and shift to P.
- Set the parking brake.
- Open the liftgate so you can access the tail lamp fasteners on the body side.
- Have the new bulb unboxed and ready.
🔨 Step-by-Step Instructions
Follow these steps in order:
Step 1: Remove the tail lamp fasteners
- Open the liftgate.
- At the inner edge of the tail lamp, remove the two retaining screws.
- Use a Phillips #2 screwdriver if the screws have a Phillips head, or use a 7mm socket with a 1/4" drive ratchet if they have a small hex head.
Step 2: Pull the tail lamp assembly straight back
- Grab the tail lamp housing with both hands and pull it straight rearward (toward you).
- If it’s stuck on the alignment pins, gently work around the edge with a plastic trim tool to help it pop free.
- Pull straight back to avoid breaking the pins.
Step 3: Remove the turn signal bulb socket
- Look at the back of the tail lamp and find the socket for the turn signal/brake bulb (the larger twist-in socket).
- Turn the socket counterclockwise about a quarter turn, then pull it out.
- Use a flashlight if needed to see the socket tabs clearly.
Step 4: Replace the bulb
- Pull the old bulb straight out of the socket.
- Push the new 3157 bulb straight into the socket until fully seated.
- Use nitrile gloves to keep skin oils off the bulb glass.
Step 5: Reinstall the socket and tail lamp
- Reinsert the socket into the housing and twist clockwise until it locks.
- Line up the tail lamp’s alignment pins with the body grommets, then press the lamp straight in until it sits flush.
- Reinstall the two retaining screws using a Phillips #2 screwdriver or 7mm socket and tighten snug. Do not overtighten.
✅ After Repair
- Turn the ignition to ON and test the repaired rear turn signal.
- Test brake lights and hazards too (same bulb is commonly shared).
- Verify the tail lamp sits flush and doesn’t wiggle.
- If the signal blinks fast, recheck bulb seating and the socket lock.
💰 DIY vs Shop Cost
Shop Cost: $60-$140 (parts + labor)
DIY Cost: $6-$20 (parts only)
You Save: $40-$120 by doing it yourself!
Shop labor rates vary but typically run $100-$150/hour. This repair takes a shop approximately 0.3-0.6 hours.
🎯 Ready to get started?
HowToo makes it easy: same-day/2-day shipping on every part, plus all the tools and specialty tools you need! Check out the parts and tools sections below to add everything to your cart.
Guide for Turn Signal Light Bulb replace for these Chevrolet vehicles
| Year Make Model | Sub Model | Engine | Body Style |
|---|---|---|---|
| 2014 Chevrolet Suburban 1500 | - | - | - |
| 2013 Chevrolet Suburban 1500 | - | - | - |
| 2012 Chevrolet Suburban 1500 | - | - | - |
| 2011 Chevrolet Suburban 1500 | - | - | - |
| 2010 Chevrolet Suburban 1500 | - | - | - |
| 2009 Chevrolet Suburban 1500 | - | - | - |
| 2008 Chevrolet Suburban 1500 | - | - | - |
| 2007 Chevrolet Suburban 1500 | - | - | - |
| 2006 Chevrolet Suburban 1500 | - | - | - |
| 2005 Chevrolet Suburban 1500 | - | - | - |
| 2004 Chevrolet Suburban 1500 | - | - | - |
| 2003 Chevrolet Suburban 1500 | - | - | - |
| 2002 Chevrolet Suburban 1500 | - | - | - |
| 2001 Chevrolet Suburban 1500 | - | - | - |
| 2000 Chevrolet Suburban 1500 | - | - | - |