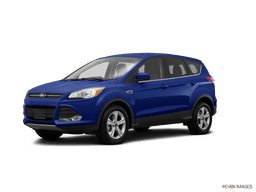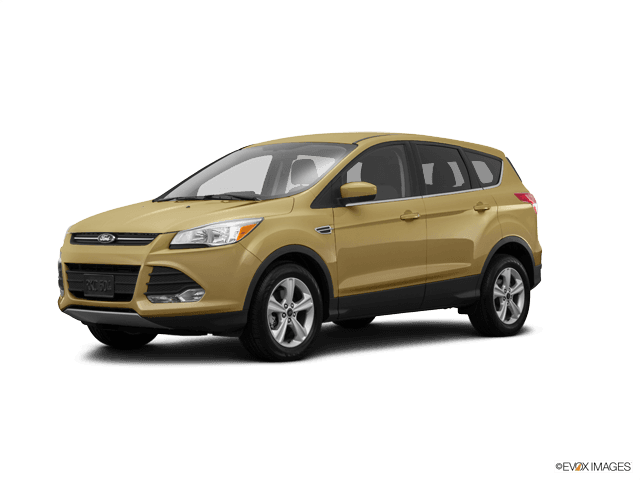









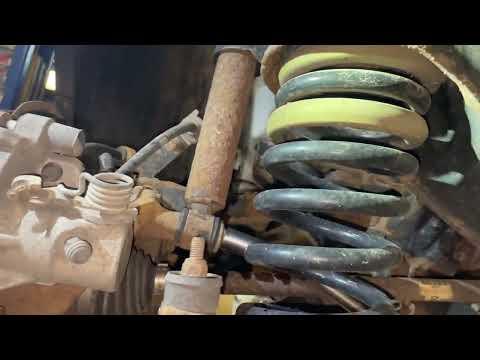







How to Replace Rear Shock Absorbers on a 2013-2016 Ford Escape
Step-by-step DIY guide with required tools, parts, torque specs, and safety tips
How to Replace Rear Shock Absorbers on a 2013-2016 Ford Escape
Step-by-step DIY guide with required tools, parts, torque specs, and safety tips for 2013, 2014, 2015, 2016


🔧 Escape - Rear Shock Absorber Replacement
This repair replaces the rear shock absorbers on your Escape. Worn shocks can cause bouncing, poor tire contact, clunking, longer stopping distance, and unstable handling over bumps.
Difficulty Level: Beginner | Estimated Time: 1-2 hours
⚠️ Safety & Precautions
- ⚠️ Work on level ground and support your Escape with jack stands. Never work under a vehicle supported only by a jack.
- ⚠️ Replace rear shock absorbers in pairs. Installing only one can make the vehicle handle unevenly.
- ⚠️ Do not remove coil springs for this repair. The rear shock is separate from the spring.
- ⚠️ Keep hands clear when raising or lowering the suspension with the floor jack.
- ⚠️ If a shock mount bolt is badly rusted or spins freely, stop and have a repair shop inspect it.
🔧 Required Tools
You'll need the following tools for this repair:
- Floor jack (rated 2-ton minimum)
- Jack stands (rated 2-ton minimum)
- Wheel chocks
- Safety glasses
- Mechanic gloves
- 1/2-inch drive breaker bar
- 1/2-inch drive torque wrench
- 3/8-inch drive ratchet
- 19mm socket
- 15mm socket
- 18mm socket
- 15mm wrench
- 18mm wrench
- Flat-head screwdriver
- Trim clip remover
- Wire brush
- Rubber mallet
🔩 Required Parts
HowToo sells all the parts you need for this repair:
- Rear shock absorbers - Qty: 2
- Rear upper shock mount hardware - Qty: 2 sets if not included
- Rear lower shock bolt and nut - Qty: 2 sets if corroded or not reusable
📋 Before You Begin
- Park your Escape on level ground.
- Shift to Park and set the parking brake.
- Place wheel chocks in front of the front wheels.
- Loosen the rear wheel lug nuts slightly before lifting the vehicle.
- A shock absorber controls bouncing. It does not hold the vehicle up like a spring.
🔨 Step-by-Step Instructions
Follow these steps in order:
Step 1: Loosen the Rear Wheel Lug Nuts
- Use a 19mm socket and 1/2-inch drive breaker bar to loosen the rear lug nuts about one turn.
- Do not remove the lug nuts yet.
- Loosen wheels before lifting.
Step 2: Raise and Support the Rear of the Vehicle
- Use a floor jack at the rear center jacking point or rear subframe area to lift your Escape.
- Place jack stands under the approved rear side support points.
- Lower the vehicle gently onto the jack stands.
- Keep the floor jack nearby to support the rear suspension arm later.
Step 3: Remove the Rear Wheels
- Use a 19mm socket to remove the lug nuts.
- Remove both rear wheels.
- Set the wheels flat under the vehicle as an extra safety backup.
Step 4: Support the Rear Suspension Arm
- Place the floor jack under the lower rear suspension arm near the shock absorber.
- Raise the jack just enough to support the arm. Do not lift the vehicle off the jack stand.
- This removes tension from the shock bolts.
Step 5: Clean the Shock Bolts
- Use a wire brush to clean the upper and lower shock mounting bolts.
- Use safety glasses to protect your eyes from falling rust or dirt.
Step 6: Remove the Lower Shock Bolt
- Use an 18mm socket and 18mm wrench to remove the lower shock absorber bolt and nut.
- If the bolt is tight, use a 1/2-inch drive breaker bar with the 18mm socket.
- Use the floor jack to slightly raise or lower the suspension arm if the bolt is binding.
- Tiny jack movements help.
Step 7: Remove the Upper Shock Bolts
- Use a 15mm socket or 15mm wrench to remove the upper shock absorber mounting bolts.
- Hold the shock with one hand while removing the final bolt so it does not fall.
- If a plastic splash shield blocks access, use a trim clip remover or flat-head screwdriver to remove the clips.
Step 8: Remove the Old Shock Absorber
- Pull the shock absorber out by hand.
- If it is stuck in the lower mount, use a rubber mallet to lightly tap it free.
- Compare the old shock with the new shock before installing.
Step 9: Install the New Shock Absorber Upper Mount
- Position the new shock absorber into the upper mount area.
- Install the upper bolts by hand first to avoid cross-threading.
- Use a 15mm socket or 15mm wrench to snug the upper bolts.
- Torque to 30 Nm (22 ft-lbs)
Step 10: Align the Lower Shock Mount
- Use the floor jack to raise or lower the rear suspension arm until the lower shock hole lines up.
- Slide the lower shock bolt in by hand.
- If needed, use a rubber mallet to gently tap the bolt through.
- Do not force the bolt with an impact tool.
Step 11: Tighten the Lower Shock Bolt
- Use an 18mm socket, 18mm wrench, and 1/2-inch drive torque wrench to tighten the lower shock bolt.
- Torque to 115 Nm (85 ft-lbs)
Step 12: Repeat on the Other Side
- Repeat Steps 4 through 11 on the opposite rear shock absorber.
- Always replace both rear shocks as a pair.
Step 13: Reinstall the Rear Wheels
- Install both rear wheels by hand.
- Thread the lug nuts on by hand first.
- Use a 19mm socket to snug the lug nuts in a star pattern.
Step 14: Lower the Vehicle
- Use the floor jack to raise the rear slightly.
- Remove the jack stands.
- Lower your Escape fully to the ground.
Step 15: Torque the Wheel Lug Nuts
- Use a 1/2-inch drive torque wrench and 19mm socket to tighten the rear wheel lug nuts in a star pattern.
- Torque to 135 Nm (100 ft-lbs)
✅ After Repair
- ✅ Push down on the rear bumper area. Your Escape should rebound once and settle quickly.
- ✅ Take a slow test drive over small bumps and listen for clunks or rattles.
- ✅ Recheck the rear shock lower bolts visually after the test drive.
- ✅ Recheck lug nut torque after 25-50 miles.
- ✅ Rear shock replacement normally does not require a wheel alignment unless other suspension parts were loosened.
💰 DIY vs Shop Cost
Shop Cost: $300-$550 (parts + labor)
DIY Cost: $80-$220 (parts only)
You Save: $200-$350 by doing it yourself!
Shop labor rates vary but typically run $100-$150/hour. This repair takes a shop approximately 1-1.5 hours.
🎯 Ready to get started?
HowToo makes it easy: same-day/2-day shipping on every part, plus all the tools and specialty tools you need! Check out the parts and tools sections below to add everything to your cart.
Guide for Suspension Shock Absorber replace for these Ford vehicles
| Year Make Model | Sub Model | Engine | Body Style |
|---|---|---|---|
| 2016 Ford Escape | - | - | - |
| 2015 Ford Escape | - | - | - |
| 2014 Ford Escape | - | - | - |
| 2013 Ford Escape | - | - | - |