


How to Replace Low & High Beam Headlight Bulbs on a 2008 Chevrolet Tahoe
Step-by-step H11 and 9005 bulb swap with tools, parts list, safety tips, and fitment notes
How to Replace Low & High Beam Headlight Bulbs on a 2008 Chevrolet Tahoe
Step-by-step H11 and 9005 bulb swap with tools, parts list, safety tips, and fitment notes


🔧 Tahoe - Headlight Bulb Replacement
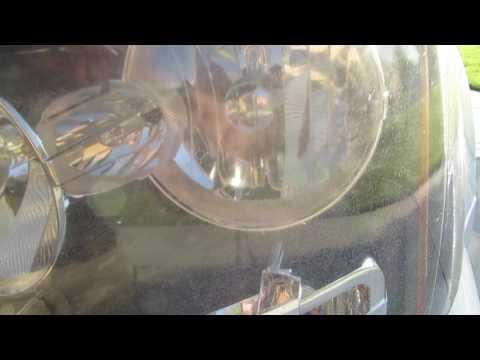
On your Tahoe, the headlight bulbs are accessed from behind the headlamp assembly in the engine bay. You’ll remove the electrical connector, twist the bulb out, and install the new bulb(s) without touching the glass.
Difficulty Level: Beginner | Estimated Time: 0.5-1.0 hours
⚠️ Safety & Precautions
- ⚠️ Let headlights cool first—halogen bulbs get extremely hot.
- ⚠️ Do not touch the new bulb glass with bare fingers; skin oils can shorten bulb life.
- ⚠️ Keep the key off and lights off while unplugging bulbs.
- ⚠️ Wear gloves and eye protection when working near the radiator support and battery.
🔧 Required Tools
You'll need the following tools for this repair:
- Nitrile gloves
- Safety glasses
- Small flathead screwdriver
- 10mm socket
- 3/8" drive ratchet
🔩 Required Parts
HowToo sells all the parts you need for this repair:
- Low beam headlight bulb (H11) - Replace in pairs - Qty: 2
- High beam headlight bulb (9005) - Replace in pairs - Qty: 2
- Dielectric grease - Qty: 1
📋 Before You Begin
- Park on level ground, shift to Park, and set the parking brake.
- Turn the headlight switch off and remove the key.
- Open the hood and support it securely.
- If your hands are tight on space near the battery or air inlet, be ready to move them slightly (steps below).
🔨 Step-by-Step Instructions
Follow these steps in order:
Step 1: Identify which bulb you’re replacing
- From behind the headlamp, locate the two bulb sockets.
- Typically: the Low beam (H11) is the more frequently used headlight; the High beam (9005) is the bright “flash/bright” beam.
- Replace bulbs in pairs for color match.
Step 2: Create working room (only if needed)
- If access is tight on the passenger side, gently pull the washer fluid filler neck upward to unclip it (use small flathead screwdriver only if a clip needs help).
- If access is tight on the driver side near the battery/air inlet, loosen the needed fasteners using a 10mm socket and 3/8" drive ratchet, then shift the duct/cover slightly for hand clearance.
- Re-tighten anything you loosened once the bulb is installed.
Step 3: Unplug the bulb connector
- Press the connector lock tab and pull the connector straight off the bulb.
- If it’s stuck, wiggle gently—do not pull on the wires.
Step 4: Remove the old bulb
- Grip the bulb base and rotate it counterclockwise about a quarter-turn (counterclockwise means “left”).
- Pull the bulb straight out of the headlamp housing.
Step 5: Install the new bulb
- Put on nitrile gloves before handling the new bulb.
- Insert the new bulb into the housing, lining up the tabs.
- Rotate the bulb clockwise until it locks (clockwise means “right”).
- Optional: Apply a tiny smear of dielectric grease to the connector seal (dielectric grease is a non-conductive silicone grease that helps keep moisture out).
Step 6: Reconnect and repeat on the other side
- Push the connector on until it clicks.
- Repeat Steps 3–5 for the other headlight.
- If you’re doing both beam types, repeat the same process for the second bulb socket on each side.
Step 7: Reinstall anything moved for access
- Re-seat the washer filler neck and any air ducting/covers you shifted.
- If you loosened any 10mm fasteners, snug them back down using a 10mm socket and 3/8" drive ratchet.
✅ After Repair
- Turn the headlights on and verify both sides work on low beam and high beam.
- Check that the bulb is fully locked: if a beam looks scattered or dim, re-seat the bulb (it may not be indexed correctly).
- At night, confirm beam aim looks even left-to-right; if one side looks off after bulb replacement, the bulb is usually not fully seated.
💰 DIY vs Shop Cost
Shop Cost: $120-$250 (parts + labor)
DIY Cost: $30-$120 (parts only, depends on bulb brand and whether you replace low, high, or both)
You Save: $90-$130 by doing it yourself!
Shop labor rates vary but typically run $100-$150/hour. This repair takes a shop approximately 0.5-1.0 hours.
🎯 Ready to get started?
HowToo makes it easy: same-day/2-day shipping on every part, plus all the tools and specialty tools you need! Check out the parts and tools sections below to add everything to your cart.
