









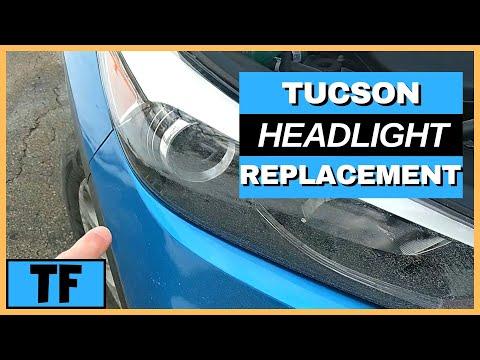






How to Replace HID Headlight Bulbs on a 2016-2021 Hyundai Tucson
Step-by-step guide with tools, parts, torque specs, safety tips, and cost savings
How to Replace HID Headlight Bulbs on a 2016-2021 Hyundai Tucson
Step-by-step guide with tools, parts, torque specs, safety tips, and cost savings for 2016, 2017, 2018, 2019, 2020, 2021


🔧 Tucson - Headlight Bulb Replacement
This guide covers replacing both front low-beam headlight bulbs on your Tucson. Your Limited uses HID low-beam bulbs, so the bulbs should be replaced as a pair to keep brightness and color even on both sides.
Difficulty Level: Beginner | Estimated Time: 30-60 minutes
⚠️ Safety & Precautions
- ⚠️ HID headlights use very high voltage. Keep the headlight switch OFF and do not touch the bulb connector while the lights are on.
- ⚠️ Let the headlights cool for at least 10 minutes before touching the rear covers or bulbs.
- ⚠️ Disconnect the negative battery cable before working on HID bulbs.
- ⚠️ Never touch the glass part of the new bulb. Skin oil can shorten bulb life.
- ⚠️ Replace both bulbs together. HID bulbs change color and brightness as they age.
🔧 Required Tools
You'll need the following tools for this repair:
- 10mm socket
- 1/4-inch ratchet
- 6-inch extension
- Trim clip removal tool
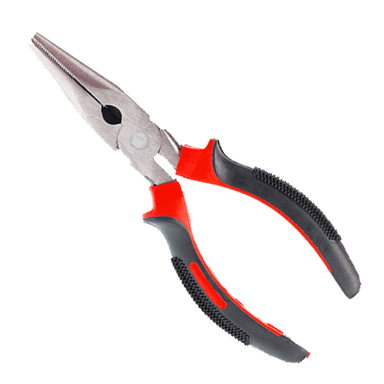
- Needle-nose pliers
- Nitrile gloves
- Safety glasses
- Clean microfiber towel
🔩 Required Parts
HowToo sells all the parts you need for this repair:
- HID low-beam headlight bulbs - Replace in pairs - Qty: 2
📋 Before You Begin
- Park your Tucson on level ground with the front wheels straight.
- Turn the ignition OFF and remove the key/fob from the vehicle.
- Make sure the headlight switch is OFF, not AUTO.
- Open the hood and let the headlight housings cool for at least 10 minutes.
- Disconnect the negative battery cable using a 10mm socket. The negative cable is the black cable marked “-”.
- An HID bulb is a high-intensity discharge bulb. It uses a small arc of electricity instead of a normal glowing filament.
🔨 Step-by-Step Instructions
Follow these steps in order:
Step 1: Disconnect the Battery
- Use a 10mm socket, 1/4-inch ratchet, and 6-inch extension to loosen the negative battery terminal nut.
- Lift the negative cable off the battery post and move it aside so it cannot spring back.
- Do not force the cable.
Step 2: Remove Any Access Obstructions
- On the passenger side, use a 10mm socket if the air intake duct or nearby plastic cover blocks access behind the headlamp.
- Use a trim clip removal tool to lift any plastic push clips. A trim clip tool is a small fork-shaped tool that removes plastic clips without breaking them.
- Set clips and bolts on a clean microfiber towel so they do not roll away.
Step 3: Remove the Rear Headlight Dust Cover
- Put on nitrile gloves and safety glasses.
- Reach behind the headlight assembly and find the round rear dust cover for the low-beam bulb.
- Turn the dust cover counterclockwise by hand until it releases.
- If it is tight, use a clean microfiber towel for extra grip.
Step 4: Disconnect the HID Bulb Connector
- Look at the back of the HID bulb and locate the electrical connector.
- Turn the HID connector counterclockwise by hand, then pull it straight back off the bulb.
- If the connector is snug, gently wiggle it by hand. Do not pull on the wires.
- Use needle-nose pliers only if needed to grip the connector body, not the wires.
Step 5: Release the Bulb Retainer
- Locate the metal spring clip or locking retainer holding the bulb in place.
- Press the retainer inward and move it aside by hand.
- If needed, use needle-nose pliers gently to move the spring clip.
- Remember how the clip sits before removing the bulb.
Step 6: Remove the Old Bulb
- Pull the old HID bulb straight out of the headlight housing by its base.
- Do not tilt it hard against the reflector inside the lamp.
- Place the old bulb on a clean microfiber towel.
Step 7: Install the New Bulb
- Hold the new HID low-beam headlight bulb by the base only.
- Line up the bulb tabs with the slots in the headlight housing.
- Slide the bulb straight into place without touching the glass.
- Lock the spring clip or retainer back into position by hand.
- Bulb tabs only fit one way.
Step 8: Reconnect the HID Connector
- Push the HID connector straight onto the bulb base.
- Turn the connector clockwise by hand until it locks.
- Make sure it feels secure and does not wobble.
Step 9: Reinstall the Dust Cover
- Place the round dust cover back onto the rear of the headlight housing.
- Turn the cover clockwise by hand until it is fully seated.
- The cover must seal tightly to keep water and dust out of the headlight.
Step 10: Repeat on the Other Side
- Repeat Steps 2 through 9 on the opposite headlight.
- Use the same 10mm socket, trim clip removal tool, needle-nose pliers, nitrile gloves, and clean microfiber towel as needed.
- Keep the old bulbs separate from the new bulbs so they do not get mixed up.
Step 11: Reinstall Removed Covers or Ducts
- Reinstall any air duct, plastic cover, or clips removed earlier.
- Use the trim clip removal tool by hand to help align plastic clips if needed.
- Use the 10mm socket and 1/4-inch ratchet to reinstall any 10mm bolts.
- Torque small 10mm cover/duct bolts to 7-9 Nm (62-80 in-lbs).
Step 12: Reconnect the Battery
- Place the negative battery cable back onto the negative battery post.
- Use the 10mm socket and 1/4-inch ratchet to tighten the terminal nut.
- Torque to 5-6 Nm (44-53 in-lbs).
- Do not overtighten the battery terminal. It only needs to be snug.
✅ After Repair
- Turn the headlights ON and confirm both low beams light up.
- Let the HID bulbs warm up for 30-60 seconds. HID bulbs may start slightly dim, then brighten.
- Check that both lights look similar in color and brightness.
- Stand in front of the Tucson and confirm both beam patterns are level and not aimed into oncoming traffic.
- If one bulb does not light, turn the headlights OFF immediately and recheck the connector and bulb seating.
- Dispose of old HID bulbs safely. They are fragile and should not be thrown loose into the trash.
💰 DIY vs Shop Cost
Shop Cost: $300-$650 (parts + labor)
DIY Cost: $90-$250 (parts only)
You Save: $210-$400 by doing it yourself!
Shop labor rates vary but typically run $100-$150/hour. This repair takes a shop approximately 0.5-1.0 hour.
🎯 Ready to get started?
HowToo makes it easy: same-day/2-day shipping on every part, plus all the tools and specialty tools you need! Check out the parts and tools sections below to add everything to your cart.
Guide for Headlight Bulb replace for these Hyundai vehicles
| Year Make Model | Sub Model | Engine | Body Style |
|---|---|---|---|
| 2021 Hyundai Tucson | - | - | - |
| 2020 Hyundai Tucson | - | - | - |
| 2019 Hyundai Tucson | - | - | - |
| 2018 Hyundai Tucson | - | - | - |
| 2017 Hyundai Tucson | - | - | - |
| 2016 Hyundai Tucson | - | - | - |