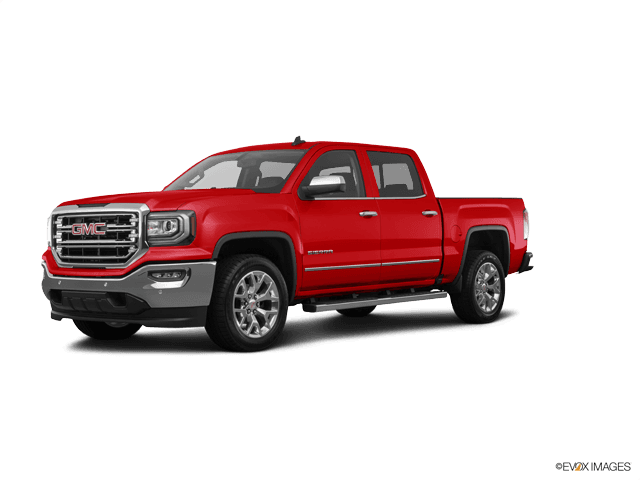















How to Replace Front Windshield Wiper Blades on a 2017 GMC Sierra 1500
Step-by-step wiper blade removal and install guide with tools, parts, and safety tips for 2007, 2008, 2009, 2010, 2011, 2012, 2013, 2014, 2015, 2016, 2017, 2018, 2019
How to Replace Front Windshield Wiper Blades on a 2017 GMC Sierra 1500
Step-by-step wiper blade removal and install guide with tools, parts, and safety tips for 2007, 2008, 2009, 2010, 2011, 2012, 2013, 2014, 2015, 2016, 2017, 2018, 2019


🔧 Sierra 1500 - Front Wiper Blade Replacement
Replacing the front wiper blades on your Sierra 1500 is a quick job that restores clear visibility in rain and reduces windshield streaking. You’ll remove the old blades from the wiper arms and clip the new ones on, making sure the correct adapter is used.
Difficulty Level: Beginner | Estimated Time: 0.25-0.5 hours
⚠️ Safety & Precautions
- ⚠️ Keep hands clear of the wiper arm hinge while moving it.
- ⚠️ Do not let the bare wiper arm snap onto the windshield; it can crack the glass.
- ⚠️ Work with the ignition OFF and wipers OFF.
- ⚠️ Use a towel/cardboard under the arm if you’re worried about accidental drop.
🔧 Required Tools
You'll need the following tools for this repair:
- Microfiber towel
- Plastic trim tool
- Nitrile gloves
- Safety glasses
🔩 Required Parts
HowToo sells all the parts you need for this repair:
- Front wiper blades - Replace in pairs - Qty: 2
📋 Before You Begin
- Park on level ground, shift to Park, and turn the ignition OFF.
- Lift each wiper arm carefully away from the windshield.
- Place a microfiber towel on the windshield under the wiper area as a safety cushion.
🔨 Step-by-Step Instructions
Follow these steps in order:
Step 1: Lift the wiper arm safely
- Lift the driver-side wiper arm away from the glass until it stays up.
- Slide a microfiber towel under the arm area on the windshield.
- Hold the arm anytime it feels springy.
Step 2: Identify the blade connector
- Look where the wiper blade meets the wiper arm; this is the “connector” (the clip that locks the blade on).
- If there’s a small cover cap, gently pry it up using a plastic trim tool.
Step 3: Release the old blade from the arm
- Press the release tab on the connector with your thumb (or use a plastic trim tool to press it).
- While holding the tab, slide the wiper blade down and away from the hook/post until it comes off.
- Set the old blade aside.
Step 4: Install the new blade
- Put on nitrile gloves to keep oils off the rubber wiping edge.
- Confirm the new blade’s adapter matches the arm connector (many blades include multiple adapters).
- Slide the new blade onto the arm connector until you hear/feel a “click.”
- Gently tug the blade to confirm it’s locked.
- “Click” plus a tug test prevents fly-off.
Step 5: Lower the arm and repeat on the other side
- Carefully lower the wiper arm back onto the windshield.
- Repeat Steps 1–4 for the passenger-side wiper blade.
Step 6: Quick functional check
- Remove the microfiber towel from the windshield.
- Turn the ignition ON and spray washer fluid, then run the wipers for a few swipes.
- Check for streaking, chattering, or one side not wiping evenly.
✅ After Repair
- Confirm both blades park normally at the bottom of the windshield.
- If a blade chatters, clean the windshield and blade with a microfiber towel and glass cleaner.
- Re-check that each blade is fully clicked/locked onto the arm.
💰 DIY vs Shop Cost
Shop Cost: $40-$90 (parts + labor)
DIY Cost: $20-$60 (parts only)
You Save: $20-$30 by doing it yourself!
Shop labor rates vary but typically run $100-$150/hour. This repair takes a shop approximately 0.2-0.4 hours.
🎯 Ready to get started?
HowToo makes it easy: same-day/2-day shipping on every part, plus all the tools and specialty tools you need! Check out the parts and tools sections below to add everything to your cart.