









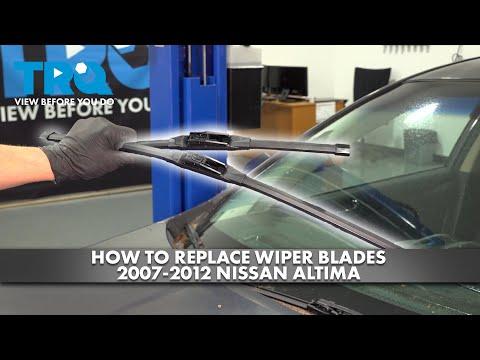






How to Replace Front Windshield Wiper Blades on a 2011 Nissan Altima
Step-by-step J-hook blade removal/installation with tools, blade sizing tips, and safety precautions for 2007, 2008, 2009, 2010, 2011, 2012
How to Replace Front Windshield Wiper Blades on a 2011 Nissan Altima
Step-by-step J-hook blade removal/installation with tools, blade sizing tips, and safety precautions for 2007, 2008, 2009, 2010, 2011, 2012


🔧 Altima - Front Windshield Wiper Blade Replacement
You’ll be removing the old wiper blades from the wiper arms and snapping new blades into place. This is a quick job, but it’s important because worn blades reduce visibility and can scratch the windshield.
Difficulty Level: Beginner | Estimated Time: 0.25-0.5 hours
⚠️ Safety & Precautions
- ⚠️ Keep a firm grip on the wiper arm—if it snaps back, it can crack the windshield.
- ⚠️ Put a towel on the lower windshield while working as extra protection.
- ⚠️ Do not force plastic clips—cold plastic can break.
- Battery disconnect is not required.
🔧 Required Tools
You'll need the following tools for this repair:
- Safety glasses
- Nitrile gloves
- Microfiber towel
- Small flathead screwdriver
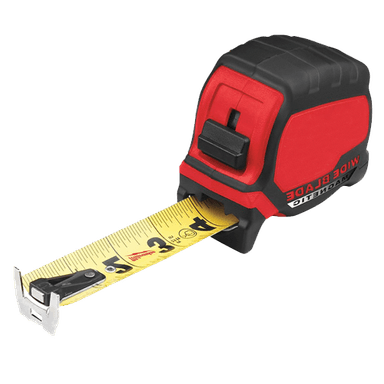
- Tape measure
🔩 Required Parts
HowToo sells all the parts you need for this repair:
- Front wiper blades - Driver: measure existing blade length, Passenger: measure existing blade length - Qty: 2
📋 Before You Begin
- Park your Altima on level ground and turn the ignition OFF.
- Lift each wiper arm away from the glass until it stays up.
- Place a microfiber towel on the lower windshield where the arms could snap back.
- Use a tape measure to measure each old blade end-to-end (or read the size printed on the blade).
🔨 Step-by-Step Instructions
Follow these steps in order:
Step 1: Remove the old driver-side blade
- Use your hand to hold the wiper arm steady and rotate the blade so it’s perpendicular to the arm.
- Find the “hook” connection (this is a J-hook, a J-shaped metal end that holds the blade).
- Press the small release tab on the blade adapter; use a small flathead screwdriver only if you can’t press it by hand.
- While holding the tab, slide the blade down and out of the J-hook.
Step 2: Install the new driver-side blade
- Confirm the new blade length matches what you measured; use a tape measure if needed.
- If the new blade includes multiple adapters, choose the one labeled for J-hook and snap it onto the blade by hand.
- Slide the J-hook into the new blade’s adapter until you hear/feel a click.
- Gently tug the blade to confirm it’s locked on.
Step 3: Repeat on the passenger-side
- Use the same removal method; use a small flathead screwdriver only if the tab is stubborn.
- Install the correct-length passenger blade and tug-test it to confirm it’s secure.
Step 4: Lower the wiper arms carefully
- Remove the microfiber towel from the windshield.
- Use your hand to guide each arm down gently onto the glass (don’t let it drop).
✅ After Repair
- Start the car and test wipers on LOW, then HIGH.
- Test the washer spray and confirm the blades wipe cleanly without streaks or chatter.
- Clean glass improves wiper performance. Use washer fluid, not water.
💰 DIY vs Shop Cost
Shop Cost: $40-$90 (parts + labor)
DIY Cost: $20-$60 (parts only)
You Save: $20-$30 by doing it yourself!
Shop labor rates vary but typically run $100-$150/hour. This repair takes a shop approximately 0.3-0.5 hours.
🎯 Ready to get started?
HowToo makes it easy: same-day/2-day shipping on every part, plus all the tools and specialty tools you need! Check out the parts and tools sections below to add everything to your cart.