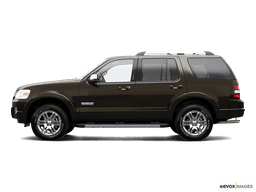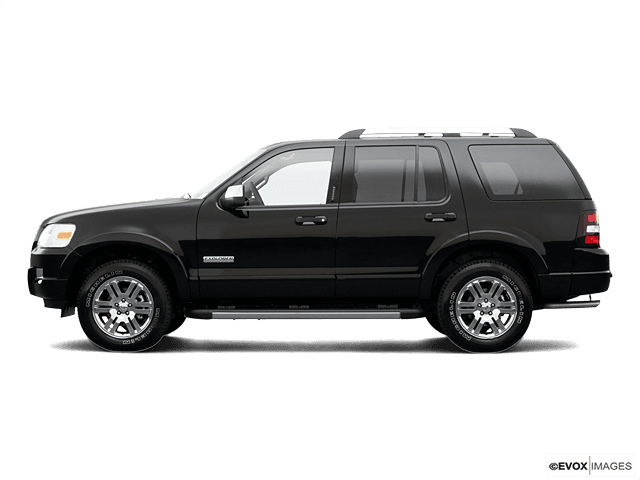


How to Replace Front Upper & Lower Ball Joints on a 2007 Ford Explorer
Step-by-step DIY guide with tools, parts list, safety tips, and alignment recommendations
How to Replace Front Upper & Lower Ball Joints on a 2007 Ford Explorer
Step-by-step DIY guide with tools, parts list, safety tips, and alignment recommendations


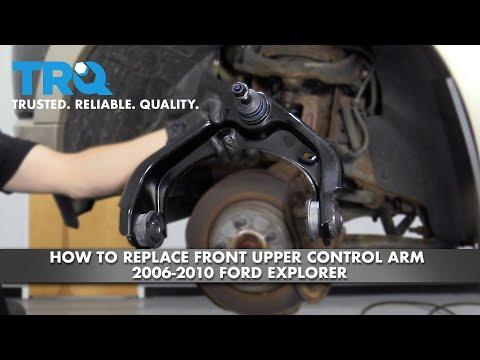
🔧 Explorer - Front Ball Joint Replacement
On your Explorer, the front suspension can have an upper and a lower ball joint (the pivot points that let the steering knuckle turn and move with the suspension). Replacement can mean either swapping a whole control arm (common/easier) or pressing a ball joint in/out (harder and needs a heavy-duty press).
Difficulty Level: Intermediate | Estimated Time: 2-6 hours
⚠️ Safety & Precautions
- ⚠️ Support the SUV on jack stands under the frame; never rely on a jack.
- ⚠️ Keep hands clear when separating the ball joint from the knuckle—parts can “pop” loose suddenly.
- ⚠️ If you’ll press ball joints, use a proper ball joint press; improvised methods can crack the knuckle/control arm.
- ⚠️ After any ball joint/control arm work, a front-end alignment is recommended.
🔧 Required Tools
You'll need the following tools for this repair:
- Floor jack (rated 3-ton minimum)
- Jack stands (rated 3-ton minimum)
- Wheel chocks
- Safety glasses
- Mechanic gloves
- Breaker bar (1/2")
- Torque wrench (1/2" drive, 50–250 ft-lbs range)
- Socket set (8mm–24mm, 1/2" drive)
- Wrench set (8mm–24mm)
- Pry bar (18")
- Hammer (2–3 lb)
- Ball joint separator (pickle fork) (specialty)
- Ball joint press kit (C-frame style) (specialty)
- Needle-nose pliers
- Penetrating oil
- Paint marker
🔩 Required Parts
HowToo sells all the parts you need for this repair:
- Upper ball joint - Qty: 1 (or 2 if doing both sides)
- Lower ball joint - Qty: 1 (or 2 if doing both sides)
- Upper control arm assembly (with ball joint) - Qty: 1 (optional easier route)
- Lower control arm assembly (with ball joint) - Qty: 1 (optional easier route)
- Ball joint castle nut/cotter pin kit - Qty: 1
📋 Before You Begin
- Park on level ground, set the parking brake, and chock the rear wheels.
- Loosen the front wheel lug nuts 1/2 turn before lifting (use a breaker bar).
- Spray penetrating oil on the ball joint nuts and any control arm bolts (let it soak 10–15 minutes).
- Two quick questions so I give the exact correct procedure:
- Are you replacing the upper, lower, or both ball joints?
- Do you want the control arm replacement method (easier) or the press-in ball joint method (harder, uses press)?
🔨 Step-by-Step Instructions
Follow these steps in order:
Important: Ball joint and control arm fastener sizes/torque specs can vary by front suspension build. Once you answer the 2 questions above, I’ll provide the exact step-by-step with the correct torque specs for your chosen method (upper/lower/both, press-in vs control arm).
Step 1: Lift and secure the front end
- Use a breaker bar to loosen lug nuts 1/2 turn.
- Use a floor jack (rated 3-ton minimum) to lift the front at the frame jack point.
- Set the vehicle on jack stands (rated 3-ton minimum) and confirm it’s stable.
- Remove the wheel using a socket set (8mm–24mm, 1/2" drive).
Step 2: Identify the joint(s) you’re replacing
- The upper ball joint is at the top of the steering knuckle (connected to the upper control arm).
- The lower ball joint is at the bottom of the steering knuckle (connected to the lower control arm).
- Use a paint marker to mark any cam/adjuster positions you loosen (helps alignment get close).
- If the boot is torn, replace it.
Step 3: Stop here and reply with your choices
- Reply with: Upper / Lower / Both and Control arm / Press-in.
- I’ll then give the full procedure with the correct torque specs and any side-notes specific to your Explorer.
✅ After Repair
- Reinstall wheels and tighten lug nuts in a star pattern using a torque wrench (1/2" drive, 50–250 ft-lbs range).
- Road test at low speed first; listen for clunks over bumps and verify straight-line tracking.
- Get a front-end alignment as soon as possible after ball joint/control arm work.
💰 DIY vs Shop Cost
Shop Cost: $400-$1,200 (parts + labor)
DIY Cost: $80-$450 (parts only)
You Save: $320-$750 by doing it yourself!
Shop labor rates vary but typically run $100-$150/hour. This repair takes a shop approximately 2-4 hours.
🎯 Ready to get started?
HowToo makes it easy: same-day/2-day shipping on every part, plus all the tools and specialty tools you need! Check out the parts and tools sections below to add everything to your cart.