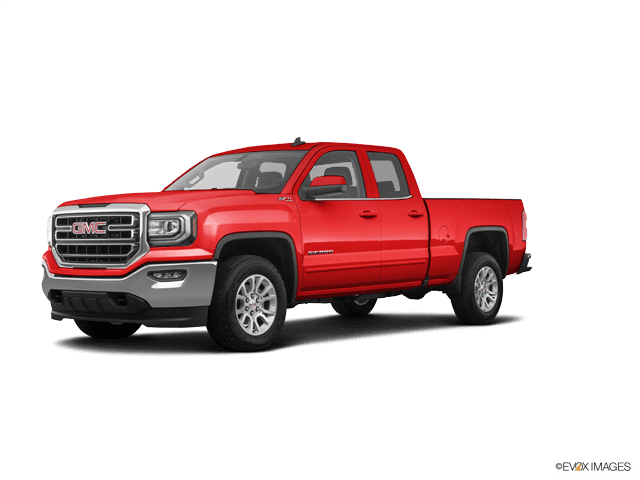
















How to Replace Front Turn Signal Bulbs on a 2019 GMC Sierra 1500
Step-by-step DIY guide with tools, parts, torque specs, safety tips, and cost savings for Sierra front signal bulb replacement for 2016, 2017, 2018, 2019, 2020, 2021, 2022, 2023, 2024
How to Replace Front Turn Signal Bulbs on a 2019 GMC Sierra 1500
Step-by-step DIY guide with tools, parts, torque specs, safety tips, and cost savings for Sierra front signal bulb replacement for 2016, 2017, 2018, 2019, 2020, 2021, 2022, 2023, 2024


🔧 Sierra 1500 - Front Turn Signal Bulb Replacement
On many 2019 SLT trucks the front turn signals are LED units built into the headlamp and are not simple plug-in bulbs. Some trucks, especially with base lighting, still use replaceable bulbs.
Difficulty Level: Beginner | Estimated Time: 0.5–1 hour
⚠️ Safety & Precautions
- 🛑 Turn the engine off, remove the key, and set the parking brake before working near the lights.
- 🛑 Let the headlamp area cool down if the lights were just on; plastic parts can be hot.
- 🛑 Disconnect the negative battery cable if you will have your hands deep behind the headlamp or if you feel unsure around wiring.
- 🛑 Do not pull on wires; always turn and pull on the bulb socket or connector body.
🔧 Required Tools
You'll need the following tools for this repair:
- 🧰 10mm socket
- 🧰 Ratchet handle 3/8"
- 🧰 6" socket extension 3/8"
- 🧰 Trim clip removal tool
- 🧰 Flathead screwdriver small
- 🧰 Work light or flashlight
- 🧰 Mechanic gloves
- 🧰 Safety glasses
🔩 Required Parts
HowToo sells all the parts you need for this repair:
- 🔩 Front turn signal bulb (amber) - Qty: 2 (replace in pairs)
- 🔩 Front turn signal bulb socket - Qty: 1–2 (only if old socket is heat-damaged or melted)
- 🔩 Plastic push clips for upper grille/trim - Qty: 4–8 (if any clips break)
📋 Before You Begin
- 🧭 Park the Sierra on level ground, engage the parking brake, and turn off all lights.
- 🧭 Turn the steering wheel to the side you are working on if you need more room at the wheel well area.
- 🧭 Open the hood using the hood release inside the cab, then the safety latch at the front of the hood.
- 🧭 If you choose to disconnect the battery, use a 10mm socket to loosen the negative terminal and move the cable aside.
🔨 Step-by-Step Instructions
Follow these steps in order:
Step 1: Confirm if you have bulbs or LEDs
- 📝 Turn the hazard lights on and walk to the front of your Sierra.
- If the turn signal is a bright, fast-responding strip inside the main headlamp and your truck has LED headlights and LED running lights, the turn signal is likely an LED module and not a replaceable bulb.
- If the turn signal looks like a single round or oval lamp (separate from the LED strip) and other bulbs on the truck look normal incandescent, you likely have a replaceable bulb.
- If your front turn signal is LED-only, it is not user-replaceable as a bulb; the whole lamp assembly must be replaced.
Step 2: Remove upper radiator cover / trim for access
- 🧰 Use the trim clip removal tool or flathead screwdriver small to carefully pry up the plastic push clips holding the black plastic cover at the top of the grille.
- Lift the cover off and set it aside. Keep the clips in a safe place.
- Pry under the center pin first to avoid breaking clips.
Step 3: Loosen the headlamp assembly
- 🧰 Use a 10mm socket with ratchet handle 3/8" and 6" socket extension 3/8" to remove the bolts at the top of the headlamp assembly.
- There are usually 2–3 bolts across the top edge of the headlamp, right behind the grille.
- Place the bolts in a tray so you don’t lose them.
- Torque to 8–10 Nm (6–7 ft-lbs) when reinstalling later.
Step 4: Release the headlamp from the fender side
- 🧰 At the side of the headlamp (near the fender), gently pull the lamp assembly forward and slightly outward. There are alignment pins that “pop” loose.
- If needed, slightly pull the grille forward by hand to gain a bit more room while you slide the headlamp out.
- Use steady pressure; do not yank.
Step 5: Access the bulb sockets
- 🧰 Pull the headlamp assembly forward enough to reach behind it; do not stretch the wiring harness.
- Look at the back of the headlamp for round plastic sockets; the front turn signal socket will usually have an amber bulb and be positioned toward the outer/lower corner of the lamp.
- Turn the socket a quarter-turn counterclockwise by hand to unlock it, then pull it straight out of the housing.
Step 6: Remove the old turn signal bulb
- 🧰 Hold the socket body (the plastic part) and gently push the bulb in slightly and twist counterclockwise, or simply pull straight out, depending on style.
- Remove the bulb from the socket.
- Inspect the socket for any dark, burnt, or melted plastic. If damaged, plan to replace the socket too.
Step 7: Install the new bulb
- 🧰 With clean hands or wearing mechanic gloves, insert the new amber bulb into the socket. Make sure it clicks or seats firmly.
- Align the tabs on the socket with the slots in the headlamp housing, push the socket in, and turn it clockwise until it locks.
- Do not force; it should turn and lock smoothly.
Step 8: Test the turn signal before reassembly
- 🧰 Turn the ignition to “ON” (engine can stay off) and move the turn signal stalk for that side, or turn on the hazard lights.
- Check that the new front turn signal flashes normally and at normal speed.
- If it does not turn on, turn ignition off, remove the socket, and check that the bulb is seated properly and the connector is fully plugged in.
Step 9: Reinstall the headlamp assembly
- 🧰 Slide the headlamp assembly back into place, making sure the alignment pins at the side go into their holes in the fender area.
- Install the top 10mm bolts by hand first to avoid cross-threading.
- 🧰 Use the 10mm socket, ratchet handle 3/8", and 6" socket extension 3/8" to snug the bolts.
- Torque to 8–10 Nm (6–7 ft-lbs) so you don’t crack the plastic tabs.
Step 10: Reinstall the upper radiator cover / trim
- 🧰 Place the plastic cover back over the top of the grille and radiator support.
- Align the holes and push the plastic clips back in by hand until they click.
- Replace any broken clips with new ones.
Step 11: Repeat on the other side
- Follow the same steps for the opposite front turn signal bulb.
- Always replace bulbs in pairs for even brightness.
✅ After Repair
- 🔎 Turn on the hazard lights and walk around the truck to check all four turn signals (front and rear) for proper operation.
- 🔎 Check that the headlights, parking lights, and daytime running lights still operate correctly.
- 🔎 Close the hood securely and ensure no tools or parts are left in the engine bay.
- 🔎 If you disconnected the battery, reconnect the negative cable with a 10mm socket and tighten securely (snug, not over-tight).
💰 DIY vs Shop Cost
Shop Cost: $120–$180 (parts + labor)
DIY Cost: $15–$40 (parts only)
You Save: $80–$160 by doing it yourself!
Shop labor rates vary but typically run $100–$150/hour. This repair takes a shop approximately 0.5–1.0 hours.
🎯 Ready to get started?
HowToo makes it easy: same-day/2-day shipping on every part, plus all the tools and specialty tools you need! Check out the parts and tools sections above to add everything to your cart.