















How to Replace Front Turn Signal Bulbs on a 2013 Nissan Altima
Step-by-step wheel-well access guide with 7444NA bulbs, tools, parts, and safety tips for 2000, 2001, 2010, 2011, 2012, 2013, 2014, 2015, 2016, 2017, 2018, 2019, 2020, 2022
How to Replace Front Turn Signal Bulbs on a 2013 Nissan Altima
Step-by-step wheel-well access guide with 7444NA bulbs, tools, parts, and safety tips for 2000, 2001, 2010, 2011, 2012, 2013, 2014, 2015, 2016, 2017, 2018, 2019, 2020, 2022


🔧 Altima - Front Turn Signal Bulb Replacement
The front turn signal bulbs on your Altima are accessed from behind the front bumper area through the wheel-well splash shield. You’ll remove a few plastic retainers, pull the liner back, twist out the bulb socket, replace the bulb, and test it before closing everything up.
Difficulty Level: Beginner | Estimated Time: 20-40 minutes
⚠️ Safety & Precautions
- ⚠️ Turn the lights off and remove the key before starting.
- ⚠️ Let the bulb area cool if the lamps were recently on.
- ⚠️ Do not touch the glass part of the new bulb with bare fingers; skin oil can shorten bulb life.
- ⚠️ If raising the front corner for more room, support your Altima with a jack stand. Never work under or around a car supported only by a jack.
🔧 Required Tools
You'll need the following tools for this repair:
- Flat-blade screwdriver
- Plastic trim removal tool
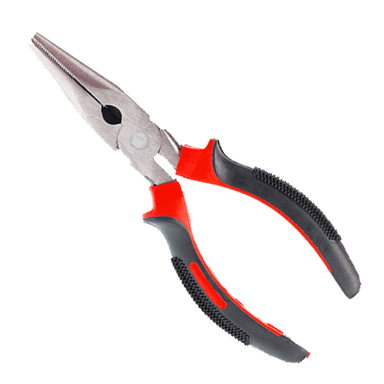
- Needle-nose pliers
- Floor jack (rated 2-ton minimum)
- Jack stands (rated 2-ton minimum)
- Wheel chocks
- Nitrile gloves
- Safety glasses
🔩 Required Parts
HowToo sells all the parts you need for this repair:
- Front turn signal bulb, amber 7444NA / WY21W type - Qty: 1 per side
- Front turn signal bulbs, amber 7444NA / WY21W type - Replace in pairs - Qty: 2
- Front fender liner push clips - Qty: As needed
📋 Before You Begin
- Park your Altima on level ground.
- Set the parking brake.
- Turn the steering wheel away from the side you are working on. This gives more space inside the wheel well.
- Place wheel chocks behind the rear wheels.
- If you need extra access, raise only the front corner you are working on with a floor jack and support it with a jack stand.
- A push clip is a reusable plastic fastener. The center pin releases first, then the whole clip pulls out.
🔨 Step-by-Step Instructions
Follow these steps in order:
Step 1: Turn the Wheel for Access
- Turn the front wheel away from the side you are replacing.
- For the left front bulb, turn the steering wheel fully right.
- For the right front bulb, turn the steering wheel fully left.
- Put on safety glasses and nitrile gloves.
Step 2: Open the Wheel-Well Splash Shield
- Use a flat-blade screwdriver or plastic trim removal tool to lift the center pin of the plastic push clips in the front wheel-well liner.
- Use needle-nose pliers if a clip is stubborn, and pull the clip straight out.
- Remove only enough clips to pull the front part of the liner back behind the bumper.
- Work slowly to avoid breaking clips.
Step 3: Find the Turn Signal Bulb Socket
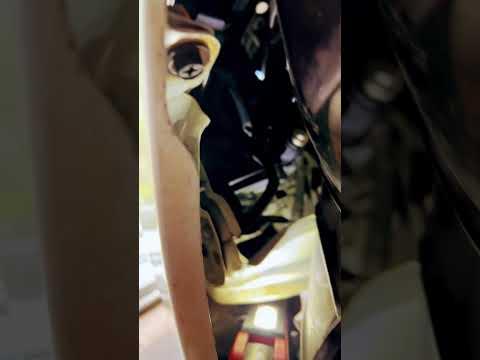
- Pull the splash shield back by hand.
- Look behind the front bumper lamp area for the turn signal bulb socket.
- The socket is the plastic holder that locks the bulb into the lamp housing.
Step 4: Remove the Bulb Socket
- Grip the socket by hand and turn it counterclockwise about a quarter turn.
- Pull the socket straight out of the lamp housing.
- Do not pull on the wires.
Step 5: Remove the Old Bulb
- Pull the old bulb straight out of the socket by hand.
- If it is stuck, gently wiggle it while pulling.
- Check the socket for heat damage, corrosion, or loose terminals.
Step 6: Install the New Bulb
- Push the new amber 7444NA / WY21W front turn signal bulb straight into the socket by hand.
- Make sure it seats fully and does not feel loose.
- Use nitrile gloves so you do not touch the bulb glass with bare fingers.
Step 7: Test Before Reassembly
- Turn the hazard lights on from the dashboard switch.
- Confirm the new front turn signal bulb flashes normally.
- If it does not light, turn the hazard lights off, remove the bulb, rotate it 180 degrees if needed, and reinstall it by hand.
- If it still does not work, inspect the socket and fuse before replacing more parts.
Step 8: Reinstall the Bulb Socket
- Turn the hazard lights off.
- Insert the socket back into the lamp housing.
- Turn the socket clockwise by hand until it locks.
- Do not use pliers on the socket; it only needs hand pressure.
Step 9: Reinstall the Splash Shield
- Move the wheel-well liner back into place by hand.
- Push each plastic clip body back into its hole.
- Press the center pin flush using a flat-blade screwdriver or your thumb.
- Replace any broken clips with new front fender liner push clips.
Step 10: Lower the Vehicle if Raised
- If you raised your Altima, use the floor jack to lift slightly off the jack stand.
- Remove the jack stand.
- Lower the vehicle slowly with the floor jack.
- Remove the wheel chocks.
✅ After Repair
- ✅ Test the left turn signal, right turn signal, and hazard lights.
- ✅ Walk around the front of your Altima and confirm both front signals flash at normal speed.
- ✅ If one side flashes very fast, the bulb may be loose, incorrect, or another bulb on that side may be out.
- ✅ Make sure the wheel-well liner is secure and not rubbing the tire.
💰 DIY vs Shop Cost
Shop Cost: $60-$140 (parts + labor)
DIY Cost: $8-$25 (parts only)
You Save: $50-$115 by doing it yourself!
Shop labor rates vary but typically run $100-$150/hour. This repair takes a shop approximately 0.3-0.6 hours.
🎯 Ready to get started?
HowToo makes it easy: same-day/2-day shipping on every part, plus all the tools and specialty tools you need! Check out the parts and tools sections below to add everything to your cart.