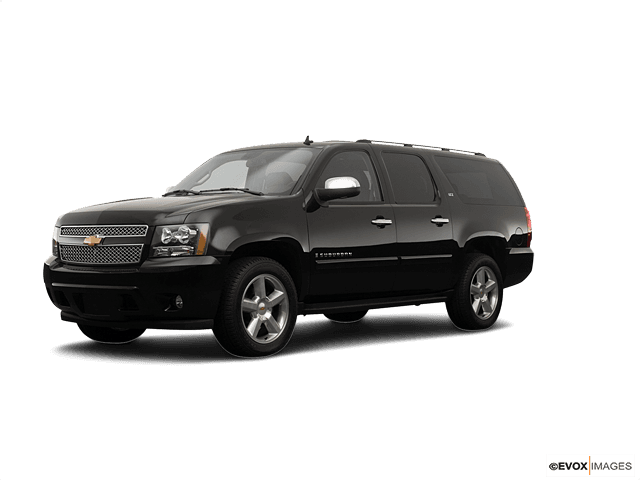









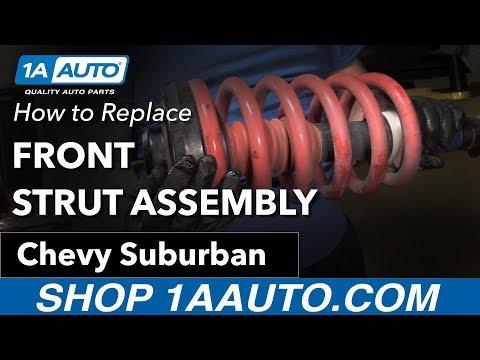







How to Replace Front Struts on a 2008 Chevrolet Suburban 1500 (Step-by-Step)
Tools, parts, safety tips, and key torque specs for a complete front strut assembly install for 2007, 2008, 2009, 2010, 2011, 2012, 2013, 2014
How to Replace Front Struts on a 2008 Chevrolet Suburban 1500 (Step-by-Step)
Tools, parts, safety tips, and key torque specs for a complete front strut assembly install for 2007, 2008, 2009, 2010, 2011, 2012, 2013, 2014


🔧 Suburban - Front Strut Replacement
On your Suburban, the “struts” are the front coilover shock assemblies (a shock with a coil spring around it). Replacing worn struts restores ride control, braking stability, and prevents uneven tire wear.
Difficulty Level: Intermediate | Estimated Time: 2.5-5 hours (both fronts)
⚠️ Safety & Precautions
- ⚠️ Support the truck on jack stands; never rely on a jack.
- ⚠️ Keep hands clear of pinch points at the lower control arm and steering knuckle.
- ⚠️ If you are not replacing a complete strut assembly, a spring compressor is required (the spring stores a lot of energy).
- ⚠️ Don’t stretch or pull the ABS wire or brake hose while the strut is out.
- 🧯 Let suspension parts cool if you just drove; they can be hot.
🔧 Required Tools
You'll need the following tools for this repair:
- Floor jack (rated 3-ton minimum)
- Jack stands (rated 3-ton minimum)
- Wheel chocks
- Safety glasses
- Mechanic gloves
- Breaker bar 1/2"
- Torque wrench 1/2" (30–250 ft-lbs range)
- Socket set 1/2" drive (13mm, 15mm, 18mm, 21mm)
- Wrench set (13mm, 15mm, 18mm, 21mm)
- Ratchet 1/2"
- Pry bar (24")
- Hammer (2 lb)
- Needle-nose pliers
- Penetrating oil
- Paint marker
- Spring compressor (specialty)
🔩 Required Parts
HowToo sells all the parts you need for this repair:
- Front complete strut assembly (recommended) - Replace in pairs - Qty: 2
- Front strut mount hardware (if not included with assemblies) - Qty: 1 kit
- Front sway bar end link (optional if loose/worn) - Replace in pairs - Qty: 2
📋 Before You Begin
- 🅿️ Park on level ground, set the parking brake, and chock the rear wheels.
- 🔩 Break the front lug nuts loose with a 21mm socket (do not remove yet).
- 🧼 Spray strut-to-knuckle bolts and sway bar link nuts with penetrating oil and let it soak 10 minutes.
- ❓ Quick check so I don’t steer you wrong: are you replacing front struts only, or front + rear?
- ❓ Do you have electronic/air rear suspension (rear shocks with wires or air lines)?
🔨 Step-by-Step Instructions
Follow these steps in order:
Step 1: Lift and support the front
- Use a floor jack under the front crossmember to lift the front.
- Place jack stands under the frame rails and lower onto stands.
- Remove both front wheels with a 21mm socket.
Step 2: Unclip brackets from the strut
- Use needle-nose pliers to remove any retaining clips holding the ABS/brake line bracket to the strut (if equipped).
- Use a 13mm socket or 15mm socket (varies by bracket) to remove bracket bolts from the strut body.
- Tip: Don’t let lines hang by tension.
Step 3: Disconnect the sway bar end link (if it blocks access)
- Use an 18mm wrench on the nut and a matching tool on the stud (often a wrench on the flats) to remove the end link nut.
- If the link spins, use a paint marker to mark position, then hold the stud while loosening the nut.
- Torque to 70 Nm (52 ft-lbs) during reassembly.
Step 4: Remove the strut-to-steering knuckle bolts
- Support the lower control arm lightly with the floor jack so the suspension doesn’t drop suddenly.
- Use a 21mm socket and breaker bar to remove the two large bolts/nuts at the bottom of the strut where it clamps to the steering knuckle.
- If needed, tap the bolts out with a hammer (2 lb).
- Torque to 140 Nm (103 ft-lbs) during reassembly.
Step 5: Remove the upper strut mount nuts
- Open the hood.
- At the top of the strut tower, use a 15mm socket to remove the upper mount nuts.
- Leave one nut loosely threaded until you’re ready to catch the strut, then remove it last.
- Torque to 47 Nm (35 ft-lbs) during reassembly.
Step 6: Remove the strut assembly
- Lower the floor jack slightly (supporting the control arm) to create clearance.
- Work the strut out from the wheel well; use a pry bar (24") gently if needed.
Step 7: If using complete assemblies, install the new strut
- Position the new strut assembly into the strut tower and start the upper nuts by hand.
- Align the lower strut bracket with the steering knuckle and install the two lower bolts using a 21mm socket.
- Tighten lower bolts with a torque wrench 1/2": Torque to 140 Nm (103 ft-lbs).
- Tighten upper mount nuts with a torque wrench 1/2": Torque to 47 Nm (35 ft-lbs).
Step 8: If NOT using complete assemblies (spring compressor path)
- Install a spring compressor (specialty) on the coil spring and compress evenly until the spring is loose in the mount.
- Remove the top nut with the appropriate socket/wrench while holding the shaft as required, then transfer spring and mount to the new strut.
- Slowly release the compressor, making sure the spring seats correctly in the top and bottom pockets.
- Tip: If unsure, use complete assemblies.
Step 9: Reattach brackets and end link
- Reinstall ABS/brake line brackets using the correct 13mm or 15mm socket.
- Reconnect the sway bar end link using an 18mm wrench and torque: Torque to 70 Nm (52 ft-lbs).
Step 10: Reinstall wheels and lower the truck
- Install wheels and hand-thread lug nuts.
- Lower the truck off the jack stands using the floor jack.
- Torque lug nuts in a star pattern with a torque wrench 1/2": Torque to 190 Nm (140 ft-lbs).
✅ After Repair
- 🧪 Test drive slowly and listen for clunks over small bumps.
- 🛞 Get a front-end alignment as soon as possible (strut removal can change alignment).
- 🔍 Recheck lug nut torque after 25–50 miles using a torque wrench 1/2": Torque to 190 Nm (140 ft-lbs).
💰 DIY vs Shop Cost
Shop Cost: $700-$1,400 (parts + labor)
DIY Cost: $250-$750 (parts only)
You Save: $450-$650 by doing it yourself!
Shop labor rates vary but typically run $100-$150/hour. This repair takes a shop approximately 2.5-4.0 hours.
🎯 Ready to get started?
HowToo makes it easy: same-day/2-day shipping on every part, plus all the tools and specialty tools you need! Check out the parts and tools sections below to add everything to your cart.