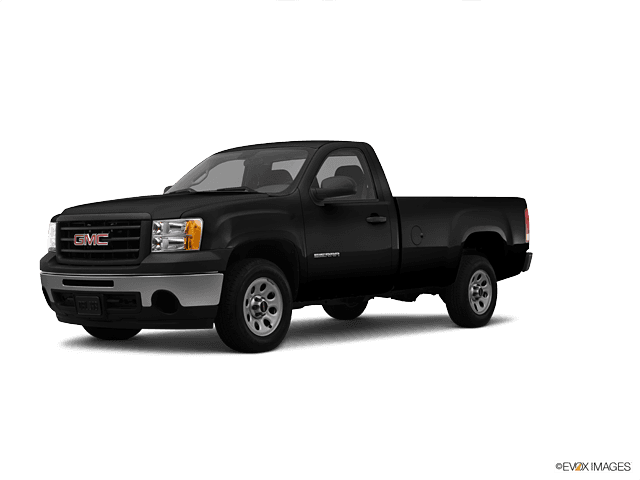









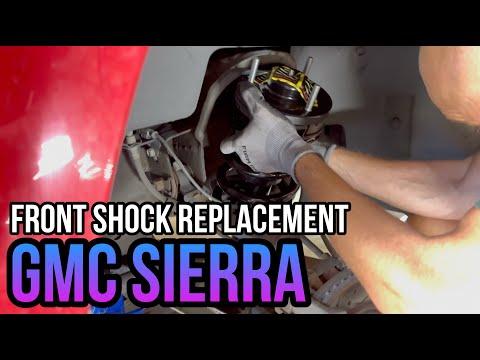







How to Replace Front Shock Absorbers on a 2007-2013 GMC Sierra 1500 (Trim: WT)
Step-by-step instructions with tools, parts, torque specs, and safety tips
How to Replace Front Shock Absorbers on a 2007-2013 GMC Sierra 1500 (Trim: WT)
Step-by-step instructions with tools, parts, torque specs, and safety tips for 2007, 2008, 2009, 2010, 2011, 2012, 2013


🔧 Front Shock Absorbers - Replacement
Your Sierra does not use front struts. It uses front shock absorbers instead, so this is the correct service for the front suspension. The steps below cover front shock replacement on your 4WD truck.
Difficulty Level: Intermediate | Estimated Time: 2-3 hours
⚠️ Safety & Precautions
- Support the truck securely with jack stands before removing any suspension parts.
- Keep hands clear of the suspension arms when lowering or raising the control arm.
- Do not work under a truck supported only by a jack.
- If a torsion bar preload is changed, use extreme care. This job does not normally require torsion bar removal.
- Battery disconnect is not required.
🔧 Required Tools
You'll need the following tools for this repair:
- Floor jack (rated 3-ton minimum)
- Jack stands (rated 3-ton minimum)
- Wheel chocks
- Safety glasses
- Mechanic gloves
- 18mm socket
- 21mm socket
- 18mm wrench
- 21mm wrench
- Ratchet
- Breaker bar
- Torque wrench
- Penetrating oil
- Trim removal tool
🔩 Required Parts
HowToo sells all the parts you need for this repair:
- Front shock absorber - Qty: 2
- Front shock upper bushings and washers - Qty: 2 sets
- Front shock lower hardware - Qty: 2 sets
📋 Before You Begin
- Park on level ground.
- Set the parking brake.
- Chock the rear wheels.
- Loosen the front wheel lug nuts before lifting if you plan to remove the wheels.
- Raise the front of the truck and support it with jack stands under the frame.
- Use a jack under the lower control arm to lightly support suspension position during removal and install.
🔨 Step-by-Step Instructions
Follow these steps in order:
Step 1: Raise and secure the front end
- Use the floor jack to lift the front of the truck.
- Place jack stands under the frame and lower the truck onto them.
- Remove the front wheels with the 21mm socket if you need more room.
Step 2: Support the suspension
- Use the floor jack under the lower control arm to hold the suspension in a near-normal ride position.
- Keep light pressure only.
Step 3: Remove the lower shock bolt
- Spray the lower bolt with penetrating oil.
- Use the 21mm socket and 21mm wrench to remove the lower shock fastener.
- Remove the lower shock mount from the control arm.
Step 4: Remove the upper shock nut
- Go into the wheel well and locate the top of the shock.
- Use the 18mm socket and 18mm wrench to remove the upper nut.
- Remove the washers and bushings in order so you can copy the same stack on install.
- Take the shock out from below.
Step 5: Install the new shock
- Install the new shock in the same direction as the old one.
- Use the new upper bushings and washers in the same order.
- Start the upper nut by hand first.
- Install the lower mount bolt with the 21mm socket.
- Torque the lower shock bolt to 163 Nm (120 ft-lbs).
- Torque the upper shock nut to 24 Nm (18 ft-lbs).
Step 6: Repeat on the other side
- Replace the other front shock the same way.
- Replace shocks in pairs.
Step 7: Reinstall wheels and lower the truck
- Reinstall the wheels with the 21mm socket.
- Torque the lug nuts to 140 Nm (103 ft-lbs).
- Lower the truck and remove the jack stands.
✅ After Repair
- Drive slowly at first and listen for clunks or rattles.
- Check that the truck sits evenly.
- Recheck lug nut torque after driving 25-50 miles.
- If the truck pulls or the tires wear unevenly, get a front-end alignment check.
💰 DIY vs Shop Cost
Shop Cost: $350-$650 (parts + labor)
DIY Cost: $120-$220 (parts only)
You Save: $230-$430 by doing it yourself!
Shop labor rates vary but typically run $100-$150/hour. This repair takes a shop approximately 1.5-2.5 hours.
🎯 Ready to get started?
HowToo makes it easy: same-day/2-day shipping on every part, plus all the tools and specialty tools you need! Check out the parts and tools sections below to add everything to your cart.
Guide for Suspension Shock Absorber replace for these GMC vehicles
| Year Make Model | Sub Model | Engine | Body Style |
|---|---|---|---|
| 2013 GMC Sierra 1500 | Denali | - | - |
| 2013 GMC Sierra 1500 | SL | - | - |
| 2013 GMC Sierra 1500 | SLE | - | - |
| 2013 GMC Sierra 1500 | SLT | - | - |
| 2013 GMC Sierra 1500 | WT | - | - |
| 2013 GMC Sierra 1500 | Hybrid | - | - |
| 2013 GMC Sierra 1500 | XFE | - | - |
| 2012 GMC Sierra 1500 | Denali | - | - |
| 2012 GMC Sierra 1500 | SL | - | - |
| 2012 GMC Sierra 1500 | SLE | - | - |
| 2012 GMC Sierra 1500 | SLT | - | - |
| 2012 GMC Sierra 1500 | WT | - | - |
| 2012 GMC Sierra 1500 | Hybrid | - | - |
| 2012 GMC Sierra 1500 | XFE | - | - |
| 2011 GMC Sierra 1500 | Denali | - | - |
| 2011 GMC Sierra 1500 | SL | - | - |
| 2011 GMC Sierra 1500 | SLE | - | - |
| 2011 GMC Sierra 1500 | SLT | - | - |
| 2011 GMC Sierra 1500 | WT | - | - |
| 2011 GMC Sierra 1500 | Hybrid | - | - |
| 2011 GMC Sierra 1500 | XFE | - | - |
| 2010 GMC Sierra 1500 | Denali | - | - |
| 2010 GMC Sierra 1500 | SL | - | - |
| 2010 GMC Sierra 1500 | SLE | - | - |
| 2010 GMC Sierra 1500 | SLT | - | - |
| 2010 GMC Sierra 1500 | WT | - | - |
| 2010 GMC Sierra 1500 | Hybrid | - | - |
| 2010 GMC Sierra 1500 | XFE | - | - |
| 2009 GMC Sierra 1500 | Denali | - | - |
| 2009 GMC Sierra 1500 | SL | - | - |
| 2009 GMC Sierra 1500 | SLE | - | - |
| 2009 GMC Sierra 1500 | SLT | - | - |
| 2009 GMC Sierra 1500 | WT | - | - |
| 2009 GMC Sierra 1500 | Hybrid | - | - |
| 2008 GMC Sierra 1500 | Denali | - | - |
| 2008 GMC Sierra 1500 | SL | - | - |
| 2008 GMC Sierra 1500 | SLE | - | - |
| 2008 GMC Sierra 1500 | SLT | - | - |
| 2008 GMC Sierra 1500 | WT | - | - |
| 2007 GMC Sierra 1500 | Denali | - | - |
| 2007 GMC Sierra 1500 | SL | - | - |
| 2007 GMC Sierra 1500 | SLE | - | - |
| 2007 GMC Sierra 1500 | SLT | - | - |
| 2007 GMC Sierra 1500 | WT | - | - |