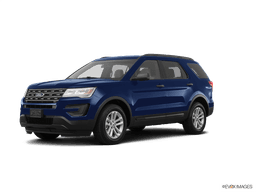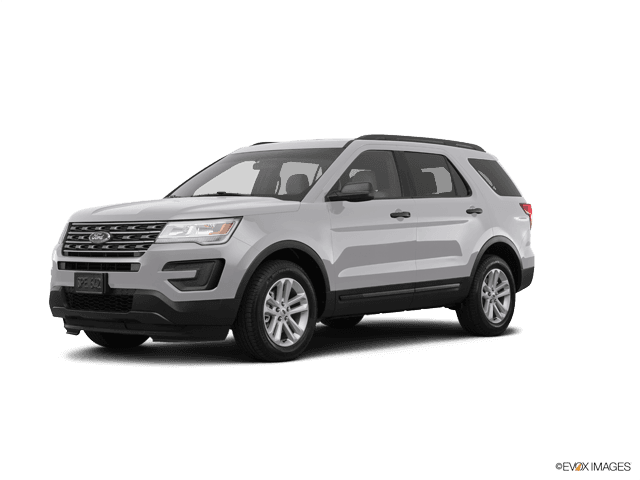









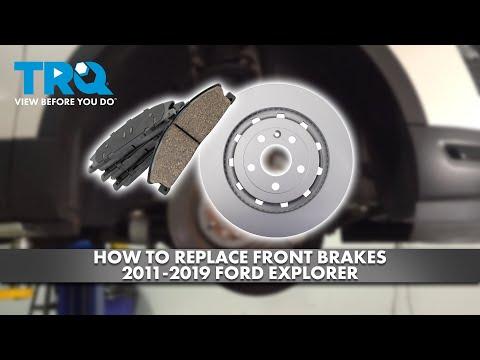







How to Replace Front Brake Pads on a 2011-2019 Ford Explorer
Step-by-step instructions with tools, parts, torque specs, and safety tips
How to Replace Front Brake Pads on a 2011-2019 Ford Explorer
Step-by-step instructions with tools, parts, torque specs, and safety tips for 2011, 2012, 2013, 2014, 2015, 2016, 2017, 2018, 2019


🔧 Explorer - Front Brake Pad Replacement
Front brake pads wear down over time and should be replaced before they damage the rotors. This job involves removing the front caliper, swapping the pads, and making sure the brake pedal feels normal before driving.
Difficulty Level: Intermediate | Estimated Time: 1.5-2.5 hours
⚠️ Safety & Precautions
- Work on a flat surface and chock the rear wheels before lifting the front.
- Never let the caliper hang by the brake hose.
- Do not press the brake pedal with the caliper removed.
- Use jack stands. A floor jack alone is not safe.
- If your brake pad wear sensor or brake hose clip is damaged, replace it before driving.
- After pad installation, the brake pedal must be pumped up before moving the vehicle.
🔧 Required Tools
You'll need the following tools for this repair:
- Floor jack (rated 3-ton minimum)
- Jack stands
- Wheel chocks
- Lug wrench or 21mm socket
- Ratchet
- 13mm socket
- 15mm socket
- Torque wrench
- Flat-blade screwdriver
- C-clamp
- Brake cleaner
- Wire brush
- Bungee cord or mechanic’s wire
- Safety glasses
- Nitrile gloves
🔩 Required Parts
HowToo sells all the parts you need for this repair:
- Front brake pad set - Qty: 1
- Brake hardware kit - Qty: 1
- Brake caliper slide pin grease - Qty: 1
- Brake cleaner - Qty: 1
📋 Before You Begin
- Park on level ground and set the parking brake.
- Loosen the front lug nuts slightly before lifting the vehicle.
- Lift one front corner at a time and support it with jack stands.
- Keep the ignition off while the caliper is removed.
🔨 Step-by-Step Instructions
Follow these steps in order:
Step 1: Remove the front wheel
- Use a 21mm socket or lug wrench to loosen and remove the lug nuts.
- Remove the wheel and set it aside.
- Keep lug nuts in a small tray.
Step 2: Remove the caliper
- Use a 15mm socket and ratchet to remove the caliper guide pin bolts.
- Carefully lift the caliper off the rotor.
- Use a bungee cord or mechanic’s wire to support the caliper.
Step 3: Remove the old pads and hardware
- Slide the old brake pads out of the bracket.
- Remove the pad clips and hardware from the caliper bracket.
- Use a flat-blade screwdriver if the pads are stuck.
- Do not bend the dust boot.
Step 4: Inspect and clean the bracket
- Use a wire brush to clean rust from the pad contact points.
- Spray the bracket with brake cleaner and let it dry.
- Check the rotor surface for deep grooves or heavy rust.
Step 5: Compress the caliper piston
- Use a C-clamp to slowly push the caliper piston back into the caliper body.
- Place the old pad against the piston so the clamp presses evenly.
- Move slowly and stop if the piston binds.
- Go slow to avoid seal damage.
Step 6: Install new hardware and pads
- Install the new brake hardware clips into the bracket.
- Apply a light coat of brake caliper slide pin grease to the pad contact areas and slide pins.
- Install the new pads in the bracket.
- Make sure the pads sit fully in the clips.
Step 7: Reinstall the caliper
- Lower the caliper over the new pads.
- Use a 15mm socket to reinstall the guide pin bolts.
- Torque to 35 Nm (26 ft-lbs).
Step 8: Reinstall the wheel
- Put the wheel back on and hand-tighten the lug nuts.
- Lower the vehicle to the ground.
- Use a torque wrench and 21mm socket to tighten the lug nuts in a star pattern.
- Torque to 150 Nm (111 ft-lbs).
Step 9: Pump the brake pedal
- Before moving the vehicle, press the brake pedal several times until it feels firm.
- This seats the caliper piston against the new pads.
✅ After Repair
- Check the brake fluid level and top off only if needed.
- Test the brakes at very low speed in a safe area.
- Listen for rubbing, clicking, or grinding.
- For the first 200 miles, avoid hard stops unless needed for safety.
💰 DIY vs Shop Cost
Shop Cost: $250-$450 (parts + labor)
DIY Cost: $80-$180 (parts only)
You Save: $170-$270 by doing it yourself!
Shop labor rates vary but typically run $100-$150/hour. This repair takes a shop approximately 1.5-2.5 hours.
🎯 Ready to get started?
HowToo makes it easy: same-day/2-day shipping on every part, plus all the tools and specialty tools you need! Check out the parts and tools sections below to add everything to your cart.
Guide for Disc Brake Pad Set replace for these Ford vehicles
| Year Make Model | Sub Model | Engine | Body Style |
|---|---|---|---|
| 2019 Ford Explorer | - | - | - |
| 2018 Ford Explorer | - | - | - |
| 2017 Ford Explorer | - | - | - |
| 2016 Ford Explorer | - | - | - |
| 2015 Ford Explorer | - | - | - |
| 2014 Ford Explorer | - | - | - |
| 2013 Ford Explorer | - | - | - |
| 2012 Ford Explorer | - | - | - |
| 2011 Ford Explorer | - | - | - |