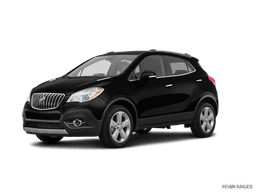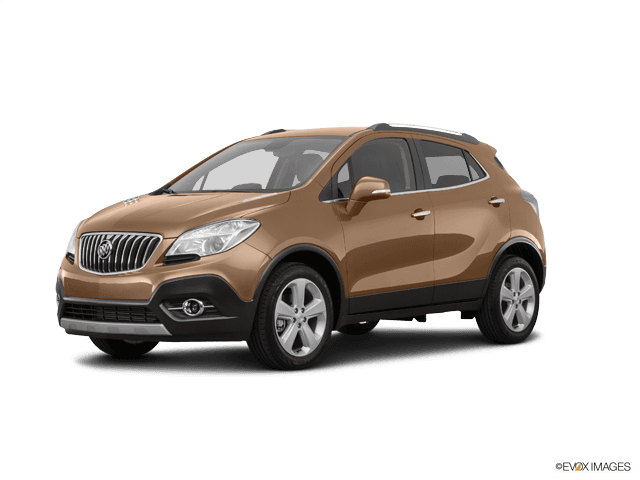









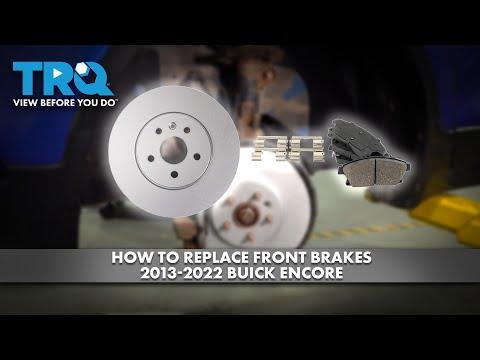







How to Replace Front Brake Pads and Rotors on a 2016 Buick Encore (DIY Guide)
Step-by-step instructions with required tools, parts list, safety tips, and key torque specs for 2013, 2014, 2015, 2016
How to Replace Front Brake Pads and Rotors on a 2016 Buick Encore (DIY Guide)
Step-by-step instructions with required tools, parts list, safety tips, and key torque specs for 2013, 2014, 2015, 2016


🔧 Encore - Front Brake Pads & Rotors Replacement
You’ll remove the front wheels, swap the brake pads, and replace the front rotors on your Encore. New rotors give the pads a flat, smooth surface so braking is quiet, strong, and vibration-free.
Difficulty Level: Intermediate | Estimated Time: 2-4 hours
Assumption: torque specs below match common Encore/GM front brake hardware; verify with service data if available.
⚠️ Safety & Precautions
- ⚠️ Work on level ground and support the Encore with jack stands before going under or removing wheels.
- ⚠️ Do not press the brake pedal while a caliper is off the rotor.
- ⚠️ Brakes may contain dust; use brake cleaner, not compressed air.
- ⚠️ Keep grease and brake fluid off pad and rotor friction surfaces.
- ⚠️ Battery disconnect is not required for this job.
🔧 Required Tools
You'll need the following tools for this repair:
- Floor jack (rated 2-ton minimum)
- Jack stands (rated 2-ton minimum)
- Wheel chocks
- 21mm socket
- Breaker bar 1/2"
- Torque wrench 3/8" drive (10-100 ft-lbs)
- Torque wrench 1/2" drive (50-200 ft-lbs)
- Ratchet 3/8" drive
- 13mm socket
- 18mm socket
- Torx T30 bit
- C-clamp (6-inch) or brake caliper compression tool (specialty)
- Flathead screwdriver
- Bungee cord
- Wire brush
- Rubber mallet
- Brake cleaner spray
- Shop towels
- Nitrile gloves
- Safety glasses
🔩 Required Parts
HowToo sells all the parts you need for this repair:
- Front brake pad set - Qty: 1
- Front brake rotors - Replace in pairs - Qty: 2
- Front brake pad hardware/clip kit - Qty: 1
- Brake parts cleaner - Qty: 1
- High-temp silicone brake grease - Qty: 1
- Medium-strength threadlocker (blue) - Qty: 1
📋 Before You Begin
- Park on level ground, shift to P, and set the parking brake.
- Place wheel chocks behind the rear tires.
- Open the hood and locate the brake fluid reservoir. Do not open it yet, but keep an eye on fluid level later (it can rise when compressing pistons).
- Break the front lug nuts loose while the tire is still on the ground using a 21mm socket and breaker bar.
🔨 Step-by-Step Instructions
Follow these steps in order:
Step 1: Lift and remove the front wheels
- Lift the front of the Encore with a floor jack at the proper front jacking point.
- Set the vehicle onto jack stands and gently shake the vehicle to confirm it’s stable.
- Remove lug nuts with a 21mm socket and take both front wheels off.
Step 2: Remove the brake caliper (the clamp that squeezes the pads)
- Turn the steering wheel to give yourself more room at the side you’re working on.
- Locate the two caliper guide pin bolts on the back of the caliper and remove them using a 13mm socket and ratchet.
- Lift the caliper off the rotor. Hang it from the strut spring with a bungee cord.
- Never let the caliper hang by the hose.
Step 3: Remove the old pads and hardware
- Slide the old pads out of the caliper bracket by hand. Use a flathead screwdriver gently if they’re stuck.
- Remove the stainless pad clips (hardware) from the bracket.
Step 4: Remove the caliper bracket
- Remove the two large caliper bracket bolts on the back of the steering knuckle using an 18mm socket and breaker bar.
- Set the bracket on a clean surface.
- Reinstall later: Torque to 125 Nm (92 ft-lbs) (use torque wrench 1/2").
Step 5: Remove the rotor
- If your rotor has a small retaining screw, remove it using a Torx T30 bit.
- Pull the rotor off the hub. If it’s rust-stuck, tap the rotor “hat” area with a rubber mallet until it breaks free.
Step 6: Clean the hub face (prevents brake vibration)
- Use a wire brush to clean rust off the hub face where the rotor sits.
- Spray and wipe with brake cleaner spray and shop towels.
- A clean hub helps stop rotor wobble.
Step 7: Install the new rotor
- Clean both sides of the new rotor with brake cleaner spray and wipe dry with shop towels (removes packing oil).
- Slide the rotor onto the hub.
- If equipped, install the rotor retaining screw with a Torx T30 bit. Torque to 10 Nm (89 in-lbs).
Step 8: Service the bracket and install new hardware
- Install the new stainless pad clips into the bracket by hand.
- Pull the guide pins out one at a time (from the bracket), wipe old grease off with shop towels, then apply a thin coat of high-temp silicone brake grease.
- Guide pins must slide smoothly.
Step 9: Reinstall the caliper bracket
- Position the bracket over the new rotor.
- Apply a small amount of medium-strength threadlocker (blue) to the bracket bolt threads.
- Tighten using an 18mm socket, then Torque to 125 Nm (92 ft-lbs) with a torque wrench 1/2".
Step 10: Install the new pads
- Apply a very thin layer of high-temp silicone brake grease to the pad ears (the ends that slide in the clips).
- Slide the new pads into the bracket until they sit flat.
- Keep grease off the pad face.
Step 11: Compress the caliper piston
- Before compressing, check the brake fluid reservoir under the hood; if it’s near “MAX,” be ready to stop if it rises.
- Use a C-clamp (6-inch) or brake caliper compression tool (specialty) to slowly push the caliper piston all the way back in.
- Move slowly and evenly so the piston doesn’t bind.
- Slow compression protects seals.
Step 12: Reinstall the caliper
- Set the caliper over the new pads.
- Install the guide pin bolts using a 13mm socket.
- Torque to 35 Nm (26 ft-lbs) with a torque wrench 3/8".
Step 13: Reinstall wheels
- Reinstall the wheels and hand-thread the lug nuts.
- Lower the Encore off the jack stands using the floor jack.
- Tighten lug nuts in a star pattern with a 21mm socket.
- Torque to 140 Nm (103 ft-lbs) using a torque wrench 1/2".
✅ After Repair
- With the engine OFF, press the brake pedal 10-15 times until it feels firm. This seats the pistons against the pads.
- Check brake fluid level and top off only if needed.
- Start the engine and hold the brake pedal; confirm it feels solid and does not sink.
- Test-drive at low speed first. Listen for scraping and confirm straight, smooth stops.
- Pad bedding (break-in): make 6-10 moderate stops from 30-40 mph, allowing 30-60 seconds between stops to cool.
💰 DIY vs Shop Cost
Shop Cost: $450-$900 (parts + labor)
DIY Cost: $140-$350 (parts only)
You Save: $310-$550 by doing it yourself!
Shop labor rates vary but typically run $100-$150/hour. This repair takes a shop approximately 2-3 hours.
🎯 Ready to get started?
HowToo makes it easy: same-day/2-day shipping on every part, plus all the tools and specialty tools you need! Check out the parts and tools sections below to add everything to your cart.