
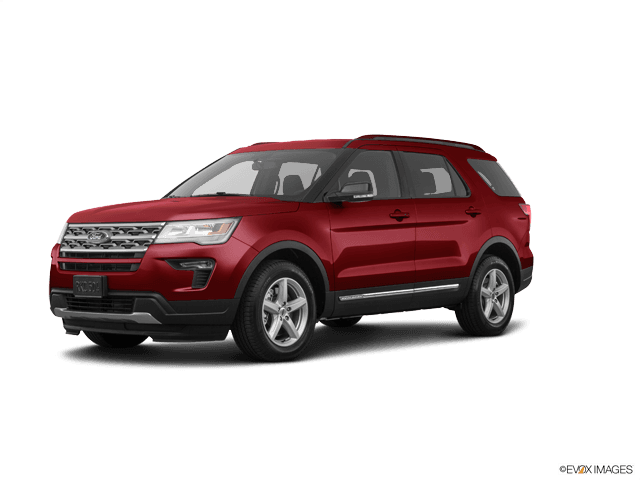
















How to Replace Both Taillight Bulbs on a 2013-2023 Ford Explorer
Step-by-step instructions with tools, parts, torque specs, and safety tips
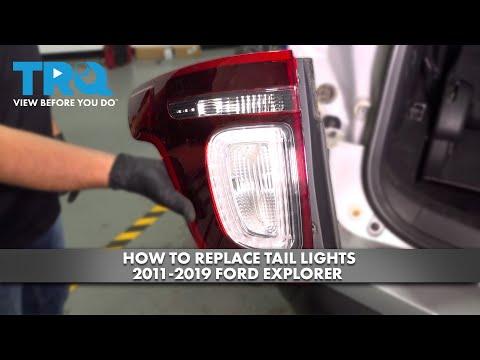
How to Replace Both Taillight Bulbs on a 2013-2023 Ford Explorer
Step-by-step instructions with tools, parts, torque specs, and safety tips for 2013, 2014, 2015, 2016, 2017, 2018, 2019, 2020, 2021, 2022, 2023


🔧 Taillight Bulb Replacement - Rear Bulb Replacement
Your Explorer uses removable rear lamp bulbs behind the tail lamp housing. Replacing both sides at the same time keeps the lighting even and saves you from doing the job twice.
Difficulty Level: Beginner | Estimated Time: 0.5-1 hour
⚠️ Safety & Precautions
- Turn the headlight switch off and let the bulbs cool before touching the lamp housing.
- Do not touch the glass of a new bulb with bare fingers. Skin oil can shorten bulb life.
- If the rear lamp has a wiring connector, pull on the connector body only, not the wires.
- No battery disconnect is required for this repair.
- Work with the parking brake set.
🔧 Required Tools
You'll need the following tools for this repair:
- 8mm socket
- 1/4-inch ratchet
- Short extension
- Trim panel tool
- Gloves
- Safety glasses
🔩 Required Parts
HowToo sells all the parts you need for this repair:
- Rear taillight bulb - Qty: 2
- Bulb socket seal or foam gasket - Qty: 2
📋 Before You Begin
- Park on level ground and set the parking brake.
- Turn the ignition off and remove the key or keep the fob away from the vehicle.
- Open the rear liftgate for access to the tail lamp fasteners.
- Keep the removed screws in a small tray.
🔨 Step-by-Step Instructions
Follow these steps in order:
Step 1: Open the liftgate and access the tail lamp fasteners
- Open the rear liftgate fully.
- Use a trim panel tool to remove any access cover or trim piece blocking the tail lamp fasteners.
- On each side, locate the retaining fasteners for the tail lamp assembly.
Step 2: Remove the tail lamp assembly
- Use an 8mm socket, 1/4-inch ratchet, and short extension to remove the tail lamp retaining bolts.
- Pull the tail lamp straight rearward to release the locating pins.
- If it sticks, wiggle gently. Do not pry hard against the painted body.
- Pull straight back to avoid breaking tabs.
Step 3: Remove the bulb socket
- Twist the bulb socket counterclockwise and pull it out of the lamp housing.
- If your lamp uses a connector, disconnect it by pressing the tab and pulling the connector body straight out.
Step 4: Replace the bulb
- Remove the old bulb from the socket by pulling it straight out.
- Install the new bulb by pressing it straight into the socket until fully seated.
- Replace the socket seal or foam gasket if it is torn, flattened, or missing.
Step 5: Reinstall the bulb socket and lamp
- Install the bulb socket into the lamp housing and twist it clockwise to lock it in place.
- Reconnect any electrical connector until it clicks.
- Align the tail lamp with the body openings and press it straight into place.
- Reinstall the retaining bolts using the 8mm socket.
- Torque to 4-6 Nm (35-53 in-lbs).
Step 6: Repeat on the other side
- Repeat the same steps for the opposite rear lamp.
- Replace both bulbs as a pair so the light output matches.
✅ After Repair
- Turn on the parking lights and check both taillights.
- Press the brake pedal and confirm both rear brake lights work.
- Check the turn signals and hazard lights if the same lamp assembly was removed.
- Make sure the tail lamp sits flush with the body and there are no gaps.
💰 DIY vs Shop Cost
Shop Cost: $120-$250 (parts + labor)
DIY Cost: $20-$50 (parts only)
You Save: $100-$200 by doing it yourself!
Shop labor rates vary but typically run $100-$150/hour. This repair takes a shop approximately 0.5-1 hour.
🎯 Ready to get started?
HowToo makes it easy: same-day/2-day shipping on every part, plus all the tools and specialty tools you need! Check out the parts and tools sections below to add everything to your cart.
Guide for Tail Light Bulb replace for these Ford vehicles
| Year Make Model | Sub Model | Engine | Body Style |
|---|---|---|---|
| 2023 Ford Explorer | - | - | - |
| 2022 Ford Explorer | - | - | - |
| 2021 Ford Explorer | - | - | - |
| 2020 Ford Explorer | - | - | - |
| 2019 Ford Explorer | - | - | - |
| 2018 Ford Explorer | - | - | - |
| 2017 Ford Explorer | - | - | - |
| 2016 Ford Explorer | - | - | - |
| 2015 Ford Explorer | - | - | - |
| 2014 Ford Explorer | - | - | - |
| 2013 Ford Explorer | - | - | - |
