


How to Replace Both Taillight (Brake) Bulbs on a 2016 Kia Forte
Step-by-step trunk access instructions, required tools/parts, safety tips, and bulb installation checks
How to Replace Both Taillight (Brake) Bulbs on a 2016 Kia Forte
Step-by-step trunk access instructions, required tools/parts, safety tips, and bulb installation checks
🔧 Forte - Taillight Bulb Replacement
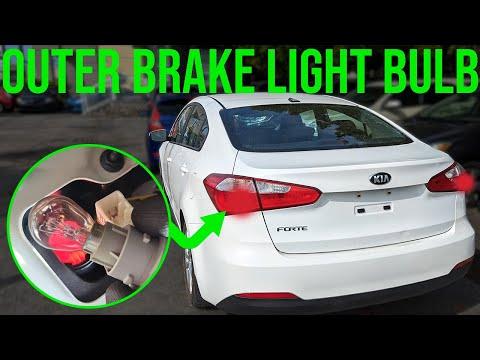
You’ll access the rear lamp bulb sockets from inside the trunk, remove the old bulbs, and install new ones. This restores proper tail/brake lighting so you stay visible and legal on the road.
Difficulty Level: Beginner | Estimated Time: 0.5-1.0 hours
⚠️ Safety & Precautions
- ⚠️ Let the bulbs cool before touching them; they can burn you.
- ⚠️ Turn the lights OFF and remove the key before starting.
- ⚠️ Don’t touch the new bulb’s glass with bare fingers; skin oil can shorten bulb life.
- ⚠️ If you choose to disconnect the battery, remove the negative terminal first.
🔧 Required Tools
You'll need the following tools for this repair:
- Safety glasses
- Nitrile gloves
- Plastic trim removal tool
- Phillips #2 screwdriver
- 10mm socket
- 1/4" drive ratchet
- Flashlight
🔩 Required Parts
HowToo sells all the parts you need for this repair:
- Rear tail/brake light bulb (dual-filament) - Qty: 2
Assumption: “Taillight bulbs” = the main tail/brake bulbs (left and right). If you meant turn signal or reverse bulbs, the access is similar but the bulb type may differ.
📋 Before You Begin
- 🅿️ Park on level ground, shift to Park, and set the parking brake.
- 🔦 Open the trunk and use a flashlight so you can see the bulb sockets clearly.
- 🔋 Battery disconnect is not required, but keep the light switch OFF while working.
🔨 Step-by-Step Instructions
Follow these steps in order:
Step 1: Access the taillight bulb area in the trunk
- Open the trunk and locate the trunk side liner behind each taillight.
- Use a plastic trim removal tool to pop out any plastic clips holding the liner.
- If your liner uses screws, remove them with a Phillips #2 screwdriver.
Step 2: Find the correct bulb socket
- Look for the bulb socket going into the back of the taillamp housing.
- Use a flashlight to identify the socket for the tail/brake bulb (typically one of the larger sockets).
- Tip: Compare left and right sides.
Step 3: Remove the bulb socket
- Grip the socket and rotate it counterclockwise about 1/4 turn.
- Pull the socket straight out of the housing.
Step 4: Remove the old bulb
- Pull the old bulb straight out of the socket (it’s a push-in style on most versions).
- Wear nitrile gloves and keep your face back in case the bulb is stuck.
Step 5: Install the new bulb
- With nitrile gloves on, push the new bulb straight into the socket until fully seated.
- If you accidentally touch the glass, wipe it clean with a dry, lint-free cloth.
Step 6: Reinstall the socket and reassemble the trunk liner
- Insert the socket back into the housing and rotate clockwise to lock.
- Reinstall the trunk liner clips using the plastic trim removal tool (press them in by hand).
- If there were screws/bolts, reinstall them with a Phillips #2 screwdriver or 10mm socket and 1/4" drive ratchet.
- Torque to 3-5 Nm (2-4 ft-lbs) for small 10mm trim fasteners (snug, do not over-tighten).
Step 7: Repeat on the other side
- Repeat Steps 1-6 for the other taillight so both bulbs are replaced.
✅ After Repair
- ✅ Turn the parking lights ON and confirm both rear tail lights illuminate evenly.
- ✅ Press the brake pedal (or have a helper press it) and confirm both brake lights get brighter.
- ✅ Make sure the trunk liner is secured so it won’t rattle.
💰 DIY vs Shop Cost
Shop Cost: ₹800-₹2,000 (parts + labor)
DIY Cost: ₹200-₹800 (parts only)
You Save: ₹600-₹1,200 by doing it yourself!
Shop labor rates vary but typically run ₹800-₹2,000/hour. This repair takes a shop approximately 0.5-1.0 hours.
🎯 Ready to get started?
HowToo makes it easy: same-day/2-day shipping on every part, plus all the tools and specialty tools you need! Check out the parts and tools sections below to add everything to your cart.
