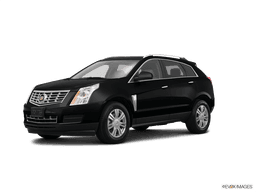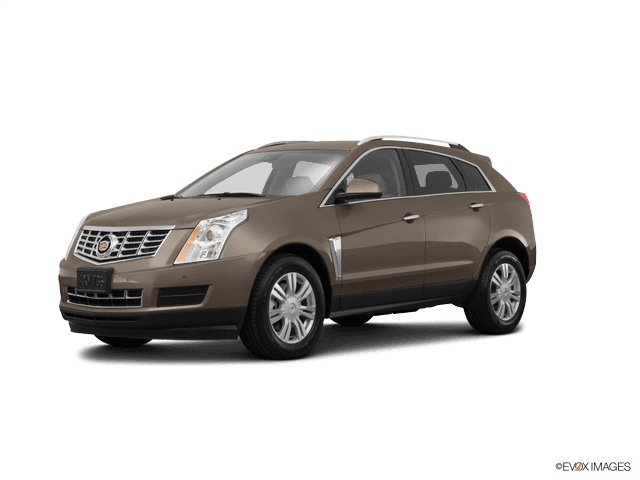









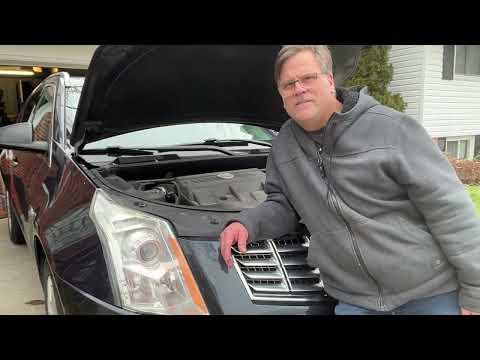







How to Replace Both Headlight Bulbs on a 2010-2016 Cadillac SRX (HID D3S or H11)
Step-by-step wheel-well access instructions, required tools/parts, safety tips, and lug nut torque specs
How to Replace Both Headlight Bulbs on a 2010-2016 Cadillac SRX (HID D3S or H11)
Step-by-step wheel-well access instructions, required tools/parts, safety tips, and lug nut torque specs for 2010, 2011, 2012, 2013, 2014, 2015, 2016


🔧 SRX - Headlight Bulb Replacement (Both Sides)
You’ll replace the left and right headlight bulbs by accessing the back of each headlamp through the front wheel-well liner. The SRX commonly requires removing the front wheels (or at least pulling the liner back) to reach the bulb sockets safely.
Assumption: Your SRX may have either factory HID (D3S) low beams or halogen low beams—steps below include both paths.
Difficulty Level: Intermediate | Estimated Time: 1.0-2.0 hours
⚠️ Safety & Precautions
- ⚠️ Support the SRX on jack stands before working in the wheel well.
- ⚠️ Let the headlamp area cool; bulbs and housings can be hot.
- ⚠️ Do not touch the glass part of any new bulb with bare fingers (skin oil shortens bulb life).
- ⚠️ If equipped with HID: the igniter/ballast can generate high voltage—turn the lights off, remove the key, and wait 5 minutes before unplugging anything.
- ⚠️ Battery disconnect is not required, but it’s OK to disconnect the negative terminal if you want maximum safety around HID components.
🔧 Required Tools
You'll need the following tools for this repair:
- Floor jack (rated 3-ton minimum)
- Jack stands (rated 3-ton minimum)
- Wheel chocks
- 19mm socket
- 1/2" drive ratchet
- Torque wrench (30-200 ft-lbs range)
- 7mm socket
- 10mm socket
- Trim clip removal tool
- Flathead screwdriver
- Work light
- Nitrile gloves
- Safety glasses
🔩 Required Parts
HowToo sells all the parts you need for this repair:
- Low beam headlight bulb (HID D3S) - Qty: 2
- OR Low beam headlight bulb (halogen, H11) - Qty: 2
- Dielectric grease - Qty: 1
- Replacement wheel-well liner clips - Qty: 4-10
📋 Before You Begin
- Park on level ground, turn the lights OFF, shift to Park, and set the parking brake.
- Place wheel chocks behind the rear wheels.
- Have your new bulbs ready but keep them in the package until install.
- If your SRX has HID, wait 5 minutes after shutting off the vehicle before unplugging the headlamp connector.
🔨 Step-by-Step Instructions
Follow these steps in order:
Step 1: Loosen the front wheel lug nuts
- Use a 19mm socket and 1/2" drive ratchet to loosen (do not remove) the lug nuts on one front wheel.
- Loosen on the ground to prevent wheel spin.
Step 2: Jack up and support the SRX
- Use a floor jack (rated 3-ton minimum) to lift at the proper front jacking point.
- Place jack stands (rated 3-ton minimum) under solid support points and lower onto the stands.
- Keep wheel chocks in place.
Step 3: Remove the front wheel
- Use a 19mm socket and 1/2" drive ratchet to remove the lug nuts.
- Remove the wheel and set it aside.
Step 4: Pull back the front wheel-well liner
- Use a trim clip removal tool to pop out the plastic push-clips.
- Use a 7mm socket (and/or 10mm socket if equipped) to remove any small screws/bolts holding the liner edge.
- Use a flathead screwdriver only if needed to start stubborn clips.
- Gently pull the liner back enough to reach the rear of the headlamp. Use a work light so you can clearly see the bulb area.
- Don’t crease the liner—bend it gently.
Step 5: Identify the bulb type (HID vs halogen) at the rear of the headlamp
- Put on nitrile gloves and safety glasses.
- HID usually has a larger round base/igniter assembly; halogen is typically a smaller plastic twist-lock bulb.
- Follow the matching path below.
Step 6A: Replace the low beam bulb (Factory HID - D3S path)
- Use your hands (gloved) to remove the rear dust cap (if equipped) by turning it counterclockwise.
- Disconnect the electrical connector from the bulb/igniter by pressing the lock tab and pulling straight back.
- Release the bulb retainer (twist-lock ring or retaining mechanism) by turning it counterclockwise and remove it.
- Remove the old D3S bulb straight out.
- Install the new Low beam headlight bulb (HID D3S) without touching the glass.
- Reinstall the retainer (turn clockwise to lock), then reconnect the electrical connector.
- Reinstall the dust cap (if equipped) by turning clockwise until snug.
- Apply a very small amount of dielectric grease to the connector seal area (not on the bulb glass).
Step 6B: Replace the low beam bulb (Factory halogen - H11 path)
- Disconnect the electrical connector by pressing the lock tab and pulling straight back.
- Rotate the bulb counterclockwise (about 1/4 turn) and pull it out.
- Install the new Low beam headlight bulb (halogen, H11) and rotate clockwise to lock.
- Reconnect the electrical connector until it clicks.
- Apply a small amount of dielectric grease to the connector seal area (optional but helpful).
Step 7: Refit the wheel-well liner
- Reposition the liner into place by hand.
- Use a trim clip removal tool to reinstall or replace damaged push-clips.
- Use a 7mm socket (and/or 10mm socket) to reinstall any screws/bolts snugly.
Step 8: Reinstall the wheel and torque lug nuts
- Install the wheel and hand-thread the lug nuts.
- Lower the SRX off the jack stands using the floor jack (rated 3-ton minimum).
- Use a torque wrench (30-200 ft-lbs range) with a 19mm socket to tighten lug nuts in a star pattern: Torque to 140 Nm (103 ft-lbs).
Step 9: Repeat on the other side
- Repeat Steps 1-8 for the other headlight bulb.
- Replace bulbs in pairs for matched color.
✅ After Repair
- Turn the headlights on and verify both low beams work.
- If equipped with HID, confirm the light is steady (no flicker) after 30-60 seconds.
- Check that the wheel-well liner is secured and not rubbing the tire while turning the steering wheel lock-to-lock.
- If the beam pattern looks off after bulb replacement, have headlight aim checked (especially if a housing was bumped).
💰 DIY vs Shop Cost
Shop Cost: $180-$450 (parts + labor)
DIY Cost: $40-$300 (parts only)
You Save: $140-$150 by doing it yourself!
Shop labor rates vary but typically run $100-$150/hour. This repair takes a shop approximately 1.0-2.0 hours.
🎯 Ready to get started?
HowToo makes it easy: same-day/2-day shipping on every part, plus all the tools and specialty tools you need! Check out the parts and tools sections below to add everything to your cart.
Guide for Headlight Bulb replace for these Cadillac vehicles
| Year Make Model | Sub Model | Engine | Body Style |
|---|---|---|---|
| 2016 Cadillac SRX | - | - | - |
| 2015 Cadillac SRX | - | - | - |
| 2014 Cadillac SRX | - | - | - |
| 2013 Cadillac SRX | - | - | - |
| 2012 Cadillac SRX | - | - | - |
| 2011 Cadillac SRX | - | - | - |
| 2010 Cadillac SRX | - | - | - |