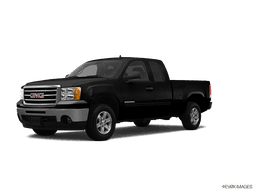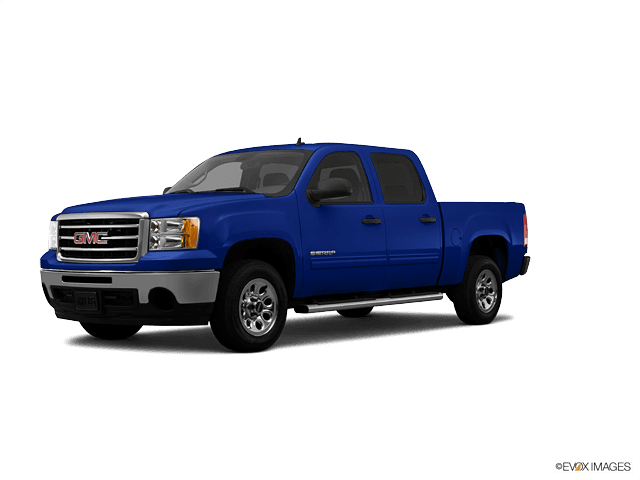









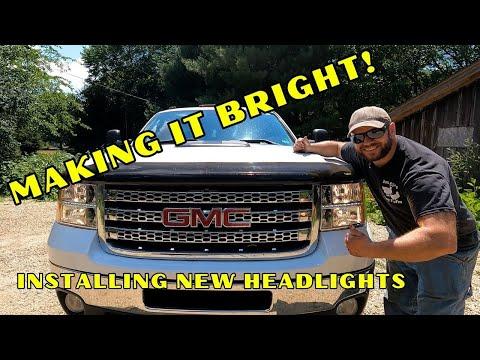







How to Replace Both Headlight Bulbs on a 2007-2013 GMC Sierra 1500 (Trim: SL)
Step-by-step low beam bulb replacement with tools, safety tips, and reassembly guidance
How to Replace Both Headlight Bulbs on a 2007-2013 GMC Sierra 1500 (Trim: SL)
Step-by-step low beam bulb replacement with tools, safety tips, and reassembly guidance for 2007, 2008, 2009, 2010, 2011, 2012, 2013


🔧 Headlight Bulb Replacement - Replacement
Assumption: This covers both low-beam headlight bulbs. If you mean the high beams instead, the removal steps are the same but the bulb type is different.
On your Sierra, the headlight bulbs are serviceable from the front corner of the truck, but access is tight. Replacing both bulbs at the same time is smart so the light output stays even.
Difficulty Level: Beginner | Estimated Time: 0.5-1 hour
⚠️ Safety & Precautions
- Turn the lights off and remove the key before starting.
- Let the bulbs cool fully before touching anything near the headlamp housing.
- Do not touch the glass on halogen bulbs with bare fingers; skin oil can shorten bulb life.
- Disconnect the negative battery cable if you want extra safety while working near the wiring.
- Use care around the front grille and painted surfaces to avoid scratches.
🔧 Required Tools
You'll need the following tools for this repair:
- 8mm socket
- Ratchet
- Short extension
- Trim clip removal tool
- Gloves
- Safety glasses
🔩 Required Parts
HowToo sells all the parts you need for this repair:
- Low beam headlight bulb - Qty: 2
📋 Before You Begin
- Park on level ground and set the parking brake.
- Turn the headlight switch to OFF.
- Open the hood and secure it fully.
- Keep the new bulbs in the box until install.
🔨 Step-by-Step Instructions
Follow these steps in order:
Step 1: Open access to the headlamp area
- Use the 8mm socket, ratchet, and short extension to remove the fasteners holding the front corner access trim or splash shield as needed for your side.
- Use the trim clip removal tool to release any plastic clips without breaking them.
- Move the liner or access panel out of the way so you can reach the bulb socket.
Step 2: Remove the old bulb
- Reach behind the headlamp housing and twist the bulb socket counterclockwise by hand to unlock it.
- Pull the socket straight back and remove the bulb from the housing.
- Do not force the socket.
Step 3: Install the new bulb
- Compare the new bulb to the old one to confirm it matches.
- Install the new bulb into the socket and make sure it seats fully.
- Insert the bulb and socket into the headlamp housing, then twist clockwise until locked.
- Do not touch the glass on the bulb with bare fingers.
Step 4: Reassemble the access area
- Put the liner or access panel back in place.
- Reinstall the fasteners using the 8mm socket, ratchet, and trim clip removal tool as needed.
- Make sure everything is fully secured and seated.
Step 5: Test both headlights
- Turn the headlights on and check the new bulbs.
- Confirm low beam operation on both sides.
- If one side does not light, remove the bulb and reseat the socket.
✅ After Repair
- Check headlight aim on a flat surface if the beam pattern looks uneven.
- Verify both low beams work with the engine running.
- Inspect for any loose clips or panels after the test.
💰 DIY vs Shop Cost
Shop Cost: $120-$220 (parts + labor)
DIY Cost: $20-$60 (parts only)
You Save: $100-$160 by doing it yourself!
Shop labor rates vary but typically run $100-$150/hour. This repair takes a shop approximately 0.5-1 hour.
🎯 Ready to get started?
HowToo makes it easy: same-day/2-day shipping on every part, plus all the tools and specialty tools you need! Check out the parts and tools sections below to add everything to your cart.
Guide for Headlight Bulb replace for these GMC vehicles
| Year Make Model | Sub Model | Engine | Body Style |
|---|---|---|---|
| 2013 GMC Sierra 1500 | Denali | - | - |
| 2013 GMC Sierra 1500 | SL | - | - |
| 2013 GMC Sierra 1500 | SLE | - | - |
| 2013 GMC Sierra 1500 | SLT | - | - |
| 2013 GMC Sierra 1500 | WT | - | - |
| 2012 GMC Sierra 1500 | Denali | - | - |
| 2012 GMC Sierra 1500 | SL | - | - |
| 2012 GMC Sierra 1500 | SLE | - | - |
| 2012 GMC Sierra 1500 | SLT | - | - |
| 2012 GMC Sierra 1500 | WT | - | - |
| 2011 GMC Sierra 1500 | Denali | - | - |
| 2011 GMC Sierra 1500 | SL | - | - |
| 2011 GMC Sierra 1500 | SLE | - | - |
| 2011 GMC Sierra 1500 | SLT | - | - |
| 2011 GMC Sierra 1500 | WT | - | - |
| 2010 GMC Sierra 1500 | Denali | - | - |
| 2010 GMC Sierra 1500 | SL | - | - |
| 2010 GMC Sierra 1500 | SLE | - | - |
| 2010 GMC Sierra 1500 | SLT | - | - |
| 2010 GMC Sierra 1500 | WT | - | - |
| 2009 GMC Sierra 1500 | Denali | - | - |
| 2009 GMC Sierra 1500 | SL | - | - |
| 2009 GMC Sierra 1500 | SLE | - | - |
| 2009 GMC Sierra 1500 | SLT | - | - |
| 2009 GMC Sierra 1500 | WT | - | - |
| 2008 GMC Sierra 1500 | Denali | - | - |
| 2008 GMC Sierra 1500 | SL | - | - |
| 2008 GMC Sierra 1500 | SLE | - | - |
| 2008 GMC Sierra 1500 | SLT | - | - |
| 2008 GMC Sierra 1500 | WT | - | - |
| 2007 GMC Sierra 1500 | Denali | - | - |
| 2007 GMC Sierra 1500 | SL | - | - |
| 2007 GMC Sierra 1500 | SLE | - | - |
| 2007 GMC Sierra 1500 | SLT | - | - |
| 2007 GMC Sierra 1500 | WT | - | - |