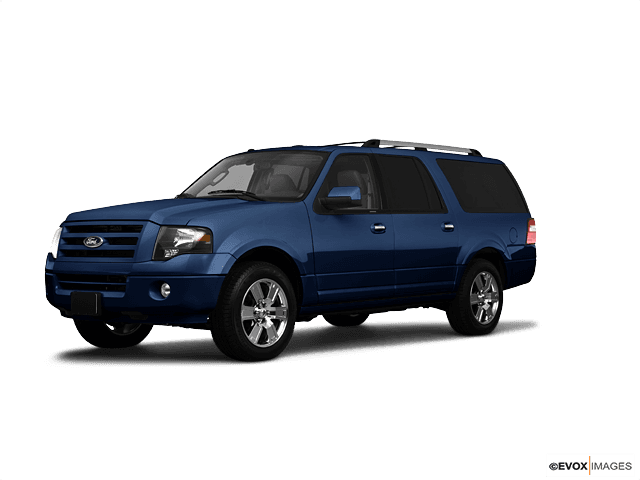

















How to Replace an Oxygen (O2) Sensor on a 2015-2020 Ford Expedition
Step-by-step O2 sensor removal/installation with tools, parts, safety tips, and code clearing steps
How to Replace an Oxygen (O2) Sensor on a 2015-2020 Ford Expedition
Step-by-step O2 sensor removal/installation with tools, parts, safety tips, and code clearing steps for 2015, 2016, 2017, 2018, 2020


🔧 Expedition - Oxygen Sensor Replacement
Your Expedition uses oxygen (O2) sensors in the exhaust to help the engine computer control fuel mixture and monitor the catalytic converters. Replacement is mostly a remove-and-replace job, but access and steps change depending on which sensor you’re doing.
Before I list the exact location steps: which one are you replacing—upstream (Sensor 1) or downstream (Sensor 2), and is it Bank 1 or Bank 2? (If you have a code like P0131/P0157, tell me.)
Difficulty Level: Intermediate | Estimated Time: 0.8-1.5 hours (per sensor)
⚠️ Safety & Precautions
- ⚠️ Exhaust gets extremely hot—work only on a fully cool exhaust.
- ⚠️ If lifting the truck, support it with jack stands on level ground; never rely on a jack alone.
- ⚠️ Keep the sensor wiring away from the exhaust; melted wiring can cause repeat faults.
- ⚠️ Battery disconnect is recommended: remove the negative battery cable before unplugging harnesses near the engine.
🔧 Required Tools
You'll need the following tools for this repair:
- Safety glasses
- Mechanic gloves
- Wheel chocks
- Floor jack (rated 3-ton minimum)
- Jack stands (rated 3-ton minimum)
- 7/8 in (22mm) oxygen sensor socket
- 3/8 in drive ratchet
- 3/8 in drive extension set
- 3/8 in drive torque wrench (10-80 ft-lbs)
- 10mm socket
- Trim clip removal tool
- Penetrating oil
- OBD-II scan tool
🔩 Required Parts
HowToo sells all the parts you need for this repair:
- Oxygen sensor (correct position: Bank/Sensor) - Qty: 1
- Anti-seize compound (sensor-safe) - Qty: 1
- Dielectric grease - Qty: 1
📋 Before You Begin
- Park on level ground, set the parking brake, and place wheel chocks.
- Let the exhaust cool completely (at least 1-2 hours after driving).
- Disconnect the battery: use a 10mm socket to remove the negative battery cable and isolate it.
- Know the terms: Upstream (Sensor 1) is before the catalytic converter; Downstream (Sensor 2) is after it. Bank 1 is the side with cylinder #1; Bank 2 is the opposite side.
🔨 Step-by-Step Instructions
Follow these steps in order:
Step 1: Access the sensor
- If replacing a downstream sensor, raise the front of your Expedition using a floor jack (rated 3-ton minimum) and support with jack stands (rated 3-ton minimum).
- Remove any splash shields blocking access using a 10mm socket and trim clip removal tool.
- Locate the O2 sensor on the exhaust pipe (it looks like a small metal probe with a wire pigtail).
Step 2: Unplug the electrical connector
- Release the connector lock by hand, then disconnect it (do not pull on the wires).
- Tip: Take a quick photo of routing.
- Apply a tiny amount of dielectric grease to the connector seal (not the sensor tip).
Step 3: Remove the old oxygen sensor
- Spray the sensor threads where it meets the exhaust bung using penetrating oil, then wait 5-10 minutes.
- Install the 7/8 in (22mm) oxygen sensor socket over the sensor and use a 3/8 in drive ratchet with a 3/8 in drive extension set to break it loose.
- Unthread the sensor the rest of the way by hand and remove it.
Step 4: Install the new oxygen sensor
- Compare the new sensor to the old one (connector style, wire length, and sensor length should match).
- If the new sensor threads are not pre-coated, apply a light film of anti-seize compound (sensor-safe) to the threads only (keep it off the sensor tip).
- Thread the sensor in by hand first to avoid cross-threading.
- Tighten with the 7/8 in (22mm) oxygen sensor socket and 3/8 in drive torque wrench (10-80 ft-lbs): Torque to 35 Nm (26 ft-lbs).
Step 5: Reconnect and secure the harness
- Reconnect the sensor connector until it clicks and locks.
- Route the wiring exactly like the original and clip it back into any retainers so it can’t touch the exhaust.
- Reinstall shields using a 10mm socket and trim clip removal tool.
Step 6: Reconnect battery and clear codes
- Reconnect the negative battery cable using a 10mm socket.
- Use an OBD-II scan tool to clear diagnostic trouble codes and confirm the sensor reads normally.
✅ After Repair
- Start the engine and listen for exhaust leaks near the sensor (ticking/hissing).
- Use the OBD-II scan tool to verify no codes return immediately.
- Test drive 10-15 minutes, then recheck for codes and confirm the wiring is still safely routed.
💰 DIY vs Shop Cost
Shop Cost: $250-$450 (parts + labor, per sensor)
DIY Cost: $60-$180 (parts only, per sensor)
You Save: $170-$320 by doing it yourself!
Shop labor rates vary but typically run $100-$150/hour. This repair takes a shop approximately 0.8-1.5 hours.
🎯 Ready to get started?
HowToo makes it easy: same-day/2-day shipping on every part, plus all the tools and specialty tools you need! Check out the parts and tools sections below to add everything to your cart.
Guide for Oxygen Sensor replace for these Ford vehicles
| Year Make Model | Sub Model | Engine | Body Style |
|---|---|---|---|
| 2020 Ford Expedition | - | - | - |
| 2018 Ford Expedition | - | - | - |
| 2017 Ford Expedition | - | - | - |
| 2016 Ford Expedition | - | - | - |
| 2015 Ford Expedition | - | - | - |