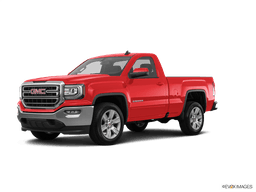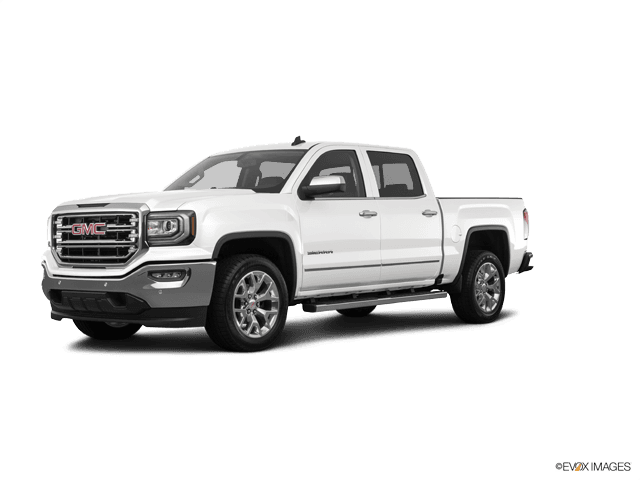
















How to Replace All Oxygen Sensors on a 2014-2018 GMC Sierra 1500
Step-by-step instructions with tools, parts, torque specs, and safety tips
How to Replace All Oxygen Sensors on a 2014-2018 GMC Sierra 1500
Step-by-step instructions with tools, parts, torque specs, and safety tips for 2014, 2015, 2016, 2017, 2018


🔧 Oxygen Sensors - Full Replacement
This job replaces all four oxygen sensors on your Sierra: both upstream sensors and both downstream sensors. The sensors thread into the exhaust and can be tight from heat and corrosion, so the key is working on a cool exhaust and using the correct oxygen sensor socket.
Difficulty Level: Intermediate | Estimated Time: 2-4 hours
⚠️ Safety & Precautions
- Let the exhaust cool completely before starting. The pipes and sensors can stay hot for a long time.
- Disconnect the negative battery cable before unplugging multiple engine and exhaust sensor connectors.
- Use jack stands if you need to access the downstream sensors from underneath. Never rely on a jack alone.
- Do not touch the sensor tips with greasy hands. Contamination can shorten sensor life.
- Do not apply anti-seize unless the new sensor instructions specifically say to. Most replacement sensors come pre-coated.
🔧 Required Tools
You'll need the following tools for this repair:
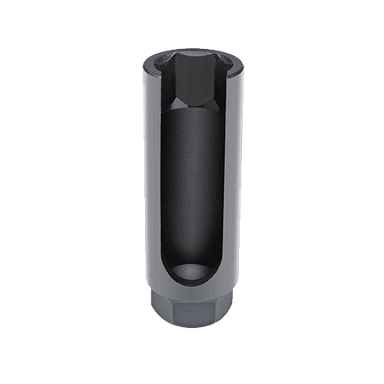
- Oxygen sensor socket 7/8-inch (22mm)
- 3/8-inch ratchet
- 3/8-inch breaker bar
- 3-inch extension
- Trim clip tool
- Floor jack (rated 3-ton minimum)
- Jack stands (rated 3-ton minimum)
- Wheel chocks
- 10mm wrench
- Torque wrench
- Safety glasses
- Mechanic gloves
- Penetrating oil
🔩 Required Parts
HowToo sells all the parts you need for this repair:
- Upstream oxygen sensor - Qty: 2
- Downstream oxygen sensor - Qty: 2
📋 Before You Begin
- Park on level ground and set the parking brake.
- Let the exhaust cool fully before touching any sensor.
- Disconnect the negative battery cable with a 10mm wrench.
- Raise the truck only if you need better access to the downstream sensors. Support it with jack stands.
- Label each connector before unplugging.
🔨 Step-by-Step Instructions
Follow these steps in order:
Step 1: Disconnect power and raise the truck if needed
- Use a 10mm wrench to disconnect the negative battery cable.
- If you need access to the downstream sensors, lift the Sierra with a floor jack and secure it with jack stands.
- Chock the rear wheels if the front is raised, or chock the front wheels if the rear is raised.
Step 2: Locate all four oxygen sensors
- Find the two upstream sensors on the exhaust pipes before the catalytic converters.
- Find the two downstream sensors after the catalytic converters.
- Trace each sensor wire to its connector before removing anything.
Step 3: Unplug the sensor connectors
- Use your hands or a trim clip tool to release each connector lock.
- Unclip the harness from its retainers so the wiring can move freely.
- Do one sensor at a time.
Step 4: Remove the old sensors
- Spray penetrating oil on each sensor threads area if needed and wait a few minutes.
- Use a 3/8-inch ratchet, 3-inch extension, and oxygen sensor socket 7/8-inch (22mm) to loosen each sensor.
- If a sensor is stuck, use a 3/8-inch breaker bar for extra leverage.
- Remove all four sensors and compare them to the new ones before installation.
Step 5: Install the new sensors
- Thread each new sensor in by hand first to avoid cross-threading.
- Use the oxygen sensor socket 7/8-inch (22mm) to tighten each one.
- Torque to 41 Nm (30 ft-lbs).
- Route each wire exactly like the original and keep it away from the exhaust.
- Never let the wire twist during tightening.
Step 6: Reconnect all plugs and restore power
- Reconnect each sensor plug until the lock clicks.
- Reinstall any wire clips and harness retainers.
- Lower the truck if it was raised.
- Reconnect the negative battery cable with a 10mm wrench.
✅ After Repair
- Start the engine and let it idle.
- Check for exhaust leaks around each sensor.
- Look for warning lights after a short drive.
- Use a scan tool to clear codes if they remain stored.
- Test drive and confirm the engine runs smoothly.
💰 DIY vs Shop Cost
Shop Cost: $700-$1,400 (parts + labor)
DIY Cost: $180-$500 (parts only)
You Save: $520-$900 by doing it yourself!
Shop labor rates vary but typically run $100-$150/hour. This repair takes a shop approximately 2-4 hours.
🎯 Ready to get started?
HowToo makes it easy: same-day/2-day shipping on every part, plus all the tools and specialty tools you need! Check out the parts and tools sections below to add everything to your cart.
Guide for Oxygen Sensor replace for these GMC vehicles
| Year Make Model | Sub Model | Engine | Body Style |
|---|---|---|---|
| 2018 GMC Sierra 1500 | - | - | - |
| 2017 GMC Sierra 1500 | - | - | - |
| 2016 GMC Sierra 1500 | - | - | - |
| 2015 GMC Sierra 1500 | - | - | - |
| 2014 GMC Sierra 1500 | - | - | - |