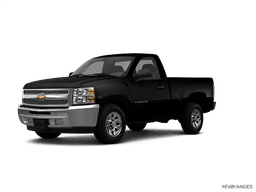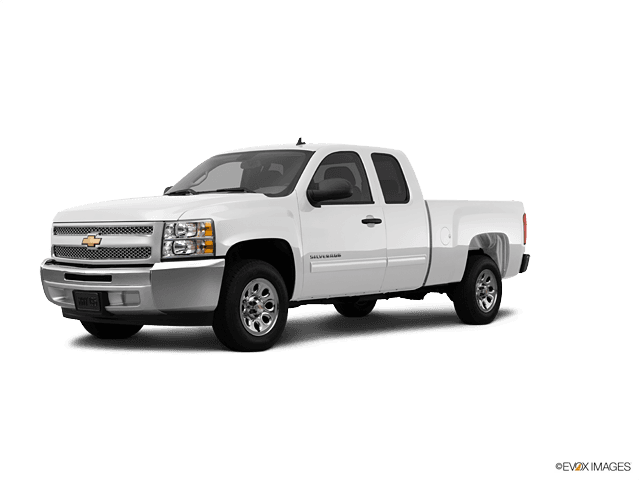














How to Inspect the Cabin Air Filter on a 2012 Chevrolet Silverado 1500
Step-by-step HVAC intake check, tools needed, and guidance for trucks without a factory cabin filter for 2009, 2010, 2011, 2012, 2013
How to Inspect the Cabin Air Filter on a 2012 Chevrolet Silverado 1500
Step-by-step HVAC intake check, tools needed, and guidance for trucks without a factory cabin filter for 2009, 2010, 2011, 2012, 2013


🔧 Cabin Air Filter - Inspection
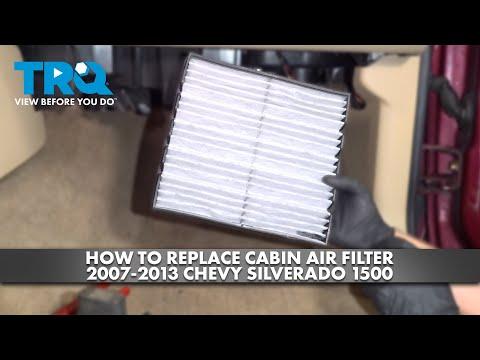
Your Silverado is not factory-equipped with a serviceable cabin air filter. In normal factory form, there is no cabin filter to replace behind the glove box or under the cowl. If you are chasing a musty smell or weak airflow, the next steps are usually checking the blower motor area, HVAC case, and the fresh-air intake for debris.
Difficulty Level: Beginner | Estimated Time: 0-0.5 hours
⚠️ Safety & Precautions
- Turn the ignition off before touching any HVAC components.
- Keep fingers clear of the blower motor area; it can start unexpectedly on some vehicles during testing.
- If you open the glove box or dash panels, do not force plastic clips.
- No battery disconnect is required for this inspection.
🔧 Required Tools
You'll need the following tools for this repair:
- Flashlight
- Trim panel tool (specialty)
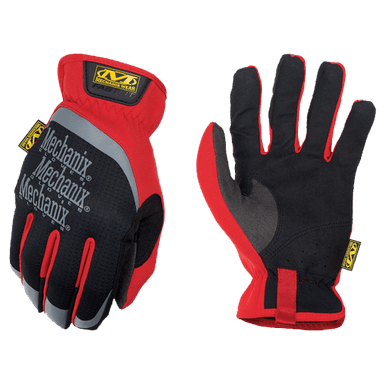
- Gloves
- Safety glasses
🔩 Required Parts
HowToo sells all the parts you need for this repair:
- No cabin air filter is factory-installed - Qty: 1
📋 Before You Begin
- Park on level ground and set the parking brake.
- Turn the blower fan off.
- Open the glove box and look for a factory filter access door only if your truck has been modified.
- This truck usually has no replaceable cabin filter.
🔨 Step-by-Step Instructions
Follow these steps in order:
Step 1: Confirm the truck is not equipped with a cabin filter
- Open the glove box and look for a filter access panel behind it.
- Use a flashlight to inspect the area for a factory filter slot.
- On your Silverado, you will normally find no serviceable cabin filter opening.
Step 2: Check the HVAC fresh-air intake
- Open the hood and inspect the cowl area at the base of the windshield.
- Use a flashlight to look for leaves, dirt, or debris blocking the intake.
- Remove loose debris by hand with gloves.
Step 3: Inspect for aftermarket retrofit parts
- If you see a non-factory filter door or added housing, use a trim panel tool (specialty) to open it carefully.
- Remove any installed filter and note the direction of airflow before replacing it.
- Take a photo before removal.
✅ After Repair
- Turn the blower on and verify airflow is normal.
- Listen for rattles or leaves in the cowl area.
- If airflow is still weak, inspect the blower motor and intake screen.
💰 DIY vs Shop Cost
Shop Cost: $0-$150 (inspection and possible debris removal)
DIY Cost: $0-$20 (basic cleaning supplies)
You Save: $0-$130 by doing it yourself!
Shop labor rates vary but typically run $100-$150/hour. This repair takes a shop approximately 0-0.5 hours.
🎯 Ready to get started?
HowToo makes it easy: same-day/2-day shipping on every part, plus all the tools and specialty tools you need! Check out the parts and tools sections below to add everything to your cart.