









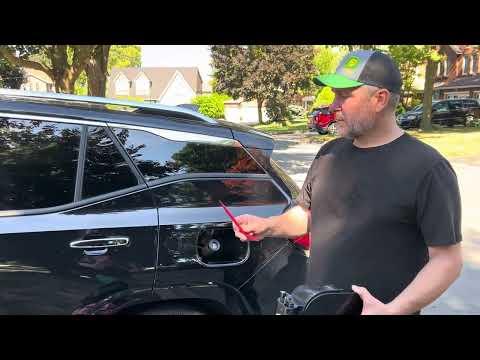






How to Fix “Tighten Gas Cap” on a 2018 Buick Enclave (Capless Fuel System)
Step-by-step capless filler neck seal/flap inspection, cleaning tips, tools, and when to replace parts
How to Fix “Tighten Gas Cap” on a 2018 Buick Enclave (Capless Fuel System)
Step-by-step capless filler neck seal/flap inspection, cleaning tips, tools, and when to replace parts


🔧 Enclave - Fuel Cap Replacement
Your Enclave uses a capless fuel system, so there usually isn’t a traditional screw-on gas cap to replace. If you’re seeing a “tighten gas cap” message or a check-engine light, the issue is typically the capless filler neck seal/flap not sealing cleanly.
Difficulty Level: Beginner | Estimated Time: 0.1-0.3 hours
⚠️ Safety & Precautions
- ⛽ Work outside or in a well-ventilated area (fuel vapors).
- Keep sparks/flames away (no smoking, no hot work lights near the filler).
- Turn the ignition OFF before touching the filler area.
- If the check-engine light is on, avoid overfilling the tank.
🔧 Required Tools
You'll need the following tools for this repair:
- Nitrile gloves
- Flashlight
- Clean lint-free shop towels
- Plastic trim tool set
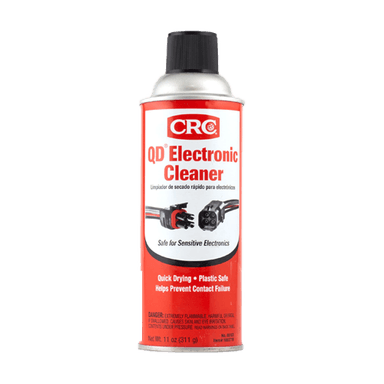
- Electronic parts cleaner safe for plastics
🔩 Required Parts
HowToo sells all the parts you need for this repair:
- Capless fuel filler funnel - Qty: 1
- Fuel filler door housing retainer clips - Qty: 1 set
📋 Before You Begin
- Park on level ground and switch the ignition OFF.
- Open the fuel door and use a flashlight to look into the filler neck.
- Two quick questions so I can point you to the exact fix:
- ❓ Are you trying to replace a missing “cap” someone added, or are you getting a check-engine light/message about the gas cap?
- ❓ When you look in the filler neck, do you see a stuck flap or damaged rubber seal?
🔨 Step-by-Step Instructions
Follow these steps in order:
Step 1: Confirm it’s a capless system
- Open the fuel door and look for a screw-on cap.
- If you only see an inner spring-loaded opening, that’s the capless filler (normal).
Step 2: Inspect the capless seal and flaps
- Use a flashlight to inspect the opening.
- Look for dirt, sand, or a torn rubber sealing surface.
- Look for a flap that doesn’t sit flat (it should close fully).
Step 3: Clean the sealing area (most common fix)
- Put on nitrile gloves.
- Lightly spray electronic parts cleaner safe for plastics onto a lint-free shop towel (don’t soak the filler neck).
- Wipe the visible sealing surface and remove any grit.
- Tip: Dirt here can trigger “gas cap” leaks.
Step 4: Gently exercise the flap (if sticky)
- Use the capless fuel filler funnel (the plastic funnel designed for this system).
- Insert the funnel straight in, then remove it, a few times to help the flap move freely.
- Do not pry the flap open with a screwdriver (it can damage the seal).
Step 5: If you’re replacing a fuel-door area clip (only if loose/rattling)
- If the fuel door housing is loose, use a plastic trim tool set to carefully pop the loose trim just enough to access broken clips.
- Replace the damaged fuel filler door housing retainer clips.
- Press the trim back in by hand until it clicks flush.
Step 6: When replacement is actually needed
- If the flap won’t close, the seal is torn, or the filler neck is damaged, the fix is replacing the capless filler neck/housing (more involved).
- Reply with what you’re seeing (stuck flap, torn seal, or a fuel smell), and I’ll give you the exact repair path for your Enclave.
✅ After Repair
- Start the engine and confirm there’s no fuel smell around the fuel door area.
- If you had a check-engine light, it may take a few drive cycles to clear on its own after the sealing issue is fixed.
- If the light stays on, the system may need a scan for EVAP leak codes (common ones relate to capless sealing).
💰 DIY vs Shop Cost
Shop Cost: $80-$250 (diagnosis/cleaning) or $250-$700 (if capless filler parts are replaced)
DIY Cost: $10-$40 (cleaner/funnel) or higher if parts are needed
You Save: $70-$660 by doing it yourself!
Shop labor rates vary but typically run $100-$150/hour. This repair takes a shop approximately 0.2-1.5 hours.
🎯 Ready to get started?
HowToo makes it easy: same-day/2-day shipping on every part, plus all the tools and specialty tools you need! Check out the parts and tools sections below to add everything to your cart.
Guide for Fuel Tank Cap replace for these Buick vehicles
| Year Make Model | Sub Model | Engine | Body Style |
|---|