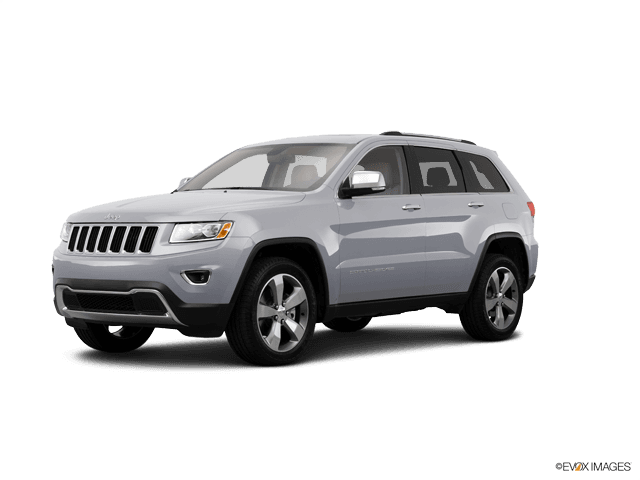
















How to Change Transmission Fluid & Pan/Filter on a 2014 Jeep Grand Cherokee (8-Speed)
Step-by-step sealed-fill service with tools, ATF specs, fill procedure, and temp-based level setting
How to Change Transmission Fluid & Pan/Filter on a 2014 Jeep Grand Cherokee (8-Speed)
Step-by-step sealed-fill service with tools, ATF specs, fill procedure, and temp-based level setting


🔧 Grand Cherokee - Transmission Fluid & Pan/Filter Service
Your Grand Cherokee’s 8-speed automatic uses a sealed fill system (no dipstick). The correct way to “change the transmission fluid” is to drain it, replace the transmission pan/filter assembly, then refill and set the fluid level at a specific transmission temperature.
Difficulty Level: Advanced | Estimated Time: 2.5-4.5 hours
⚠️ Safety & Precautions
- ⚠️ Support the SUV with jack stands on a flat surface; never rely on a jack alone.
- ⚠️ Transmission fluid can be hot; wear gloves and safety glasses.
- ⚠️ The level must be set with the engine running—keep hands/clothes away from moving parts.
- ⚠️ Keep the vehicle level while filling and setting the fluid level, or the level will be wrong.
- ⚠️ No battery disconnect is required, but keep the key/fob away so the vehicle can’t be started accidentally.
🔧 Required Tools
You'll need the following tools for this repair:
- Floor jack (rated 3-ton minimum)
- Jack stands (rated 3-ton minimum)
- Wheel chocks
- Safety glasses
- Nitrile gloves
- Drain pan (10+ quart)
- Socket set (10mm, 13mm, 15mm)
- Ratchet (3/8")
- Torque wrench (in-lb and ft-lb capable)
- Torx bit socket set (T25–T45)
- Allen/hex bit socket set (6mm–10mm)
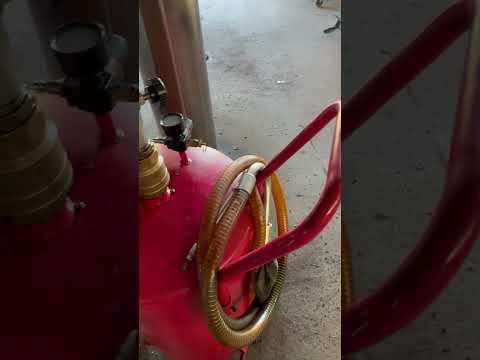
- Fluid transfer pump (specialty)
- OBD2 scan tool with transmission temperature (specialty)
- Trim clip tool
- Plastic scraper
- Brake cleaner spray
- Shop towels
🔩 Required Parts
HowToo sells all the parts you need for this repair:
- Automatic transmission fluid (Mopar 8 & 9 Speed ATF equivalent) - Qty: 7-10 quarts
- Transmission oil pan with integrated filter and gasket - Qty: 1
- Transmission drain/fill plug seals (if serviced separately) - Qty: 1-2
- Transmission pan bolt set (if not included with pan) - Qty: 1
📋 Before You Begin
- Park on level ground, apply the parking brake, and place wheel chocks at the rear wheels.
- Make sure you have a way to read transmission fluid temperature (your scan tool). This is required to set the level correctly.
- Plan to keep the SUV level while filling (lift the front and rear to similar height on jack stands).
- Tip: Do a short drive to warm fluid slightly.
🔨 Step-by-Step Instructions
Follow these steps in order:
Step 1: Raise and level the SUV
- Chock wheels using wheel chocks.
- Lift the front using a floor jack and set it on jack stands.
- Lift the rear using a floor jack and set it on jack stands.
- Confirm it sits level (important for correct fill level).
Step 2: Remove any underbody shields to access the transmission pan
- Remove fasteners using your socket set (10mm, 13mm) and trim clip tool as needed.
- Set shields and hardware aside in order.
Step 3: Identify the fill plug before draining
- Locate the transmission fill plug (typically on the side of the transmission case).
- Use the correct-size Allen/hex bit socket set (6mm–10mm) or Torx bit socket set (T25–T45) (depends on plug style) and make sure it will loosen.
- If the fill plug will not loosen, stop here—don’t drain it yet.
Step 4: Drain the transmission fluid
- Place a drain pan (10+ quart) under the transmission pan.
- Remove the drain plug using the correct Allen/hex bit socket set (6mm–10mm) or Torx bit socket set (T25–T45).
- Let it drain until it slows to a drip.
Step 5: Remove the transmission pan/filter assembly
- Support the pan with one hand and remove pan bolts using a ratchet (3/8") and Torx bit socket set (T25–T45).
- Lower the pan carefully—more fluid will spill.
- Make sure the old gasket/seal comes off with the pan (do not leave old gasket material behind).
Step 6: Prep the sealing surface
- Clean the transmission mating surface using a plastic scraper, brake cleaner spray, and shop towels.
- Do not gouge the aluminum surface.
- Tip: Clean, dry, and lint-free is the goal.
Step 7: Install the new pan/filter assembly
- Position the new pan/filter and start all bolts by hand.
- Tighten pan bolts evenly in a crisscross pattern using a ratchet (3/8").
- Final-tighten using a torque wrench: Torque to 8 Nm (71 in-lbs).
Step 8: Reinstall the drain plug
- Install the drain plug (with new seal if applicable).
- Tighten using a torque wrench: Torque to 8 Nm (71 in-lbs).
Step 9: Fill the transmission (initial fill)
- Remove the fill plug using the correct Allen/hex bit socket set (6mm–10mm) or Torx bit socket set (T25–T45).
- Use a fluid transfer pump (specialty) to pump in the correct ATF until it starts to run back out of the fill hole.
- Install the fill plug finger-tight for now.
Step 10: Warm and set the fluid level at temperature (critical step)
- Connect your OBD2 scan tool with transmission temperature (specialty) and display transmission fluid temperature.
- Start the engine and keep your foot on the brake.
- Slowly move the shifter through all gears (P-R-N-D and back), pausing ~2 seconds each, then leave it in Park.
- With engine running, remove the fill plug using the correct Allen/hex bit socket set or Torx bit socket set.
- When fluid temp is in the correct level-check range (commonly around 30°C–50°C (86°F–122°F)), pump in fluid with the fluid transfer pump until it becomes a thin steady stream/drip from the fill hole.
- Install the fill plug and tighten with a torque wrench: Torque to 8 Nm (71 in-lbs).
- Tip: Too hot = wrong level.
Step 11: Reinstall underbody shields
- Reinstall shields using your socket set (10mm, 13mm) and trim clip tool.
- Tighten snugly with a ratchet (3/8") (do not over-tighten plastic clips).
Step 12: Lower the SUV
- Raise slightly with the floor jack, remove jack stands, and lower carefully.
✅ After Repair
- Test drive 10–15 minutes, then inspect underneath for leaks with safety glasses on.
- Recheck for any stored transmission codes using your OBD2 scan tool.
- If you notice slipping, delayed engagement, or new noises, stop driving and re-check the fluid level procedure (temperature and level vehicle are the usual causes).
💰 DIY vs Shop Cost
Shop Cost: ₹25,000-₹55,000 (parts + labor)
DIY Cost: ₹12,000-₹30,000 (parts only)
You Save: ₹13,000-₹25,000 by doing it yourself!
Shop labor rates vary but typically run ₹1,000-₹2,500/hour. This repair takes a shop approximately 2.5-4.5 hours.
🎯 Ready to get started?
HowToo makes it easy: same-day/2-day shipping on every part, plus all the tools and specialty tools you need! Check out the parts and tools sections below to add everything to your cart.
Guide for replace for these Jeep vehicles
| Year Make Model | Sub Model | Engine | Body Style |
|---|