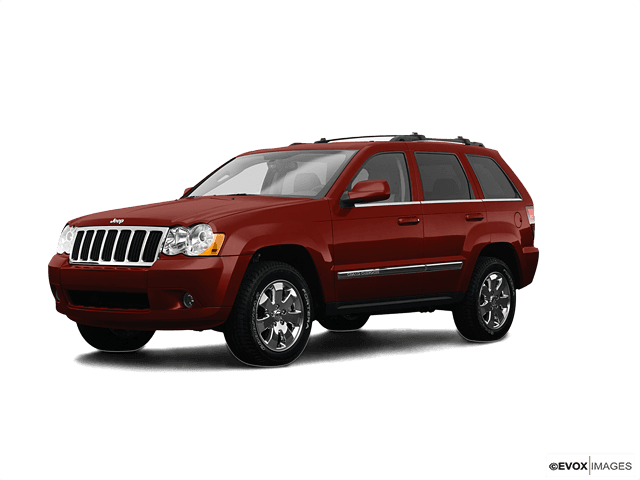









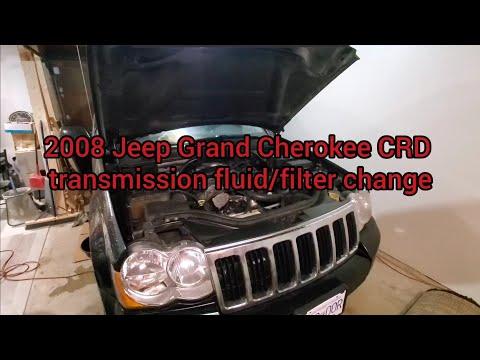







How to Change Transmission Fluid & Filter on a 2008 Jeep Grand Cherokee (ATF+4)
Step-by-step pan drop service with tools, parts list, safety tips, and key torque specs for 2001, 2002, 2003, 2004, 2005, 2006, 2007, 2008, 2009
How to Change Transmission Fluid & Filter on a 2008 Jeep Grand Cherokee (ATF+4)
Step-by-step pan drop service with tools, parts list, safety tips, and key torque specs for 2001, 2002, 2003, 2004, 2005, 2006, 2007, 2008, 2009


🔧 Grand Cherokee - Transmission Fluid & Filter Service
This service replaces the fluid in the transmission pan and the internal filter. It helps restore shift quality and protects the transmission by removing worn-out fluid and trapped debris.
Difficulty Level: Intermediate | Estimated Time: 2-4 hours
⚠️ Safety & Precautions
- ⚠️ Work on a level surface and support the SUV with jack stands before going underneath.
- ⚠️ Transmission fluid can be hot; let it cool or wear gloves and long sleeves.
- ⚠️ Keep the vehicle level during refill/check or your fluid level will be wrong.
- ⚠️ Use only ATF+4 fluid; using other ATF can cause shifting problems.
- ⚠️ No battery disconnect is required for this service.
🔧 Required Tools
You'll need the following tools for this repair:
- Floor jack (rated 3-ton minimum)
- Jack stands (rated 3-ton minimum)
- Wheel chocks
- Safety glasses
- Nitrile gloves
- Drain pan (10-quart minimum)
- 1/4-inch drive ratchet
- 3/8-inch drive ratchet
- Metric socket set (8mm-13mm)
- Torque wrench (inch-pound or low-range Nm)
- Torx bit set (T25-T30)
- Plastic trim scraper
- Brake cleaner spray
- Shop towels
- Long-neck funnel
🔩 Required Parts
HowToo sells all the parts you need for this repair:
- Automatic transmission filter - Qty: 1
- Transmission pan gasket - Qty: 1
- Automatic transmission fluid (ATF+4) - Qty: 6 quarts
📋 Before You Begin
- Park on level ground, set the parking brake, and place wheel chocks behind the rear tires.
- Warm the transmission slightly with a 5-10 minute drive, then shut it off. Warm drains faster than cold.
- Raise the front and support with jack stands. Keep the SUV as level as possible (front and rear at similar height).
- Clean around the pan area with shop towels so dirt doesn’t fall inside.
🔨 Step-by-Step Instructions
Follow these steps in order:
Step 1: Verify which fill method you have
- Open the hood and look for a transmission dipstick tube (a tube with a cap, usually labeled for transmission).
- If you have a dipstick tube: you’ll refill through it using a long-neck funnel.
- If you do NOT have a dipstick tube: stop here and tell me “no dipstick” (that version requires a different fill/check procedure).
Step 2: Position the drain pan and loosen the transmission pan
- Place a drain pan (10-quart minimum) under the transmission pan.
- Use a 1/4-inch drive ratchet with the correctly-fitting socket from your metric socket set (8mm-13mm) to loosen the pan bolts.
- Loosen bolts around the pan evenly, leaving a couple bolts threaded on one end so the pan can tilt and drain.
Step 3: Drain the fluid and remove the pan
- Carefully tilt the pan down on one side and let the fluid pour into the drain pan.
- Once the flow slows, support the pan with one hand and remove the remaining bolts using the ratchet and socket.
- Lower the pan slowly; more fluid will spill when it comes down.
Step 4: Remove and replace the transmission filter
- Locate the filter on the valve body (it’s the plastic/metal pickup in the bottom of the transmission).
- Remove the filter fasteners using a Torx bit (T25-T30) and 3/8-inch drive ratchet.
- Pull the old filter straight down. Make sure the old filter seal/O-ring comes out with it (don’t leave it stuck up in the transmission).
- Install the new filter and tighten the fasteners using a torque wrench: Torque to 4 Nm (35 in-lb).
Step 5: Clean the pan, magnet, and gasket surfaces
- Dump remaining fluid from the pan into the drain pan.
- Remove the magnet(s) from the pan, wipe off sludge with shop towels, then reinstall the magnet(s) in the same spot.
- Clean the pan and gasket surface using brake cleaner spray and a plastic trim scraper.
- Install the new pan gasket onto the pan.
Step 6: Reinstall the pan
- Lift the pan into place and start all bolts by hand.
- Snug bolts evenly in a crisscross pattern using a ratchet and socket.
- Final-tighten with a torque wrench: Torque to 13 Nm (115 in-lb).
- Overtightening can warp the pan and cause leaks.
Step 7: Refill with ATF+4
- Lower the SUV from the jack stands using the floor jack.
- Insert a long-neck funnel into the transmission dipstick tube.
- Add ATF+4 in small amounts (start with about 4 quarts).
Step 8: Set the fluid level (critical)
- Start the engine and keep your foot on the brake.
- Shift slowly through P-R-N-D and back to P, pausing 2-3 seconds in each gear to fill passages and the filter.
- With the engine idling on level ground, check the dipstick and add ATF+4 as needed.
- Recheck until the level is correct on the dipstick’s operating range. Add fluid gradually (a little goes a long way).
✅ After Repair
- Inspect for leaks around the pan with the engine running.
- Take a short test drive, then park on level ground and recheck the dipstick level.
- Dispose of used ATF at a recycling center or parts store that accepts used fluids.
💰 DIY vs Shop Cost
Shop Cost: $250-$450 (parts + labor)
DIY Cost: $60-$140 (parts only)
You Save: $190-$310 by doing it yourself!
Shop labor rates vary but typically run $100-$150/hour. This repair takes a shop approximately 2-3 hours.
🎯 Ready to get started?
HowToo makes it easy: same-day/2-day shipping on every part, plus all the tools and specialty tools you need! Check out the parts and tools sections below to add everything to your cart.