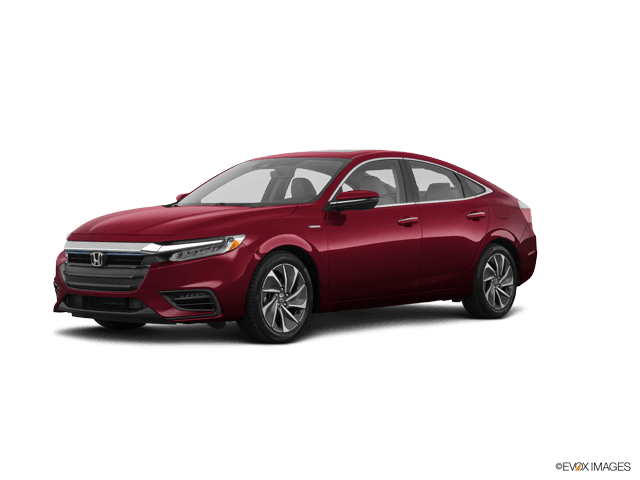















2019-2022 Honda Insight Charging System Troubleshooting: DC-DC Converter vs 12V Battery Fix (Engine: Inline 4 1.5L)
Step-by-step voltage tests, terminal cleaning, 12V battery replacement tips, and key hybrid safety notes
2019-2022 Honda Insight Charging System Troubleshooting: DC-DC Converter vs 12V Battery Fix (Engine: Inline 4 1.5L)
Step-by-step voltage tests, terminal cleaning, 12V battery replacement tips, and key hybrid safety notes for 2019, 2020, 2021, 2022


🔧 Insight - “Alternator” Replacement (Charging System Reality Check)
Your Insight does not use a traditional belt-driven alternator like a normal gas car. The 12V system is charged by a DC-DC converter that’s built into the hybrid power electronics (often serviced as part of the inverter/PCU assembly).
Most “alternator” complaints on your Insight end up being a weak 12V battery, poor connections/grounds, or a DC-DC converter/charging control issue that is high-voltage and typically not DIY-friendly.
Difficulty Level: Intermediate (testing) / Advanced (converter replacement) | Estimated Time: 0.5-1.0 hours (testing) / 3-6 hours (shop-level replacement)
⚠️ Safety & Precautions
- ⚠️ Your Insight has a high-voltage hybrid system; improper work can cause severe injury.
- ⚠️ Do not open/handle orange high-voltage cables or inverter/PCU connectors.
- ⚠️ If you see hybrid warning messages or a check engine light, stop and scan codes before replacing parts.
- ⚠️ For any work near power electronics: remove metal jewelry and use insulated tools.
- ⚠️ Battery disconnect: for 12V testing/terminal cleaning you may disconnect 12V negative; for high-voltage component replacement, a factory procedure is required.
🔧 Required Tools
You'll need the following tools for this repair:
- 10mm socket
- 10mm wrench
- Ratchet (3/8")
- Extension (3"–6")
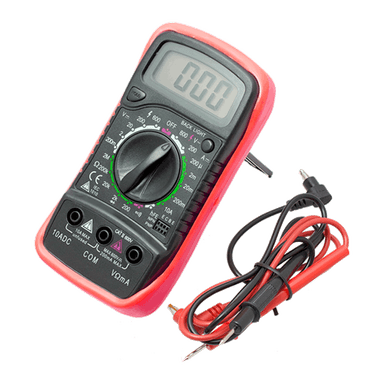
- Digital multimeter
- Battery terminal cleaning brush
- Safety glasses
- Nitrile gloves
🔩 Required Parts
HowToo sells all the parts you need for this repair:
- 12V battery (Insight Touring correct fit) - Qty: 1
- Battery terminal anti-corrosion pads - Qty: 2
- Battery terminal protectant spray - Qty: 1
📋 Before You Begin
- Park on level ground, shift to Park, and power the car OFF.
- Wait 2–3 minutes before testing so modules go to sleep.
- Open the hood and locate the 12V battery area (front engine bay).
- If you will remove the battery: note radio presets and settings may reset.
🔨 Step-by-Step Instructions
Follow these steps in order:
Step 1: Confirm whether you actually have a charging problem
- Use a digital multimeter on DC volts and measure at the 12V battery posts (red to +, black to -).
- With the car OFF (after a few minutes): a healthy, charged battery is typically around 12.4–12.7V.
- Now put the car in READY mode (press brake + Power button) and measure again with the digital multimeter.
- In READY, the DC-DC converter should usually bring voltage up to roughly 13.5–14.8V.
- Tip: READY mode is “engine may be off.”
Step 2: Check for loose/corroded battery connections
- Inspect the battery terminals for white/green crust (corrosion).
- Try gently rotating each terminal by hand; it should not move.
- If loose/corroded: use a 10mm wrench to loosen the terminal clamp nut(s).
- Remove the negative (-) terminal first, then the positive (+).
- Clean the terminals using a battery terminal cleaning brush.
- Reinstall the positive (+) first, then the negative (-).
- Tighten with a 10mm wrench to Torque to 5 Nm (44 in-lbs).
Step 3: Decide the next move based on voltage results
- If OFF voltage is low (near/below ~12.2V) but READY voltage is normal (~13.5–14.8V): the “alternator” is fine—replace the 12V battery.
- If READY voltage stays near OFF voltage (example: 12.0–12.6V) even after cleaning/tightening: you likely have a DC-DC converter / charging control issue or wiring problem.
- At that point, don’t keep driving—low 12V can cause stalling/no-start and random warning lights.
Step 4: Replace the 12V battery (if indicated)
- Use a 10mm wrench to disconnect the negative (-) terminal, then the positive (+).
- Remove the hold-down hardware using a 10mm socket, ratchet (3/8"), and extension (3"–6").
- Lift the old battery out carefully (it’s heavier than it looks).
- Install the new battery in the same orientation.
- Reinstall the hold-down and tighten with a 10mm socket snugly (do not crush the case).
- Reconnect terminals: positive (+) first, then negative (-), using a 10mm wrench.
- Tighten terminal clamps to Torque to 5 Nm (44 in-lbs).
- Install battery terminal anti-corrosion pads and apply terminal protectant spray.
Step 5: If you meant “replace the alternator,” here’s the correct part
- On your Insight, the equivalent function is the DC-DC converter (inside the inverter/PCU).
- Replacement involves high-voltage isolation, factory procedures, and usually a scan tool to verify DTCs and run post-repair checks.
- For safety, I recommend a shop for DC-DC/inverter/PCU replacement rather than DIY.
✅ After Repair
- Verify battery voltage again with the digital multimeter: OFF should be healthy, and READY should be roughly 13.5–14.8V.
- Start the car into READY mode 2–3 times and confirm no warning messages appear.
- If warnings remain: have the system scanned for Honda DTCs (hybrid and power management codes).
💰 DIY vs Shop Cost
Shop Cost: $180-$450 (12V battery installed/diagnosis) / $1,500-$4,000+ (DC-DC/inverter-related repairs)
DIY Cost: $150-$300 (12V battery + consumables)
You Save: $30-$200+ by doing the 12V battery yourself!
Shop labor rates vary but typically run $100-$150/hour. Testing takes a shop approximately 0.5-1.0 hours.
🎯 Ready to get started?
HowToo makes it easy: same-day/2-day shipping on every part, plus all the tools and specialty tools you need! Check out the parts and tools sections below to add everything to your cart.
Quick question (so I guide you correctly): When you put your Insight in READY, what voltage do you read at the 12V battery with a multimeter—around 14V, or closer to 12V?
Guide for Vehicle Battery replace for these Honda vehicles
| Year Make Model | Sub Model | Engine | Body Style |
|---|---|---|---|
| 2022 Honda Insight | - | Inline 4 1.5L | - |
| 2021 Honda Insight | - | Inline 4 1.5L | - |
| 2020 Honda Insight | - | Inline 4 1.5L | - |
| 2019 Honda Insight | - | Inline 4 1.5L | - |