









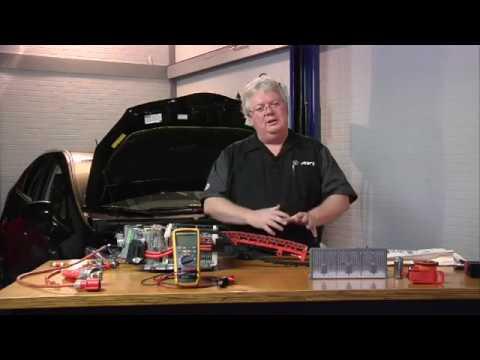






2011 Nissan Altima Hybrid No-Charge Repair: Test DC/DC Converter (Not Alternator)
Step-by-step 12V charging diagnosis with multimeter tests, fuse checks, battery/terminal fixes, and safety tips for 2007, 2008, 2009, 2010, 2011
2011 Nissan Altima Hybrid No-Charge Repair: Test DC/DC Converter (Not Alternator)
Step-by-step 12V charging diagnosis with multimeter tests, fuse checks, battery/terminal fixes, and safety tips for 2007, 2008, 2009, 2010, 2011


🔧 Altima - Charging System (No Alternator) Verification & Repair Path
Your Altima Hybrid does not use a conventional belt-driven alternator like a normal gas Altima. The 12V battery is charged by a DC/DC converter (built into the hybrid inverter/converter system), so “alternator replacement” usually means verifying the 12V system, fuses, and DC/DC output.
Difficulty Level: Beginner (testing) / Advanced (converter replacement) | Estimated Time: 0.5–1.5 hours (testing)
⚠️ Safety & Precautions
- ⚠️ High voltage hybrid system can cause severe injury or death. Do not open or disassemble any orange-cabled components.
- ⚠️ Keep metal tools away from the 12V battery positive terminal to prevent short circuits.
- ⚠️ If you smell burning plastic, see melting at fuse links, or have intermittent power loss, stop and have it towed.
- Battery disconnect is not required for the voltage tests below, but it is required for some fuse/terminal cleaning work.
🔧 Required Tools
You'll need the following tools for this repair:
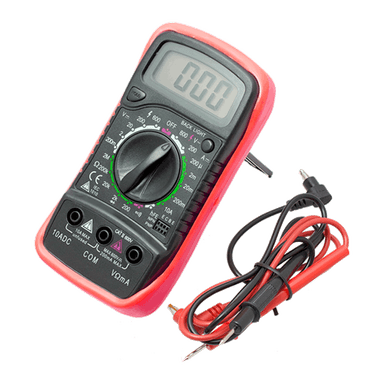
- Digital multimeter
- 10mm socket
- 3/8" ratchet
- 3" socket extension
- Trim clip removal tool
- Needle-nose pliers
- Wire brush battery terminal cleaner
- Battery charger (12V)
- Safety glasses
- Nitrile gloves
🔩 Required Parts
HowToo sells all the parts you need for this repair:
- 12V battery - Qty: 1
- Battery terminal anti-corrosion pads - Qty: 2
- Battery terminal protectant spray - Qty: 1
- Fusible link / main fuse block - Qty: 1
📋 Before You Begin
- Park on level ground, shift to Park, and set the parking brake.
- Turn the car OFF and remove the key fob from the vehicle area.
- If you’ll clean/remove battery terminals: disconnect the negative terminal first using a 10mm socket.
- Tip: Write down radio presets if needed.
🔨 Step-by-Step Instructions
Follow these steps in order:
Step 1: Confirm the symptom (what “not charging” means)
- Use a digital multimeter to measure voltage at the 12V battery posts (not the cable clamps).
- With the car OFF: if voltage is around 12.4–12.7V, the battery is reasonably charged; if it’s below ~12.2V, the battery may be weak or discharged.
- Put the car in READY mode (hybrid system on). Measure again with the digital multimeter.
- In READY, you typically should see about 13.5–14.5V. If it stays near 12V, the DC/DC converter may not be charging.
Step 2: Check for loose/corroded battery terminals (common, easy fix)
- If you see white/green crusty buildup, that’s corrosion and it can block charging.
- Turn the car OFF.
- Use a 10mm socket and 3/8" ratchet to loosen and remove the negative (-) terminal first, then the positive (+) terminal.
- Use a wire brush battery terminal cleaner to clean the inside of the clamps and the battery posts until shiny.
- Reinstall the positive terminal first, then the negative terminal. Tighten with a 10mm socket (snug; do not over-tighten and crack the battery post).
Step 3: Inspect the main fuse/fusible link (charging power path)
- Open the under-hood fuse area and remove the cover using a trim clip removal tool if needed.
- Look for a main fusible link / high-amp fuse assembly near the battery/fuse box area.
- Use needle-nose pliers to pull the related smaller fuses for a quick visual check (metal strip inside should be unbroken).
- If the main fusible link looks heat-damaged or melted, replace the fusible link / main fuse block (this is a common “no power/no charge” root cause after a jump-start event).
Step 4: Re-test charging voltage in READY
- Use the digital multimeter again at the battery posts.
- If you now have 13.5–14.5V in READY, the charging function is working and the issue was likely connection/fuse/battery related.
- If you still have ~12V in READY, the issue is likely in the hybrid charging system (DC/DC converter/inverter) and is not a safe DIY “alternator swap.”
Step 5: If the 12V battery is weak, replace it and re-check
- Remove the battery terminals using a 10mm socket (negative first).
- Remove the hold-down hardware using a 10mm socket, 3/8" ratchet, and 3" socket extension.
- Install the new 12V battery, reinstall the hold-down, and reconnect positive first then negative.
- Install battery terminal anti-corrosion pads and apply battery terminal protectant spray.
✅ After Repair
- Start the car to READY and confirm charging voltage is 13.5–14.5V using a digital multimeter.
- Confirm the battery/charge warning lights are off.
- If the 12V battery keeps going dead, have the hybrid system scanned for codes (DC/DC converter and inverter related codes matter here).
💰 DIY vs Shop Cost
Shop Cost: $150–$350 (diagnosis + battery/terminal service) / $2,000–$5,000+ (inverter/DC-DC related repair)
DIY Cost: $0–$250 (testing supplies or 12V battery)
You Save: $150–$350+ by doing it yourself!
Shop labor rates vary but typically run $100-$150/hour. This repair takes a shop approximately 0.5–1.5 hours for testing.
🎯 Ready to get started?
HowToo makes it easy: same-day/2-day shipping on every part, plus all the tools and specialty tools you need! Check out the parts and tools sections below to add everything to your cart.